
To set up tubeless tires, start by removing the existing tire and inspecting your rim for damage or debris. Apply tubeless-compatible rim tape, guaranteeing it covers all spoke holes securely. Mount the tire evenly onto the rim, then add sealant through the valve or valve core. Inflate the tire gradually to seat the bead and distribute sealant, checking for leaks and proper seating. For detailed steps to make certain a reliable setup, continue exploring the process.
Key Takeaways
- Inspect and prepare the rim, ensuring rim tape covers all spoke holes securely for proper sealing.
- Mount the tubeless tire onto the rim, checking for even seating and no obstructions.
- Add recommended sealant through the valve or valve core, then reassemble and inflate slightly to distribute it.
- Fully inflate the tire to the desired pressure, checking for leaks and proper bead seating.
- Perform final inspections and a test ride to confirm the tubeless setup is secure and leak-free.
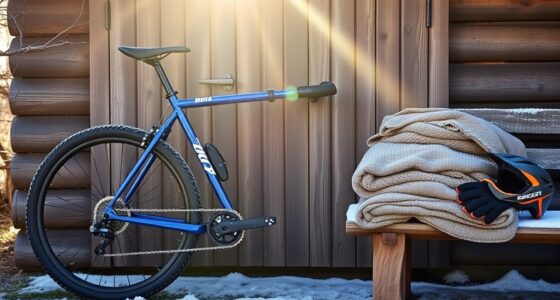
Have you ever wondered if there’s a better way to go tubeless? Switching to a tubeless setup can seem intimidating at first, but once you understand the process, it becomes straightforward and worthwhile. The key to a successful tubeless conversion lies in proper preparation, especially choosing the right rim tape and using quality tire sealant. These components ensure your ride remains smooth, leak-free, and dependable.
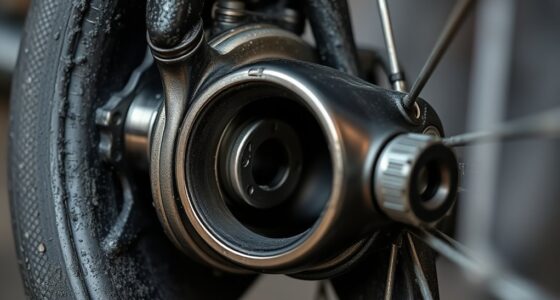
Start by removing your existing tire and inner tube. Once the wheel is exposed, carefully inspect the rim. You’ll need to replace or add rim tape designed specifically for tubeless setups. Rim tape seals the spoke holes in your rim, preventing air leaks and maintaining the integrity of the seal. Be sure to cover all spoke holes completely and securely, pressing down the tape to eliminate any wrinkles or gaps. Proper rim tape application is vital; any imperfections here can cause leaks and frustration down the line.
Inspect and replace rim tape to ensure a secure, leak-free tubeless setup.
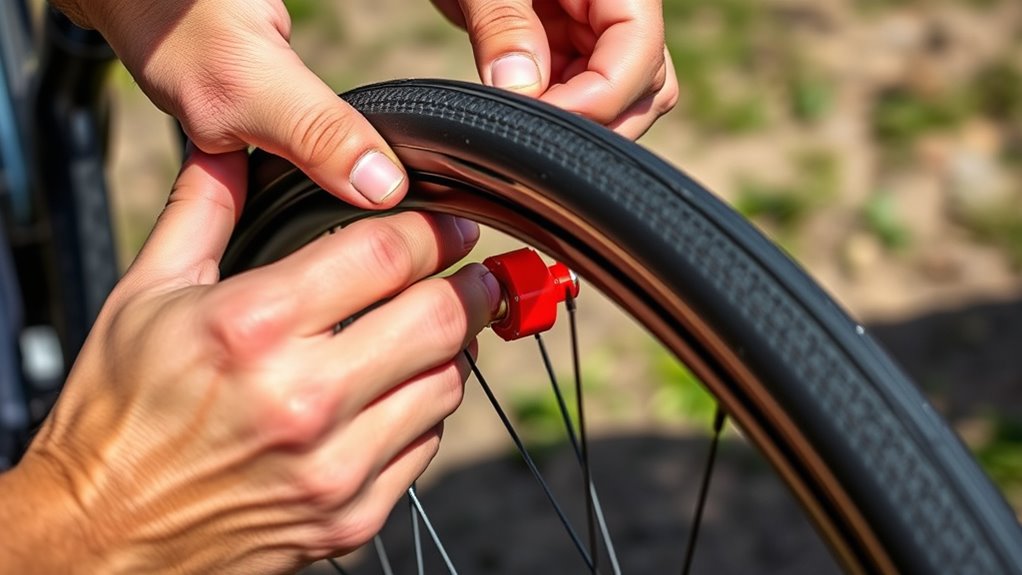
Next, install the tubeless-compatible rim strip or tape. Some rims come with pre-installed tubeless tape, but if yours doesn’t, carefully apply a suitable rim tape, ensuring it’s flush against the rim surface. Once the rim tape is in place, double-check for proper sealing. Then, mount your tire onto the rim, making sure it sits evenly and securely. Before adding any sealant, inflate the tire slightly to check for any obvious leaks or seating issues. If the tire doesn’t seat properly, deflate, reposition, and try again.
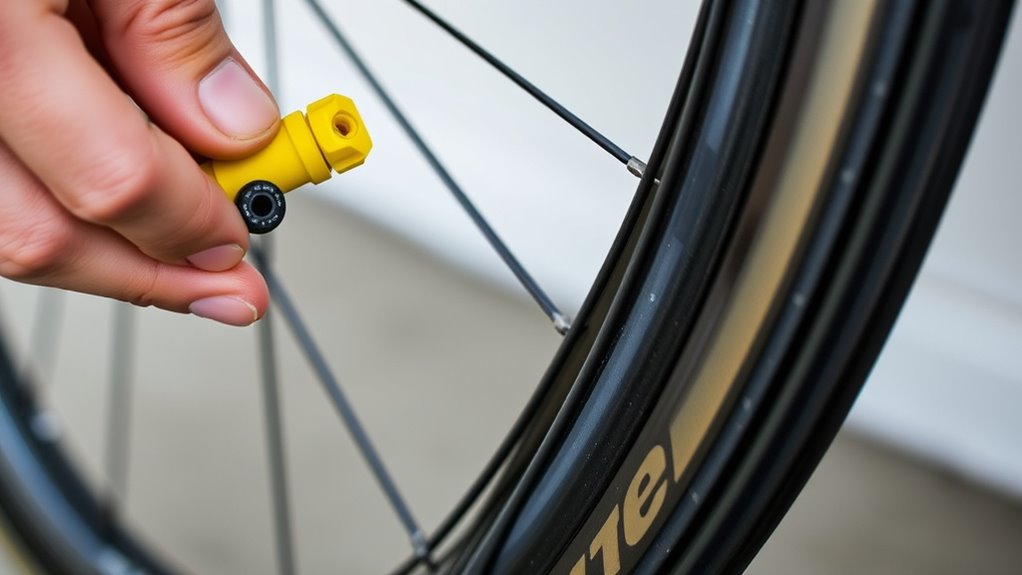
Now, it’s time to add tire sealant. Tire sealant is a liquid that coats the inside of the tire and quickly seals small punctures or leaks as they occur. Pour the recommended amount of sealant into the tire through the valve or remove the valve core temporarily for easier filling. Once the sealant is inside, reassemble the valve and inflate the tire to your desired pressure. As you do this, rotate the wheel to distribute the sealant evenly across the interior of the tire and rim.
Finally, check the setup carefully. Spin the wheel and listen for hisses or air leaks—if you notice any, recheck your rim tape and bead seating. If everything looks good, give the tire a final inflation to the recommended pressure and test ride the bike. Properly installed rim tape and tire sealant are your best defense against leaks and flats, and they make tubeless riding a more seamless experience. Becoming familiar with tubeless technology and setup can greatly enhance your riding confidence and performance. With patience and attention to detail, you’ll enjoy a lighter, more dependable ride with fewer flats.
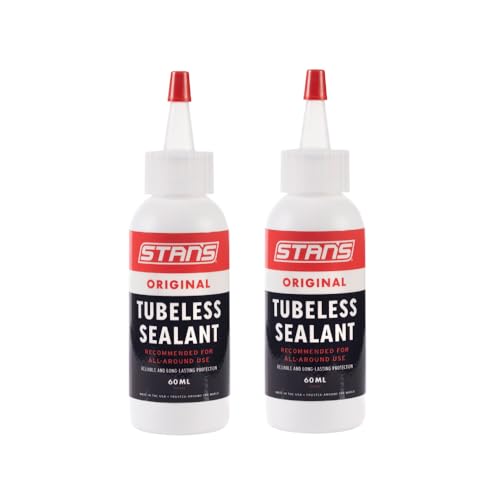
Stan's NoTubes Original Tire Sealant 60ml (Qty 2), Long Lasting Flat Prevention, Ultra Fast Sealing, up to 1/4" Punctures, Proactive Tire Repair, for All Bikes
The world’s first tubeless sealant and the first choice of riders today
As an affiliate, we earn on qualifying purchases.
As an affiliate, we earn on qualifying purchases.
Frequently Asked Questions
Can I Convert Any Rim to Tubeless?
You can’t convert any rim to tubeless, as rim compatibility is key. Check if your rim has a tubeless-ready bead or a compatible profile for a tubeless conversion. If it’s not designed for tubeless, you’ll likely need new rims or a kit specifically for non-tubeless rims. Always verify your rim’s specifications before attempting a tubeless conversion to guarantee a safe and effective setup.
What Types of Sealant Are Safest for Tubeless Setups?
You should prioritize sealants that are proven safe for tubeless setups, like latex-based options, because they offer better sealant safety and longevity. Latex sealants tend to last longer and are less likely to cause damage or clogging. While some sealants contain additives, they may compromise safety or longevity. Always choose reputable brands, and check for compatibility with your rims and tires to guarantee a safe, durable tubeless experience.
How Often Should I Replace Tubeless Sealant?
You should replace your tubeless sealant every 2 to 6 months, depending on its sealant longevity and riding conditions. Regularly check for signs of drying out or clumping, which can reduce puncture prevention. Fresh sealant guarantees peak puncture sealing and maintains effective air retention. Keep an eye on your tires, and top up or replace the sealant promptly to keep your tubeless setup performing at its best.
Are Tubeless Tires More Puncture-Resistant Than Traditional Tires?
Yes, tubeless tires are more puncture-resistant than traditional tires because they offer better puncture prevention. Without an inner tube, there’s less risk of pinch flats, and the sealant quickly seals small holes, enhancing tire durability. This setup reduces flats and keeps you riding longer. Regularly check and top off the sealant to maintain ideal puncture prevention and tire durability, ensuring your ride stays smooth and worry-free.
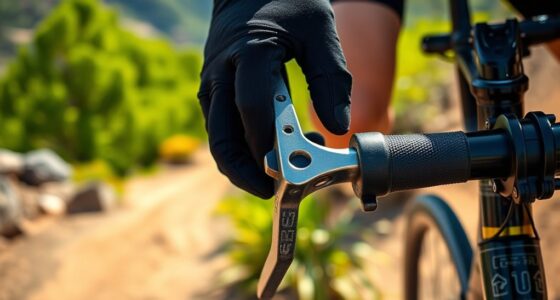
What Tools Are Essential for Tubeless Installation?
You’ll need a few essential tools for tubeless installation. Start with a tire lever to carefully seat the tire bead onto the rim. A valve core removal tool helps you install or replace the valve core easily, ensuring proper inflation. Additionally, a tubeless sealant and a compressor or pump are vital to seat the tire bead securely. These tools make the process smoother and help you achieve a reliable tubeless setup.

Muc-Off Tubeless Rim Tape, 25mm – Adhesive Bike Tire Liner, Tubeless Tape for MTB/Road/Gravel Bikes – Tubeless Kit Including 10m Roll of Bike Tape
GOING TUBELESS?: Our bike rim tape is the perfect choice if you’re looking to make the switch to…
As an affiliate, we earn on qualifying purchases.
As an affiliate, we earn on qualifying purchases.
Conclusion
Now that you’ve mastered the tubeless setup, you’re practically a bike maintenance wizard! With your new skills, you’ll breeze through rides and conquer even the most treacherous terrains. Say goodbye to flats and hello to smoother, more reliable adventures—your bike’s performance will soar to new heights. Keep practicing, and soon you’ll be able to set up tubeless tires faster than you can say “puncture-proof”! Get out there and ride like the legend you’re destined to become!

14 x 2.125 Tubeless Tire with Angled Valve,14 inch Thickened Tubeless Tires Compatible with Electric Scooters, E-Bike 14×2.125/57-254 Folding Electric and more
Our 14×2.125 Tubeless Bike Tire is made from high quality Rubber, ensuring exceptional air tightness, elasticity, and aging…
As an affiliate, we earn on qualifying purchases.
As an affiliate, we earn on qualifying purchases.

Boao 20 Pieces Presta Valve Core Bike Replacement Brass Tubeless Core for Tubeless Road MTB Bike, Stan's, Vittoria, Continental, Kenda and Mor
Package include: 20 pieces presta valve cores you will get in the bag, enough for your bicycle, you…
As an affiliate, we earn on qualifying purchases.
As an affiliate, we earn on qualifying purchases.