
To set up your gravel bike for adventure, start by adjusting your tire pressure to match terrain — lower pressures around 30-50 psi for better grip and comfort, depending on conditions. Sit on the bike and raise or lower the handlebars for a natural, relaxed position that offers control and reduces fatigue. Don’t forget to double-check everything before your ride. If you keep going, you’ll discover more tips to optimize your bike for every trail.
Key Takeaways
- Adjust tire pressure based on terrain: 40-50 psi for smooth sections, 30-40 psi for rougher terrain to enhance traction and comfort.
- Ensure tires are properly inflated before each ride to prevent flats and optimize grip.
- Set handlebar height for a comfortable, upright posture to reduce fatigue during long adventures.
- Lower handlebar position for technical sections to improve control and steering precision.
- Double-check all setup adjustments, including tire pressure and handlebar alignment, for safety and optimal ride performance.
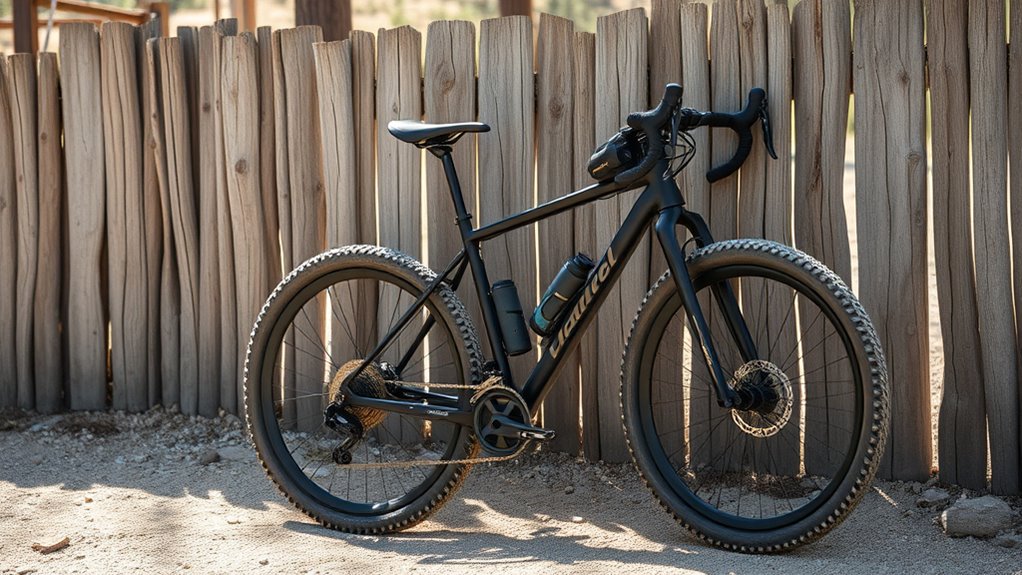
Setting up a gravel bike properly is vital to guarantee a comfortable and efficient ride on diverse terrain. The first step is to pay close attention to tire pressure adjustments. Unlike road bikes, gravel bikes benefit from slightly lower tire pressures, which help absorb shocks and improve traction on uneven surfaces. You should start by checking the manufacturer’s recommended pressure range, then lower it gradually based on your weight, riding style, and terrain. For smoother gravel paths, you might stick closer to the higher end, around 40-50 psi, but for rougher, rocky sections, dropping to 30-40 psi can make a significant difference. Keep in mind that lower pressure increases grip and comfort, but it also raises the risk of pinch flats, so find a balance that suits your ride. Regularly checking and adjusting your tire pressure before each ride guarantees top performance and reduces fatigue.
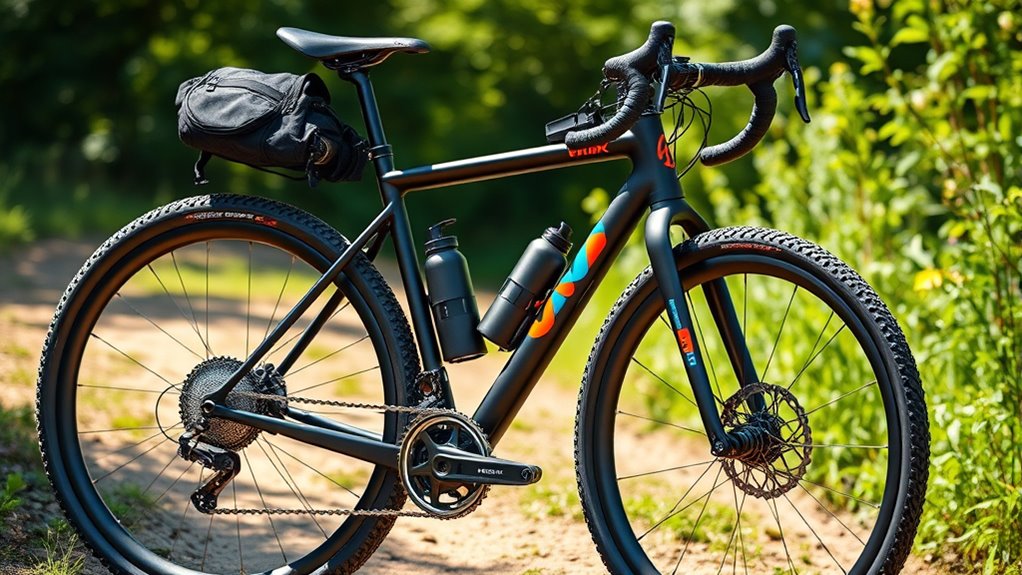
Next, handlebar positioning plays a vital role in comfort and control. Your handlebar height and angle should be tailored to your riding posture, helping you avoid fatigue and maintain stability. If you prefer a more upright position, raise the handlebars slightly, which minimizes strain on your back and neck during long rides. Conversely, if you’re looking for more aggressive handling, lower the handlebars to shift your weight forward, giving you better steering precision on technical sections. To find the right handlebar position, sit on your bike and adjust until your elbows are slightly bent and your wrists are straight, ensuring a natural, relaxed grip. Don’t forget to tighten all handlebar and stem bolts securely after making adjustments, so nothing shifts unexpectedly while you’re riding. Proper handlebar positioning also affects your ability to respond quickly to obstacles and maintain control on descents or sharp turns.
When setting up your gravel bike, these small yet critical adjustments can make a big difference in ride quality. Tire pressure adjustments directly impact comfort, traction, and puncture resistance, so take the time to fine-tune them for each ride. Handlebar positioning influences your riding posture, control, and fatigue levels, helping you stay comfortable and confident on challenging terrain. Both adjustments are straightforward but essential, so don’t overlook them. Before heading out, double-check your tire pressures and handlebar setup to ensure everything feels right. A well-adjusted gravel bike allows you to focus on the adventure ahead without discomfort or handling issues holding you back. Incorporating sound science principles, such as proper handlebar ergonomics and tire pressures, can further enhance your riding experience. With these details dialed in, you’ll be ready to tackle any trail with confidence and ease.

Topeak SmartGauge D2 Digital Tire Pressure Gauge – Presta/Schrader Compatible, 250 Psi/17 Bar, Precision Air Pressure Reader with LCD Display for Bikes, Motorcycles & Sports Equipment
Dual-Valve SmartHead Compatibility: Features a rotating SmartHead that works with both Presta and Schrader valves seamlessly—no need to…
As an affiliate, we earn on qualifying purchases.
As an affiliate, we earn on qualifying purchases.
Frequently Asked Questions
What Type of Tires Are Best for Mixed Terrains?
For mixed terrains, you should choose tires with versatile tread patterns that handle both gravel and pavement efficiently. Look for tires with moderate knobbies for grip on loose surfaces and smooth sections. Tubeless compatibility is essential to reduce flats and allow lower pressures for better traction. Opt for tires that balance durability, grip, and rolling efficiency, ensuring you’re prepared for varied conditions on your adventure.
How Do I Choose the Right Gear Ratios?
Think of your gear ratios as the gears on a ship’s wheel, steering you smoothly through varied terrain. To choose the right, focus on gear ratio optimization for climbing steep hills and cruising flat stretches. Drivetrain customization lets you fine-tune this setup, ensuring seamless shifts and efficient power transfer. Test different combinations to find what feels natural, giving you control and confidence on every adventure, no matter the terrain ahead.
Can I Upgrade My Bike’s Suspension for Comfort?
Yes, you can upgrade your gravel bike’s suspension for comfort, but first, check suspension compatibility with your bike frame. Not all bikes are designed for suspension upgrades, so verify compatibility before buying. Keep in mind that upgrade costs vary depending on the components you choose, and higher-end suspension systems tend to be more costly. Investing in a suitable suspension can markedly improve comfort on rough terrain, making your rides more enjoyable.
What’s the Optimal Tire Pressure for Different Conditions?
Ever wonder how to get the perfect ride? For diverse conditions, you should follow tire pressure tips and make terrain-specific adjustments. On smooth pavement, lower pressures around 60-70 PSI improve comfort and grip, while rougher trails benefit from higher pressures, around 70-85 PSI, to prevent pinch flats. Always consider your weight and bike load, and adjust accordingly. Wouldn’t you agree that fine-tuning your tire pressure makes all the difference?
How Do I Maintain My Gravel Bike After Long Rides?
After long rides, you should clean your gravel bike thoroughly, focusing on removing mud and debris from the tires, chain, and frame. Use bike cleaning methods like gentle brushes and bike-specific cleaners. Follow up with lubrication tips by applying chain lubricant to keep parts moving smoothly. Regular maintenance like checking tire pressure and inspecting components guarantees your gravel bike stays in top shape for future adventures.

CXWXC Suspension Bike Stem – 100/135mm Bike Stem Riser for Handlebar – Bike Handlebar Riser Extender for Mountain Gravel Road City Bicycle (31.8 x 135mm)
【Comfort】: Our lightweight suspension stem, seem essential for long-rides, mixed surface gravel riding, or any use case where…
As an affiliate, we earn on qualifying purchases.
As an affiliate, we earn on qualifying purchases.
Conclusion
Now that you’ve dialed in your gravel bike, you’re ready to embrace every winding trail and open road ahead. Remember, your setup is your trusty compass—guiding you through adventures both big and small. So, gear up, stay curious, and let your bike be the wings that carry you to new horizons. After all, the journey is yours to craft—so ride confidently and let every pedal stroke write your story on the road less traveled.
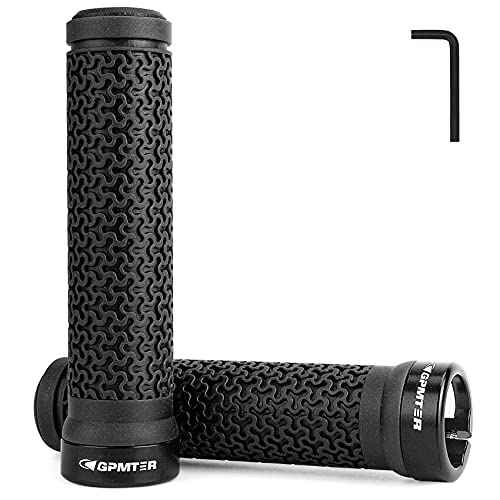
GPMTER Bike Handlebar Grips, Single Lock-on Bicycle Grips Handle Bar End Holding Locking for BMX, Mountain, MTB, Cruiser, Folding Bike, Soft Non-Slip-Rubber Rubber Hand Grip Black
MATERIAL:Made of high quality non-slip-rubber for durability, with single aluminum alloy lock-on system
As an affiliate, we earn on qualifying purchases.
As an affiliate, we earn on qualifying purchases.

SILCA Gravelero mini Bike Pump | high Volume Gravel/Mountain/Road | Alloy Body w/Hose and Locking Chuck | Presta and Schrader Head | Micro Hand Pump for tubed/tubeless Tires | Bike Hand Pump
Design: Our mini pump category grows with high volume in mind. With the same design features as our…
As an affiliate, we earn on qualifying purchases.
As an affiliate, we earn on qualifying purchases.