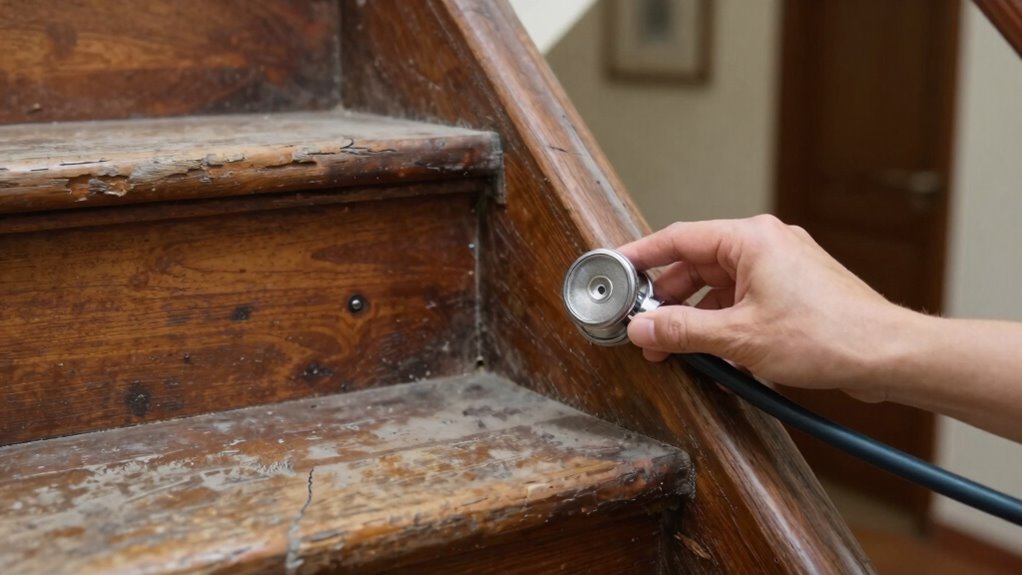

To stop the creak, start by pinpointing when it occurs—whether constantly, during specific movements, or under load. Use a flashlight to visually inspect parts for damage, looseness, or misalignment. Apply lubricants to suspect areas and see if the squeak stops temporarily. Listen carefully to whether the sound is high or low-pitched, and check for loose screws or worn components. A systematic approach helps identify the cause—keep exploring to learn more effective solutions.
Key Takeaways
- Observe when the creak occurs to identify if it’s constant, intermittent, or load-dependent.
- Use visual inspections and a flashlight to spot cracks, corrosion, or loose components.
- Listen carefully to determine if the noise is high or low-pitched, steady or bursty.
- Apply lubricants or spray to suspected areas; if noise stops, friction is likely the cause.
- Tighten loose screws or bolts, and check for misaligned parts to eliminate mechanical causes.
Have you ever wondered what your noisy machine is trying to tell you? When you hear that persistent squeak, it’s easy to feel frustrated and unsure where to start. Squeak causes can stem from a variety of issues, but identifying the root of the problem doesn’t have to be overwhelming. With the right troubleshooting tools, you can pinpoint the source quickly and fix it efficiently.
First, you’ll want to pay close attention to when the squeak occurs. Is it constant, or does it happen only during certain operations or at specific times? This detail can help narrow down potential causes. For example, if the squeak appears only when a machine is under load, it might be related to worn bearings or belt tension. If it’s constant, it could be a loose component or a dry hinge. These observations are critical in guiding your troubleshooting process.
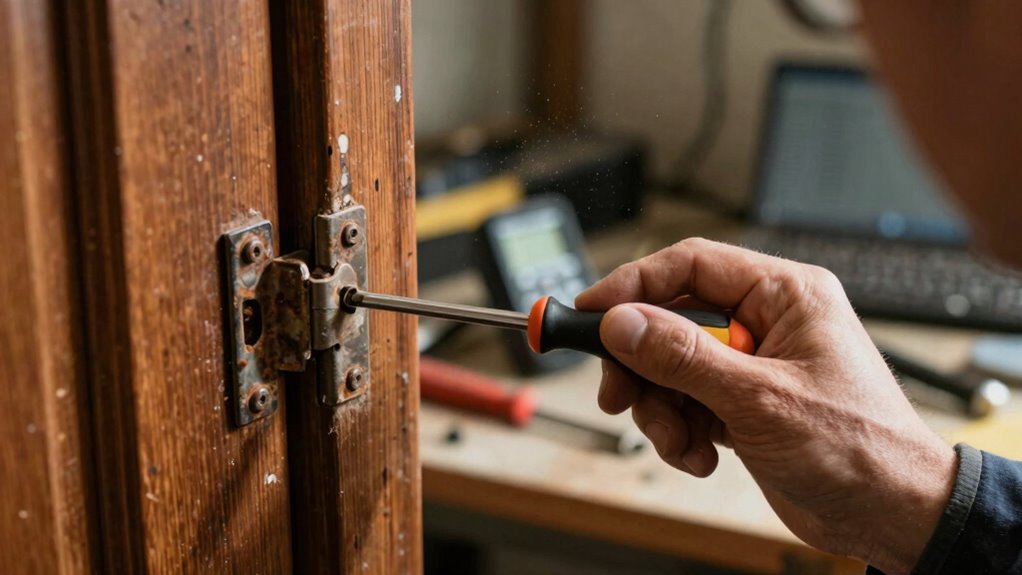
Next, gather some troubleshooting tools to assist your diagnosis. A flashlight helps you see into tight spots and check for loose or damaged parts. A screwdriver set allows you to tighten screws or bolts that might have come loose over time. A spray lubricant or silicone-based lubricant can be useful for testing if squeaks are caused by dryness or friction. Sometimes, simply applying a small amount of lubricant to moving parts reveals whether lack of lubrication is the culprit. If lubricating temporarily stops the squeak, you’ve found your cause—often, squeak causes are related to friction and dry contact surfaces.
You should also listen carefully to the squeak’s pitch and rhythm. Is it high-pitched or low-pitched? Does it occur in bursts or in a steady squeal? These auditory clues can point to specific issues, such as worn belts, dry bushings, or loose components. Sometimes, a visual inspection with your troubleshooting tools can reveal cracks, corrosion, or other damage that might be causing the noise. Incorporating proper maintenance procedures can help prevent future squeaks and keep your equipment running smoothly.
If the squeak persists after simple fixes, you might need to dig deeper. Check for misaligned parts or worn-out components that need replacing. Use your troubleshooting tools to gently move parts and see if anything feels loose or wobbly. Remember, a squeak is often a symptom of something needing attention—ignoring it can lead to more serious damage down the line.
In the end, solving squeak causes requires patience and a methodical approach. Your troubleshooting tools are your best allies in this effort. By paying close attention to when and how the squeak occurs, inspecting carefully, and applying the right fixes, you can stop the creak hunt and restore your machine to quiet, smooth operation.

WD-40 Specialist Silicone Lubricant with SMART STRAW SPRAYS 2 WAYS, 11 OZ
Use on a variety of surfaces – metal, rubber, vinyl, plastic and more. Use on 100s of items…
As an affiliate, we earn on qualifying purchases.
As an affiliate, we earn on qualifying purchases.
Frequently Asked Questions
Can Creaking Noises Indicate Structural Damage?
Creaking noises can sometimes indicate structural damage, especially if caused by wood expansion or joint deterioration. When wood expands due to humidity or temperature changes, it can create stress on joints, leading to creaks. If these sounds persist or worsen, it’s a sign you should inspect for potential issues. Addressing joint deterioration early helps prevent more serious damage, ensuring your structure stays sound and safe.
How Often Should I Inspect for Creaks?
You should inspect for creaks every few months to maintain your home’s harmony and prevent potential problems. Regular reviews help you catch creaks early, ensuring noise prevention and peace of mind. Stay vigilant by visually checking for signs of wear, listening carefully for new sounds, and tightening any loose fixtures. Consistent, careful inspections keep your space silent, safe, and sound, saving you stress and costly repairs in the long run.
Are There DIY Fixes for Persistent Creaking Sounds?
Yes, you can try DIY fixes for persistent creaking sounds. Apply DIY lubricants like WD-40 or silicone spray to squeaky hinges, joints, or moving parts to prevent squeaks. Regular squeak prevention measures, such as tightening loose screws or bolts, also help. Be sure to clean the area first to remove dirt or debris, ensuring the lubricant works effectively. These simple steps often eliminate creaks without professional help.
When Should I Call a Professional for Noise Issues?
Ever wonder when a DIY fix isn’t enough? If your noise issues persist after trying basic home maintenance and noise prevention tips, it’s time to call a professional. Persistent creaks, squeals, or unresolved sounds can signal underlying problems needing expert diagnosis. Don’t risk further damage—trust a pro to identify the root cause swiftly and ensure your home stays quiet and safe. When in doubt, professional help is always the smarter choice.
Do Creaking Noises Affect Home Safety or Value?
Creaking noises like floor squeaks or door hinges usually don’t impact your home’s safety or value, but they can affect comfort and perception. If these noises are persistent, they might indicate underlying issues, like structural shifts or faulty hinges, which could eventually influence home value. You should consider professional inspection if the creaks worsen or cause concern, ensuring your home remains safe and maintains its worth.

WORKPRO Rechargeable Pen Light, 450 Lumen LED Flashlight with 365 nm UV Black Light, Multifunctional Penlight for Mechanic Emergency Outdoor
Bright LED Flashlight: C.O.B floodlight provides 450 lumens light, and spotlight provides 120 lumens beam. Ideal for use…
As an affiliate, we earn on qualifying purchases.
As an affiliate, we earn on qualifying purchases.
Conclusion
Now that you’ve followed these steps, you’re like a detective solving a mystery. Remember when I first heard that squeak and thought it was a ghost? Turns out, it was just a loose hinge. Just like tuning a guitar, pinpointing the noise takes patience and a keen ear. With each fix, you’re tuning your home to harmony—less creak, more peace. Keep listening, adjusting, and enjoy the quiet confidence of a job well done.

WORKPRO 10-Piece Magnetic Screwdriver Set with Pouch, Phillips, Slotted, Flat Head Screwdriver Include Magnetizer, Screwdriver with Non-Slip Grip, for Home Repair and DIY Projects
NON-SLIP & COMFORTABLE HANDLE: With an ergonomic PP + TPR material handle, the WORKPRO magnetic screwdriver set provides…
As an affiliate, we earn on qualifying purchases.
As an affiliate, we earn on qualifying purchases.

Qucship Door Hinge Lubricant 1 oz Needle Oiler, Upgraded Squeaky Door Hinge Lubricant for Lock, Tools, Bicycles
PREMIUM DOOR HINGE LUBRICANT; Eliminate annoying squeaks quickly and effectively. Qucship door hinge lubricant bonds to the surfaces,…
As an affiliate, we earn on qualifying purchases.
As an affiliate, we earn on qualifying purchases.