
To install a hitch bike rack without scratching your car, first make certain the rack fits your hitch type and size. Use padding, foam, or rubber strips at contact points to protect your vehicle’s paint. Tighten straps and bolts securely but avoid overtightening that can cause scratches. Regularly inspect the setup to prevent rubbing or movement. Taking these steps helps keep your vehicle’s finish pristine, and you’ll find additional tips if you continue exploring this topic further.
Key Takeaways
- Use padding or foam strips at contact points to prevent scratches during installation.
- Ensure the rack is compatible with your hitch type and size before mounting.
- Follow manufacturer instructions carefully, tightening straps and bolts securely without overtightening.
- Adjust rack arms to avoid direct contact with vehicle paint and use additional padding if needed.
- Regularly inspect the hitch and rack for tightness and signs of contact or damage before each trip.
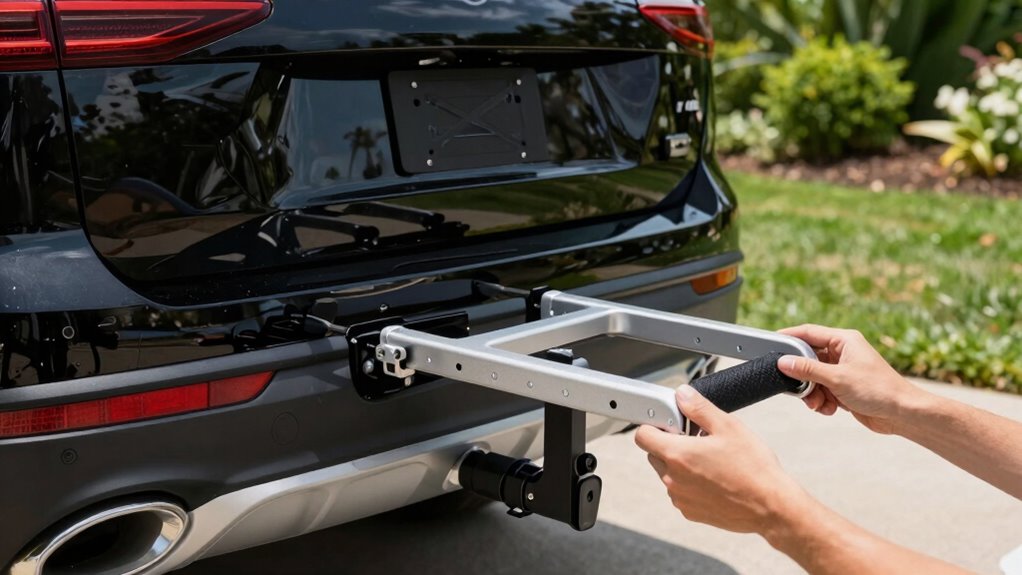
Are you ready to hit the road with your bikes securely attached? Before you do, it’s essential to verify your hitch bike rack is properly installed to prevent any damage to your vehicle. The first step involves checking hitch compatibility. Not all racks fit every hitch size or type, so you’ll want to confirm whether your car has a Class I, II, III, or IV hitch. This information helps you select a rack that aligns perfectly with your vehicle’s specifications. Using the wrong size can lead to instability and potential scratches or dents on your car’s paint or bumper. Measure your hitch opening or consult your vehicle’s manual to confirm compatibility. Once you’ve determined the right fit, you can focus on rack security. A secure attachment isn’t just about safety—it’s about protecting your car’s finish from scratches and damage.
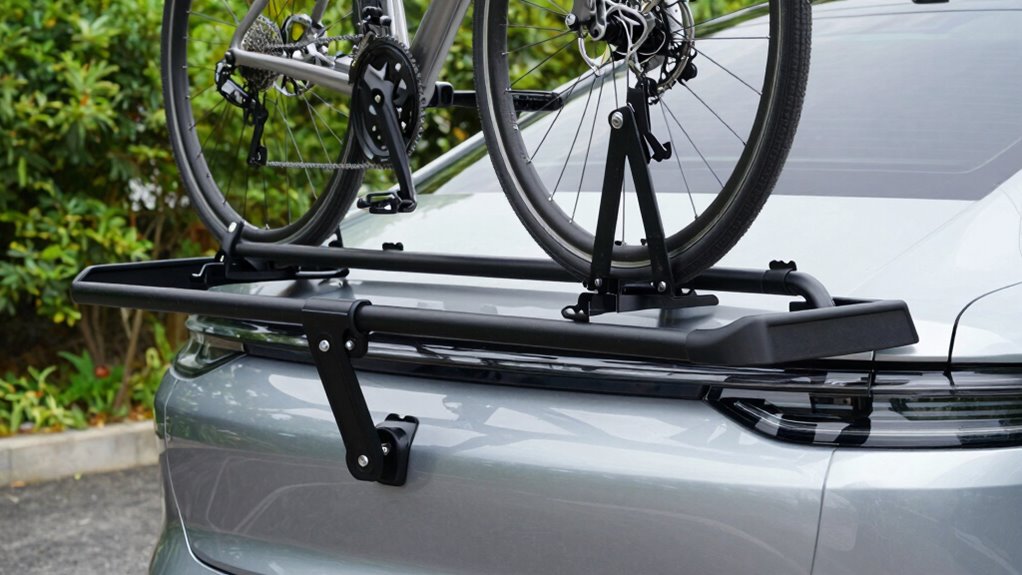
To ensure rack security, always follow the manufacturer’s instructions carefully when installing the rack. Most racks come with a set of straps, bolts, or clamps that need to be tightened properly. Avoid overtightening, which can cause stress points that might scratch or crack your paint. Instead, tighten until the rack feels firmly attached but without excessive force. Using rubber or foam padding on contact points can provide an extra layer of protection, absorbing vibrations and preventing scratches during transit. It’s also a good idea to check that the rack’s frame isn’t rubbing directly against your vehicle’s paint, especially at contact points. Some racks include adjustable arms or padding accessories designed specifically to prevent scratches, so take advantage of these features. Additionally, understanding hitch types and their specific compatibility can help you choose the most appropriate rack and reduce the risk of damage.
Another key aspect is regularly inspecting your setup before each trip. Make sure the hitch is still secure and that all bolts or straps haven’t loosened over time. When securing your bikes, use additional straps or bungee cords to keep them stable on the rack, reducing movement that could cause scratches or damage. When removing the rack, do so carefully, cleaning any dirt or debris that might have accumulated, which could scratch your car upon reinstallation.

MaxxHaul 50885 4-Inch Wide Bike Cradles Replacement for MaxxHaul 50641 Cargo Carrier and 2-Bike Rack – Set of 2
Replacement cradles for MaxxHaul 50641 only – Not a universal fit
As an affiliate, we earn on qualifying purchases.
As an affiliate, we earn on qualifying purchases.
Frequently Asked Questions
Can I Install a Hitch Bike Rack on All Vehicle Types?
You can’t install a hitch bike rack on all vehicle types because of vehicle compatibility and weight capacity. Check your vehicle’s hitch receiver size and make sure it matches the rack’s specifications. Some cars lack the necessary hitch or can’t handle the rack’s weight capacity safely. Always verify your vehicle’s compatibility and weight limits before installation to avoid damage and ensure a secure fit.
What Tools Are Needed for Hitch Rack Installation?
Imagine holding a tools checklist in your hands, ready to bring your bike rack installation to life. To start, you’ll need a socket wrench, a torque wrench, and a receiver hitch pin. Follow the installation steps carefully, ensuring each tool fits perfectly into its task. With these tools, you can confidently secure your hitch bike rack without scratches, making the process smooth and rewarding.
How Do I Prevent Rust After Installing the Rack?
To prevent rust after installing your hitch bike rack, regularly apply a rust prevention spray or a light coat of automotive wax to the metal parts. Keep the rack clean and dry, especially after exposure to rain or snow. Follow maintenance tips like checking for any signs of rust or corrosion and addressing them promptly. Proper care guarantees your rack stays in good shape and prolongs its lifespan.
Is It Safe to Use a Hitch Bike Rack Long-Term?
You can safely use a hitch bike rack long-term if you prioritize bike rack security and stay within the rack’s weight capacity. Regularly check for rust, make sure the hitch and rack are properly secured, and inspect for any damage. If you keep these in mind, your rack will serve you well for years, safely transporting your bikes without risking damage or compromising the vehicle’s integrity.
Can I Remove and Reinstall the Rack Easily?
Yes, you can remove and reinstall racks easily if you follow proper steps. When removing racks, loosen the hitch connection carefully and store any hardware safely. Reinstall by aligning the rack with the hitch and tightening all bolts securely. Regularly check the fit to prevent scratching your car or loosening during use. With some practice, removing and reinstalling racks becomes quick and straightforward, ensuring your bike hauling setup stays hassle-free.
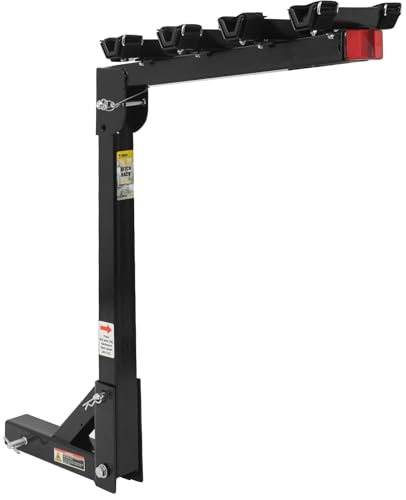
MaxxHaul Hitch Mount 4 Bike Rack 150 lb Capacity Heavy‑Duty Swing Down Design Fits Cars Trucks SUVs and Minivans with Safety Reflector Easy Install (70210)
Secure Bike Transportation: Safely transport up to 4 bikes with ease. The rack's towing capacity is 150 lbs…
As an affiliate, we earn on qualifying purchases.
As an affiliate, we earn on qualifying purchases.
Conclusion
Remember, a careful approach prevents costly mistakes. By following these simple steps, you can install your hitch bike rack without scratching your car. Take your time, double-check each connection, and don’t rush the process. As the saying goes, “A stitch in time saves nine.” Putting in a little extra effort now guarantees your bike rack stays scratch-free and your car remains looking great for many adventures ahead. Happy biking!
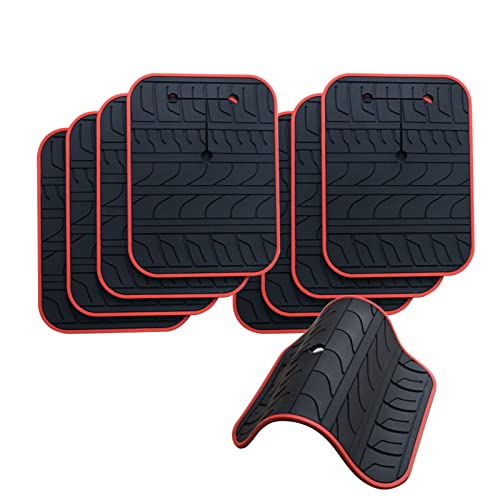
Car Scratch Protector for Trunk Bike Rack, Anti-Scratch Anti-Collision Non-Slip Silicone Pads, Car Paint Protective Pads Car Tire Pattern Non-Slip, Bike Car Rack Accessories(8 Pack)
【High quality silicone material】 Soft and flexible yet very durable. Prevents car damage from Trunk Mount Bike Carrier….
As an affiliate, we earn on qualifying purchases.
As an affiliate, we earn on qualifying purchases.

Rhino Rack Bike Rack – Fits Up to 4 Bikes, 60kg Capacity, 2" Hitch Mount for Car, Strong Stabilization, Tilts for Easy Access, Folding Arm, Adjustable Straps, Ideal Bike Storage Solution
Fits up to 4 Bikes
As an affiliate, we earn on qualifying purchases.
As an affiliate, we earn on qualifying purchases.