Bottom bracket standards refer to the different types and sizes used to connect your crankset to your bike frame, ensuring proper fit and performance. These standards include threaded types like BSA, and press-fit systems such as PF30 or BB86, each with unique shell dimensions and installation methods. Choosing the right standard depends on your frame and crankset compatibility. To get a clearer picture of these variations and how to select the right parts, keep exploring further.
Key Takeaways
- Bottom brackets vary by standard, including threaded (BSA/English) and press-fit (PF30, BB86), affecting compatibility and installation.
- Correct shell diameter and width are essential for proper fit and to prevent damage or creaking.
- Threaded systems screw into the frame, while press-fit types are pressed into the shell using specialized tools.
- Bearing types differ; some use sealed cartridge bearings, others require adjustment or replacement over time.
- Choosing the right bottom bracket depends on frame standards, crank compatibility, and maintenance preferences.
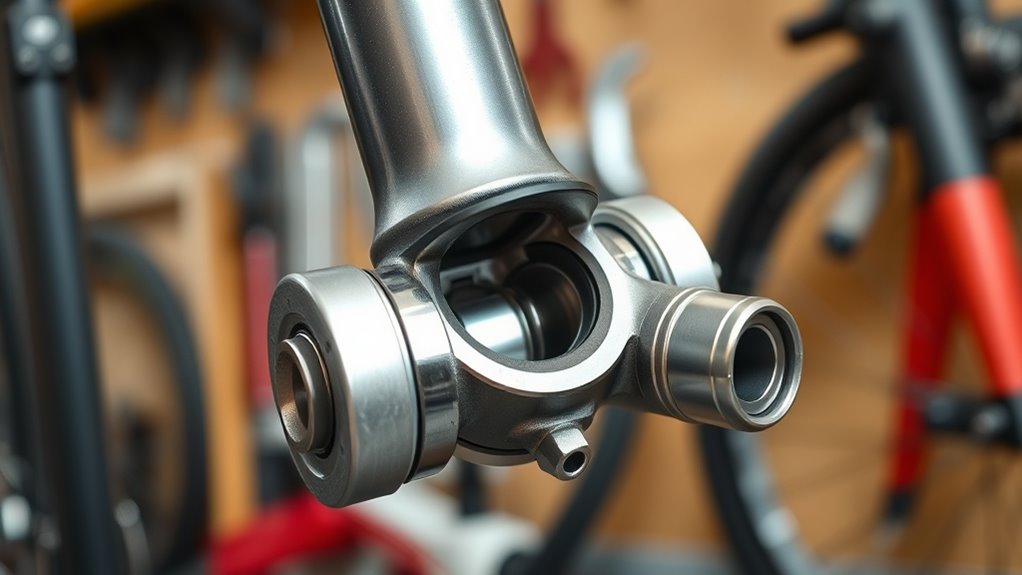
Understanding bottom bracket standards is vital for guaranteeing your bike’s components are compatible and perform smoothly. When you’re looking to upgrade or replace your bottom bracket, one of the first things to contemplate is crank compatibility. Cranksets are designed to fit specific bottom bracket types, and mismatched components can lead to poor performance or even damage. For example, some cranks require a threaded bottom bracket, while others need a press-fit system. Knowing which standard your crankset supports helps you choose the right bottom bracket, saving you time and avoiding headaches during installation.
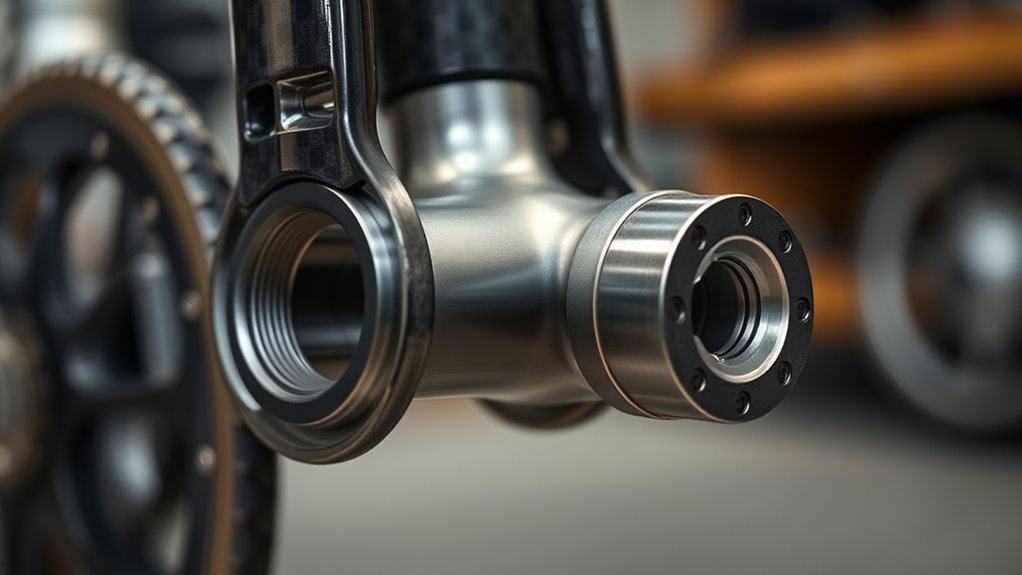
Speaking of installation procedures, each bottom bracket standard has its own specific method, and understanding these differences is key to a successful setup. Threaded bottom brackets, like BSA or English threads, are installed by screwing them into the frame’s threaded shell using a bottom bracket wrench. It’s important to clean the threads thoroughly and apply grease to prevent creaking and corrosion. On the other hand, press-fit bottom brackets, such as PF30 or BB86, require pressing the bearings into the frame using a special tool. These systems often demand more precision, as improper installation can cause misalignment, creaking, or premature wear.
You also need to be aware of shell width and diameter, which vary across standards. Some frames are designed for narrower or wider shells, and using the wrong size can hinder crank compatibility or cause installation issues. For threaded systems, check the shell threads for damage or dirt before installation, and ensure you’re using the correct tools to avoid stripping or damaging the threads. For press-fit systems, make sure the frame’s shell is clean and free of debris, and use the proper press-fit tools to ensure the bearings seat evenly. Additionally, understanding the bottom bracket standards helps in selecting compatible components that match your bike’s design and performance goals.
Another key point is bearing type and size, which influence both compatibility and performance. Some standards use sealed cartridge bearings, which are generally easier to install and maintain, while others require bearing adjustment or replacement over time. When choosing a bottom bracket, verify its bearing specifications match your crankset requirements and the frame’s standards.
Frequently Asked Questions
How Do I Determine My Bike’s Compatible Bottom Bracket Standard?
To determine your bike’s compatible bottom bracket standard, start with compatibility checks by inspecting your current bottom bracket for markings or model numbers. Use measurement techniques like checking the shell width, diameter, and spindle length with a caliper. Remove the existing bottom bracket if needed, and compare your measurements with standard specifications. This way, you make certain you select the right bottom bracket that fits perfectly and works seamlessly with your bike.
Can I Upgrade My Bottom Bracket Without Replacing the Crankset?
Yes, you can upgrade your bottom bracket without replacing your crankset, but bike maintenance requires careful attention. You’ll need to guarantee your new bottom bracket matches your bike’s existing shell width and interface. Use the right tools for installation and removal, and check tool compatibility beforehand. This way, you keep your crankset intact while enhancing performance, making maintenance smoother and more efficient.
What Tools Are Needed to Install Different Bottom Bracket Standards?
To install different bottom bracket standards, you’ll need specific tools required for the installation process. Typically, you’ll use a bottom bracket wrench or socket, a crank puller, and possibly an Allen wrench set. The exact tools depend on your bottom bracket type. Make sure you clean the frame and apply grease before installation. Following the correct process guarantees a secure fit and the best performance for your bike.
How Often Should I Replace or Service My Bottom Bracket?
You should service your bottom bracket every 6 to 12 months, depending on riding frequency and conditions. Follow your maintenance schedule and check wear indicators regularly; if you notice creaking, looseness, or grinding, it’s time to replace it. Proper maintenance keeps your bike running smoothly and extends the lifespan of your bottom bracket. Don’t wait until it fails—early servicing prevents costly repairs later.
Are There Any Differences in Performance Between Standard Types?
Yes, there are performance differences and durability comparisons among standard bottom bracket types. You might notice smoother pedaling with higher-quality options like ceramic bearings, which reduce friction. However, some standards like threaded or press-fit may vary in durability depending on riding conditions and maintenance. Choosing the right type depends on your riding style and maintenance habits, but generally, higher-end standards offer better performance and longevity.
Conclusion
So, after all this, you might think choosing a bottom bracket is straightforward. But surprise—it’s like steering a maze that changes shape every time you blink. You’ve got your standards, but they don’t always play nice. Ironically, the more you learn, the more confusing it becomes. So go ahead, pick one confidently—just don’t be shocked if your bike’s next upgrade throws you back into the same puzzle. Happy riding, or at least, happy trying!
