
To fix a flat in five simple steps, first, gather your tools, make sure your car is on a flat, safe surface, and engage the parking brake. Next, lift and secure the vehicle with a jack and stands. Then, locate and carefully remove the damaged tire. Decide whether to patch or replace it based on damage. Finally, double-check that everything’s secure and your tire pressure is correct—if you want detailed guidance, keep going for more tips.
Key Takeaways
- Ensure the vehicle is on a flat, stable surface, with parking brake engaged and safety precautions in place.
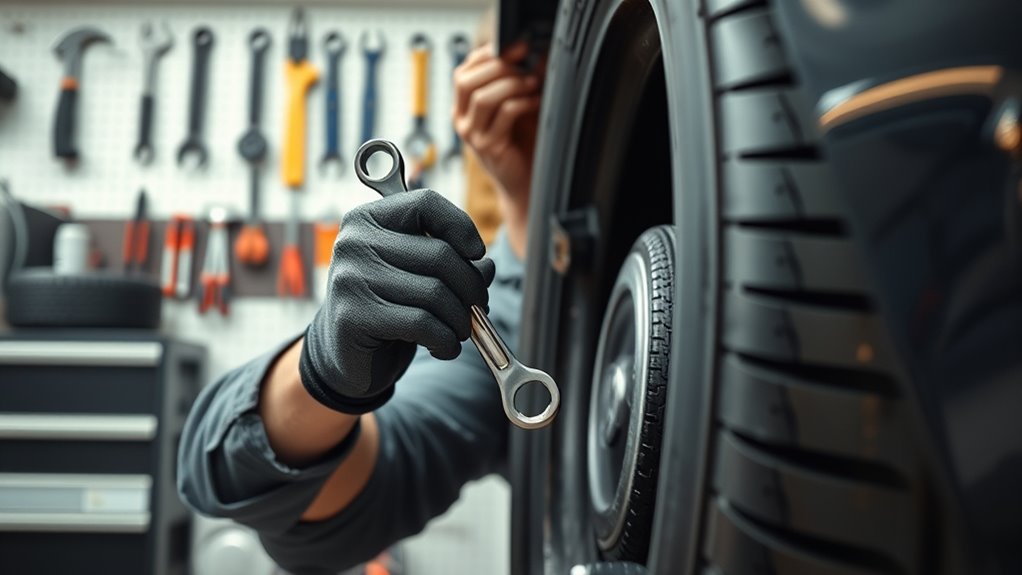
- Gather essential tools like a spare tire, jack, lug wrench, and gloves before starting.
- Lift the vehicle using the correct jacking points and secure with jack stands for safety.
- Remove the damaged tire carefully, inspecting for damage and embedded objects.
- Install the spare, tighten lug nuts properly, check tire pressure, and perform final safety checks before driving.
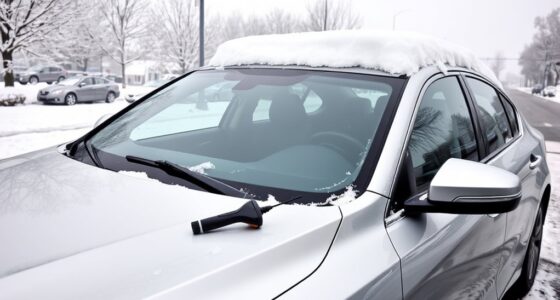
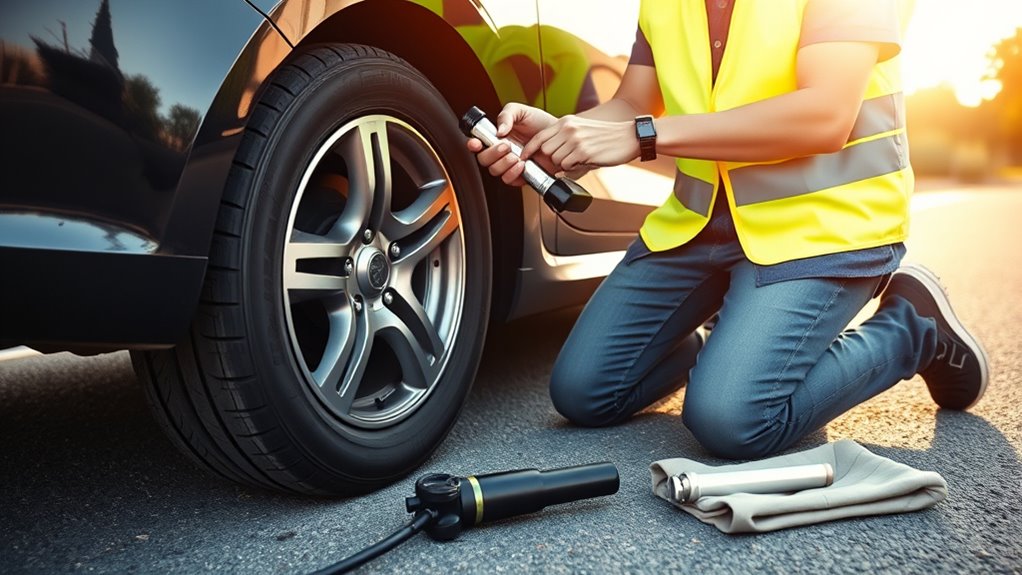
Gather Your Tools and Prepare Your Vehicle

Before you begin changing the tire, make sure your vehicle is in a safe location and turned off. Next, gather your tools checklist, including a spare tire, jack, lug wrench, and gloves. Having everything ready prevents delays and keeps you safe. Check that the area around your car is clear of traffic and unstable surfaces. Follow safety precautions by engaging the parking brake and placing wheel wedges if available. Ensure your tools are in good condition and within reach. Taking these simple steps keeps you safe and prepared, making the tire-changing process smoother. Proper vehicle safety measures are essential to avoid accidents during the process. Additionally, assessing the projector placement area in your garage or driveway helps ensure a safe and effective workspace. Being aware of potential hazards related to water hazards nearby can prevent accidents while working outdoors. Consulting local support hours for assistance in case of emergencies can be helpful if issues arise. It is also advisable to review tire changing techniques to ensure proper procedure during your repair. Once you’ve assembled your tools and confirmed safety, you’re ready to proceed with confidence. Proper preparation is key to a quick, safe tire repair.
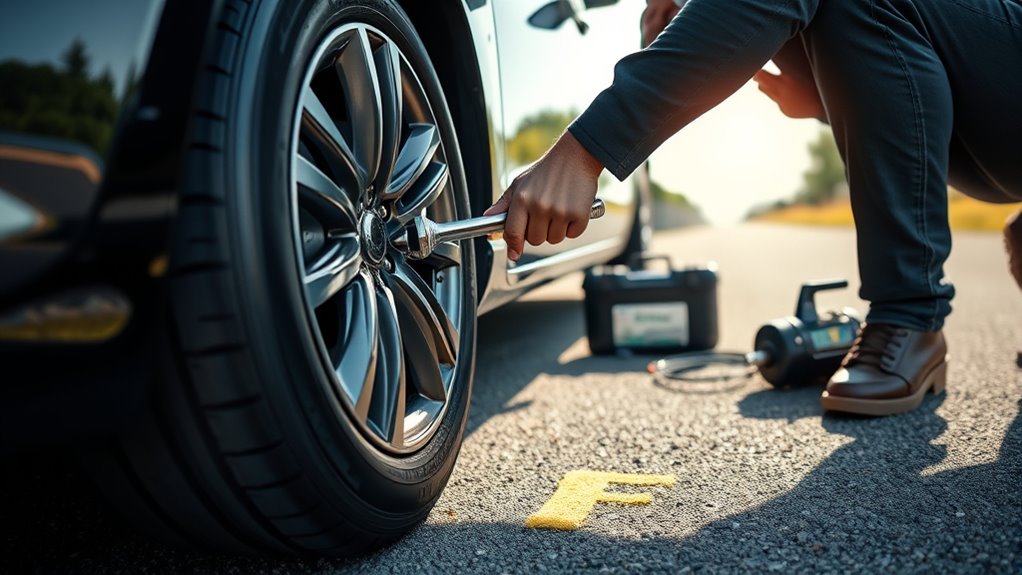
Safely Lift and Secure Your Car
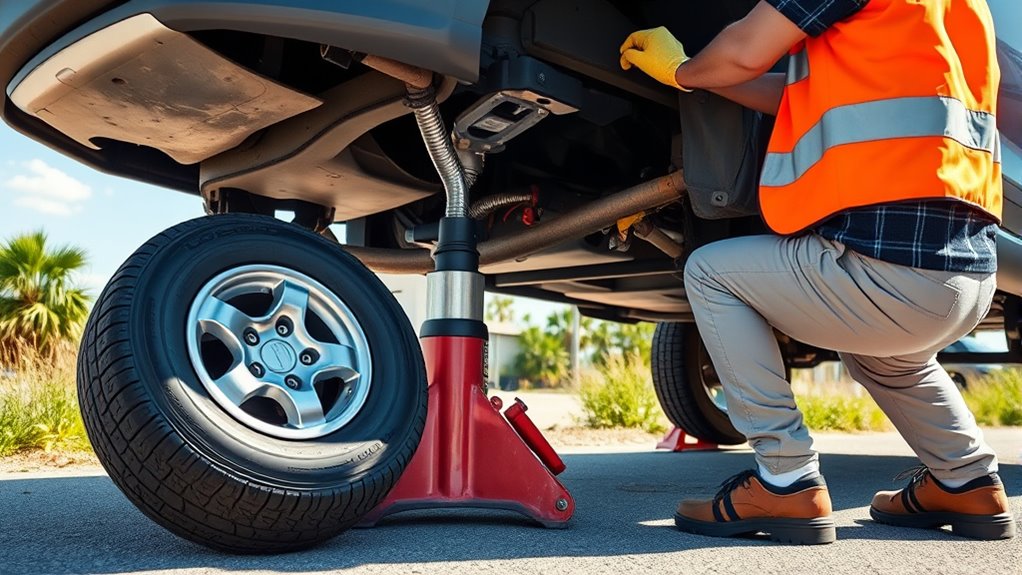
Once your tools are ready and safety measures are in place, it’s time to lift and secure your car. Park on a flat, stable surface, engage the parking brake, and place wheel wedges behind the opposite tires. Use a jack to lift the vehicle, positioning it under the manufacturer’s recommended lift points. Make sure the tire pressure in your spare is adequate before lifting. Once the car is raised, securely place jack stands for stability. Tighten the lug nuts in a star pattern to the recommended lug nut torque, ensuring they are neither too loose nor overtightened. Double-check that the car is stable before working underneath. Properly securing your vehicle prevents accidents and makes tire changes safer and more efficient. Consider using professional-grade tools to ensure safety and reliability during the process. Additionally, inspecting the condition of your jack and stands before use can help prevent unexpected failures, especially in cases where smartphone usage among seniors indicates a need for accessible safety devices. Being aware of your surroundings and the environmental conditions can also influence safety during the process. Staying informed about AI security vulnerabilities can help you recognize potential hazards when working with electronic or automated tools.
Locate and Remove the Damaged Tire
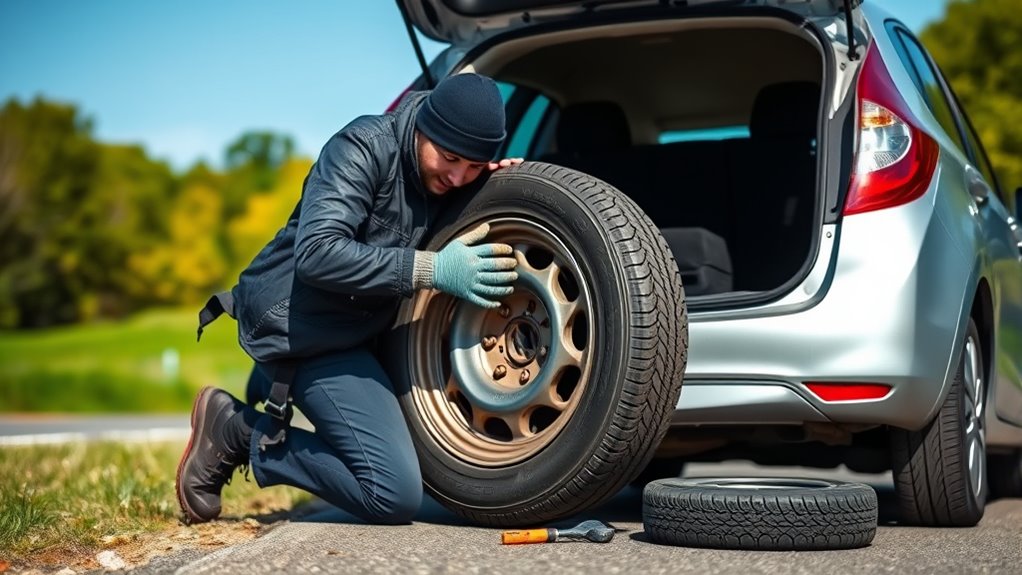
To locate the damaged tire, start by inspecting each wheel for visible signs of damage such as cuts, punctures, or uneven wear. Carefully perform a tire inspection, looking for obvious issues that indicate a flat or compromised tire. During your damage assessment, check for embedded nails, sharp objects, or sidewall bulges. Recognize that comprehensive inspection techniques are essential to accurately identify the root cause of the flat and prevent further issues. Paying attention to visual cues can help you quickly identify potential problems more efficiently. Remember these key points:
- Examine the tread and sidewalls for cuts or punctures
- Look for irregular wear patterns indicating internal damage
- Check for embedded debris or foreign objects
- For parents interested in fostering a digital-friendly environment at home, understanding vehicle safety can also be an important part of overall home safety practices. Additionally, utilizing tire pressure gauges during inspection can help detect subtle leaks or pressure loss that may not be immediately visible. Incorporating on-device AI capabilities in newer tools can further enhance your inspection accuracy by analyzing images and detecting issues automatically.
This thorough inspection helps you identify the damaged tire quickly. Once you spot the problem, you can confidently proceed to remove the flat, ensuring a safe and effective tire replacement process.
Patch or Replace the Flat Tire
Should the damage to your tire be minor, you might consider patching it instead of replacing the entire tire. Tire patching is a cost-effective solution that can restore your tire’s integrity if the puncture is small and in the tread area. To do this, clean the puncture site thoroughly, then apply an appropriate patch designed for flat tire repair. This process saves you from a full flat tire replacement, which is more expensive and time-consuming. Additionally, understanding tire repair standards can help ensure you choose the safest and most effective repair method. Keep in mind that regulatory compliance in tire repairs is crucial to maintain safety and legal standards. Properly following industry guidelines can also help extend the lifespan of your repaired tire. However, if the damage is extensive, such as sidewall cuts or large punctures, flat tire replacement becomes necessary for safety. Assess the extent of the damage carefully. For minor punctures, tire patching is a reliable fix, but always prioritize safety and professional advice when unsure.
Double-Check and Get Back on the Road
Before hitting the road again, it’s important to double-check your repair to guarantee everything is secure and properly installed. Start by verifying the tire pressure; ensure it matches your vehicle’s recommended PSI for safe driving. Also, inspect that the spare or repaired tire is firmly attached and the valve cap is secure. Remember, good roadside safety means being prepared and cautious—check your surroundings before getting back on the road. Additionally, inspecting your tire pressure with a gauge ensures optimal performance and safety. Recognizing angel numbers can help you stay motivated and confident during your journey. Being familiar with market research strategies can also help you understand how to better prepare for future repairs and maintenance needs. Implementing these wealth protection strategies can further secure your financial well-being in unforeseen situations. Regularly reviewing your vehicle’s maintenance schedule ensures all components are functioning correctly and reduces the risk of breakdowns. Taking these steps helps prevent future issues and keeps you safe while driving. Proper double-checking gives you peace of mind to get back on your journey confidently.
Frequently Asked Questions
Can I Fix a Flat Tire on Any Type of Vehicle?
You can repair a flat tire on most vehicles, but it’s not always straightforward. Smaller vehicles like bikes and cars are easier, while larger or specialized vehicles might need professional assistance. After fixing the flat, remember proper tire disposal if you replace it, and always follow safety guidelines. If you’re unsure or the damage is extensive, seek professional assistance to ensure your vehicle remains safe and roadworthy.
How Long Does a Typical Tire Repair Take?
A typical tire repair takes about 15 to 30 minutes, depending on the damage. First, you’ll want to check the tire pressure and locate the puncture. Using your repair kit, you can quickly seal small holes or punctures. Make sure to inflate the tire properly afterward. The process is usually quick if you have all your tools ready, so plan for a short stop to get back on the road.
Is It Safe to Drive Immediately After Patching?
Like a tightrope walker trusts their balancing pole, you can trust your patched tire if you guarantee proper air pressure maintenance. Usually, you should wait a few minutes after patching to check the durability before driving. A well-done patch provides durable tire patch results, but rushing can jeopardize safety. Always verify the patch’s integrity and maintain correct air pressure before hitting the road to keep yourself safe.
What Are Signs of a Failed Repair?
You should regularly perform a tire inspection after repairing a flat to spot signs of a failed repair. Look for slow leaks, persistent loss of air pressure, or uneven tire wear. If the tire continues to lose air or shows visible damage around the repair area, it indicates poor repair durability. Trust these signs to determine if the repair is holding, and avoid driving on a compromised tire to guarantee safety.
Should I Replace the Tire Entirely if It’S Damaged?
Ever wondered if your damaged tire needs a full replacement? When doing a tire damage assessment, consider the severity and location of the damage. If the puncture is on the sidewall or the tire has extensive cuts, repair versus replacement leans toward replacing the tire entirely. Can you trust a patch on a compromised tire? For safety, it’s often best to replace rather than risk a blowout.
Conclusion
Now that you’ve conquered your flat, think of yourself as a modern-day Icarus, soaring again after a brief stumble. With your tools in hand and confidence restored, you’re ready to face the road ahead. Just like the mythic hero who rises stronger, you’ve learned a valuable skill—quick, simple, and foolproof. So, hit the road knowing you’ve turned a potential setback into a triumph, ready for whatever adventure awaits just beyond the horizon.