To bleed your hydraulic brakes at home without making a mess, start by assembling a proper bleed kit compatible with your brake fluid type and keep everything organized. Use a clear hose connected snugly to the bleed screw and keep the reservoir topped with fresh fluid before opening the bleed valve. Squeeze the brake lever gently and steadily to push out air, topping off fluid as needed. With careful handling and a steady hand, you’ll keep spills minimal and brake performance ideal. Keep going to master every step smoothly.
Key Takeaways
- Use a proper bleed kit with compatible hoses and ensure all connections are snug to prevent leaks and mess.
- Keep the brake reservoir covered or sealed during bleeding to minimize fluid spills.
- Place a container or rag beneath the caliper to catch any drips and keep the workspace clean.
- Work slowly and steadily, opening and closing bleed screws carefully to control fluid flow and avoid spills.
- Wear gloves and protective gear, and dispose of old brake fluid responsibly to maintain a tidy, safe environment.
Gathering the Necessary Tools and Supplies

Before you begin bleeding your hydraulic brakes, it is vital to gather all the necessary tools and supplies. First, understand the different brake fluid types—DOT fluid or mineral oil—since using the wrong one can damage your system. Check your bike’s specifications to pick the correct brake fluid. You’ll also need a clear container, a wrench or Allen key for caliper removal, and a syringe or pump for fluid transfer. Don’t forget rags or paper towels for spills. Tool calibration is essential; ensure your tools fit properly to avoid leaks or damage. Having everything ready beforehand guarantees a smooth process and prevents delays. Additionally, understanding the importance of contrast ratio can help you visualize how clear and detailed your brake system components should appear during inspection and maintenance. Being familiar with brake system components can give you a better understanding of the process and potential issues. Recognizing the vulnerabilities in hydraulic systems allows you to take extra precautions during maintenance. For example, inspecting seal integrity can prevent future leaks and ensure optimal performance. Knowing how to identify signs of fluid contamination can help you maintain your brakes more effectively. With these tools and supplies in hand, you’re set to proceed confidently with bleeding your hydraulic brakes.
Preparing Your Bike for the Brake Bleeding Process

Before you start bleeding your brakes, make sure you gather all the necessary tools and supplies. Next, inspect the brake components for leaks or damage to guarantee everything is in good shape. Additionally, ensure you are aware of the specific brake maintenance features and amenities to enhance your overall cycling or outdoor experience. Furthermore, check the condition of your brake fluid and consider using glycolic acid-based products to clean and maintain your brake system if needed. For a thorough understanding, reviewing the different types of best anime movies can also be inspiring. Also, be aware that automation technologies are increasingly used in manufacturing to improve efficiency and safety. Incorporating rustic lighting elements can also add a warm ambiance to your workspace, making the process more comfortable. Finally, secure your bike properly to prevent movement during the process.
Gather Necessary Tools
To guarantee a smooth brake bleeding process, you’ll need to gather all the necessary tools beforehand. Start with the correct brake fluid types compatible with your bike’s hydraulic system—check your manufacturer’s specifications. You’ll also need a wrench or Allen key to open the brake caliper or reservoir, a clear plastic syringe or brake bleeding kit, and a rag for cleanup. Safety precautions are essential; wear gloves and eye protection, as brake fluid can be irritating or harmful. Have a container ready to catch old fluid and fresh brake fluid for refilling. Ensuring you have everything at hand prevents interruptions and keeps the process clean. Proper preparation makes brake bleeding easier, safer, and more effective. Additionally, understanding air purifiers can help you create a cleaner environment during maintenance.
Inspect Brake Components
Have you checked your brake components recently? Before beginning the bleeding process, inspect the caliper pistons and surrounding parts. Look for signs of wear, corrosion, or leaks that could affect brake performance. Verify the brake fluid reservoir is filled with the correct type of brake fluid and check for any contamination or discoloration, which indicates it’s time for a fluid replacement. Examine the caliper pistons for smooth movement; sticking pistons can cause uneven braking and should be addressed before bleeding. Confirm that brake lines are free of cracks or damage. Taking these steps guarantees your brake system is in good condition, reducing the risk of issues during bleeding. Proper inspection helps maintain safe, effective brakes and simplifies the process. Additionally, regular maintenance practices can prevent costly repairs and ensure your brakes function reliably over time. Ensuring proper brake fluid quality and condition is a crucial part of maintaining overall brake system health. Incorporating comprehensive system checks can further enhance safety and performance, especially when combined with an understanding of digital literacy for modern vehicle maintenance tools.
Secure Bike Properly
Securing your bike properly is essential to guarantee safety and stability during the brake bleeding process. Start by locking your bike with a sturdy bike lock to prevent any accidental movement. Make sure it’s on a flat, stable surface to avoid slipping or tipping. Wearing a helmet safety is vital, even if you’re working in a safe environment, to protect yourself from unexpected falls or accidents. Position your bike so that the brake lever and caliper are easily accessible. Use a stand or secure it against a wall if available. Properly securing your bike minimizes the risk of damage or injury, ensuring you can focus on bleeding your brakes efficiently and safely. Additionally, self watering plant pots can help keep your workspace organized and prevent spills if you’re working in an outdoor or garden setting. Remember that a proper workspace setup is crucial for maintaining focus and avoiding accidents during maintenance tasks. Ensuring your workspace is well-organized and stable is particularly important given the ice cream flavors and other distractions, as working efficiently and safely can help you finish your project in time for the upcoming events.
Removing the Wheel and Brake Caliper for Better Access
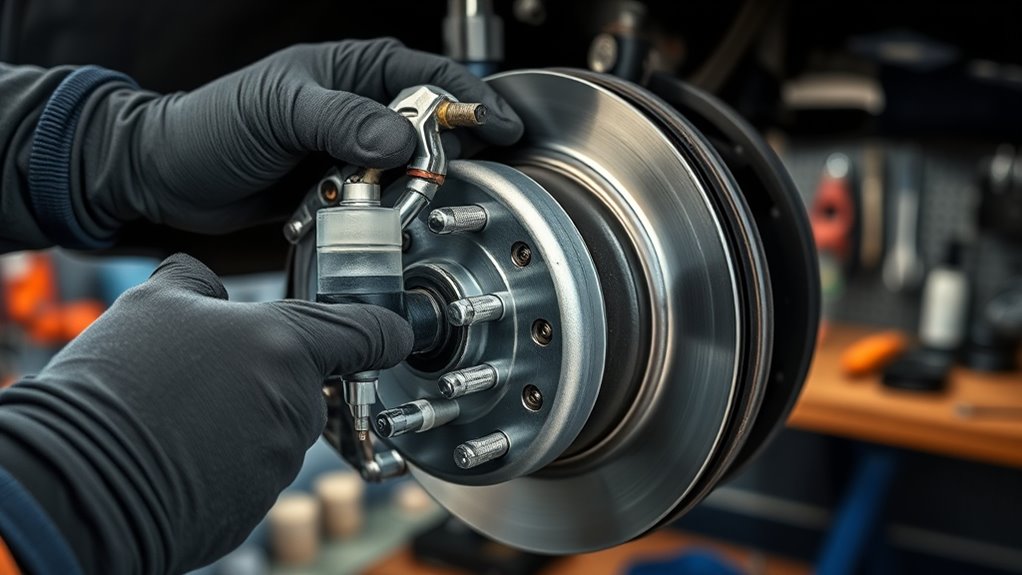
Removing the wheel and brake caliper is essential for gaining better access to the hydraulic brake lines. Start by detaching the wheel carefully, ensuring you don’t damage the rotor or spokes. Next, perform caliper removal by loosening the bolts holding it in place. This gives you clear access to the brake line and makes bleeding much easier. Remember, handling parts gently prevents damage and saves time later. Additionally, proper removal techniques help maintain the integrity of the brake system, ensuring safe and effective braking performance.
Connecting the Bleed Kit and Filling the Brake Line

To connect the bleed kit and fill the brake line effectively, start by attaching the clear, flexible hose from the kit to the brake caliper’s bleed screw. Make certain the hose fits snugly to prevent leaks. Before filling, verify fluid compatibility to avoid damaging your brake system. Check that your bleed kit is properly calibrated for the brake fluid type you’re using. Additionally, ensure the proper priming of the brake system to facilitate smooth fluid flow. Keep the hose submerged in fluid to prevent air from entering. Ensuring the correct tools are used can further streamline the process and prevent mishaps. Following these steps guarantees a clean connection and proper filling, setting the stage for effective bleeding later.
Bleeding the Brake System to Remove Air Bubbles
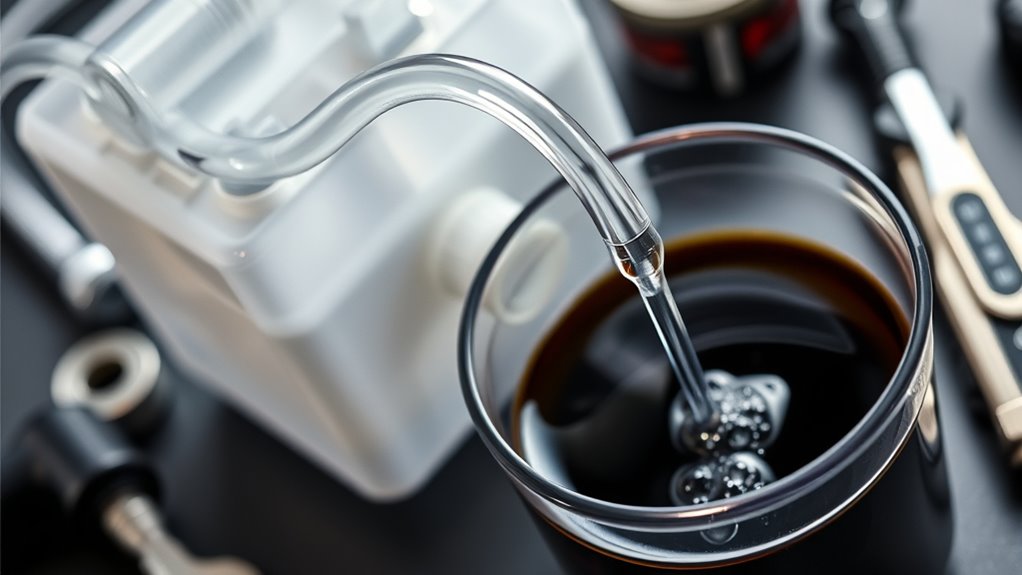
Bleeding the brake system to remove air bubbles is a crucial step to guarantee your brakes function reliably. Air bubbles in the brake fluid can cause spongy brake feel and reduce braking efficiency. To do this, start by ensuring the brake fluid reservoir is topped up with fresh, clean brake fluid. Attach your bleed kit and open the bleed screw slightly. Slowly squeeze the brake lever to push brake fluid through the system, forcing any trapped air bubbles out. Keep an eye on the brake fluid level, topping it off as needed to prevent air from entering. Continue this process until you see a steady stream of brake fluid without bubbles. This ensures your brake system is free of air bubbles, restoring firm brake feel and peak performance.
Checking and Adjusting Brake Lever Feel and Power
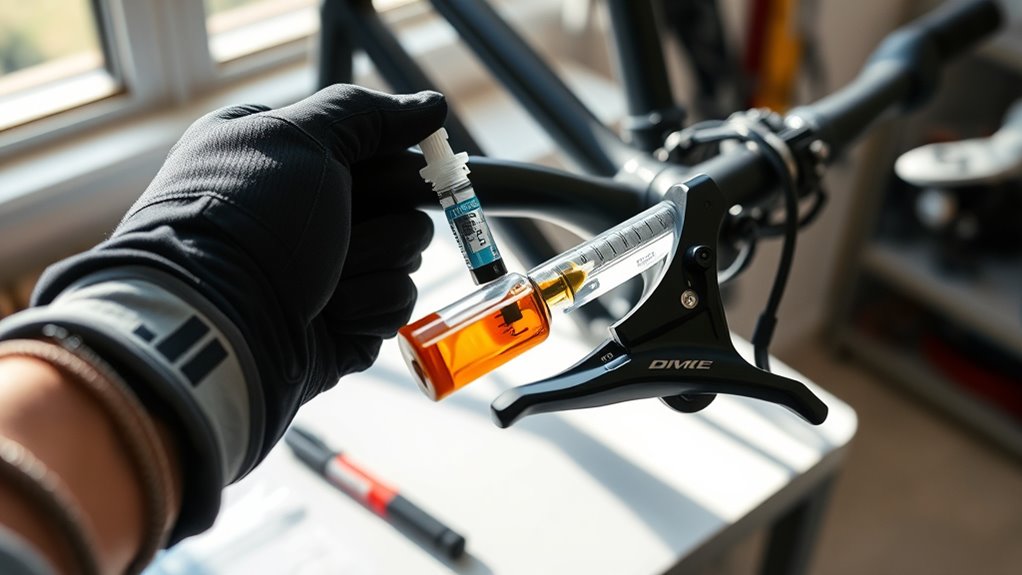
After completing the bleeding process, it’s time to check how your brake lever feels and performs. Squeeze the lever firmly—there should be a firm, consistent feel without sponginess. If it feels soft or sinks too far, consider adjusting the lever or checking for air bubbles. Keep in mind that different brake fluid types (mineral, DOT, or synthetic) can affect lever feel, so ensure you’re using the correct fluid for your system. Use lever adjustment techniques to fine-tune reach and responsiveness. Here are some tips:
- Check for smooth, consistent lever action
- Adjust lever reach if it’s too close or far from your grip
- Confirm the brake fluid is at the correct level
- Replace or top off fluid if necessary, ensuring you use the compatible brake fluid type
Cleaning Up and Reassembling Your Bike Components
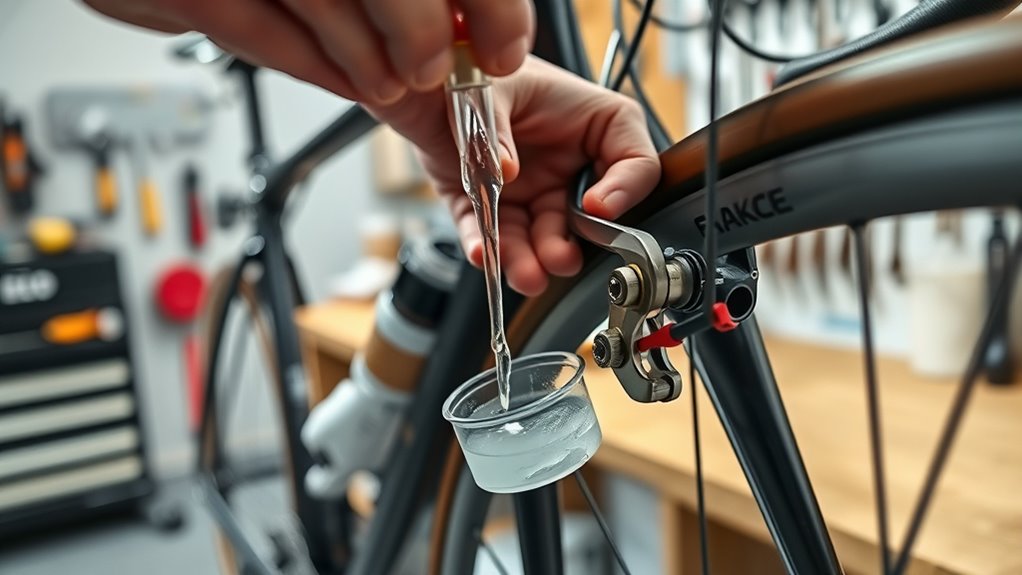
Once you’ve finished bleeding your brakes, it’s time to clean up and reassemble your components carefully. Make sure to properly remove old fluid, inspect parts for wear, and replace any damaged pieces. Take your time during reassembly to ensure everything is fitted correctly and functions smoothly.
Properly Remove Old Fluid
Before reassembling your bike components, it’s crucial to thoroughly remove all old brake fluid from the hydraulic system. Proper removal ensures no residual fluid contaminates new brake fluid and maintains system integrity. When disposing of old fluid, always prioritize environmental safety by following local fluid disposal regulations. To effectively remove old fluid:
- Use a syringe or pump to extract remaining fluid from the reservoir
- Flush the system with fresh brake fluid to clear out old fluid
- Wipe all accessible parts with a clean, lint-free cloth
- Seal and label old fluid containers for proper disposal
Never pour brake fluid down drains or onto the ground. Proper fluid disposal protects the environment and keeps your workspace safe. Take your time to ensure no old fluid remains, preventing future brake issues.
Inspect and Replace Components
As you prepare to reassemble your bike components, it’s essential to carefully inspect each part for damage, wear, or dirt that could affect performance. Check the brake calipers, hoses, and levers for cracks or leaks. If you notice corrosion or worn seals, replace these components to ensure ideal function. Be aware of different brake fluid types—mineral oil or DOT fluid—as incompatible fluids can damage your hydraulic system design. Confirm that all parts are clean and free of debris before reassembly. Replacing worn or damaged components helps prevent future failures and maintains brake responsiveness. Proper inspection and timely replacement keep your hydraulic system operating smoothly, ensuring safety and reliable braking. Never skip this step; it’s key to a successful brake service.
Reassemble With Care
After completing the inspection and replacing any damaged parts, you should carefully clean all components to remove dirt, grease, and debris. Use a clean cloth and appropriate cleaning solutions to guarantee the brake system stays spotless. When reassembling, handle brake fluid carefully—avoid spills and skin contact, following safety precautions. Make sure all fittings are tight, but don’t overtighten to prevent damage. Check that brake pads are properly aligned and free of debris. Use a clean workspace to avoid contamination. Before riding, double-check all connections and fluid levels. Remember, safety precautions are essential when working with brake fluid to prevent injury or damage. Taking your time during reassembly assures optimal brake performance and longevity.
Testing Your Brakes for Safety and Performance
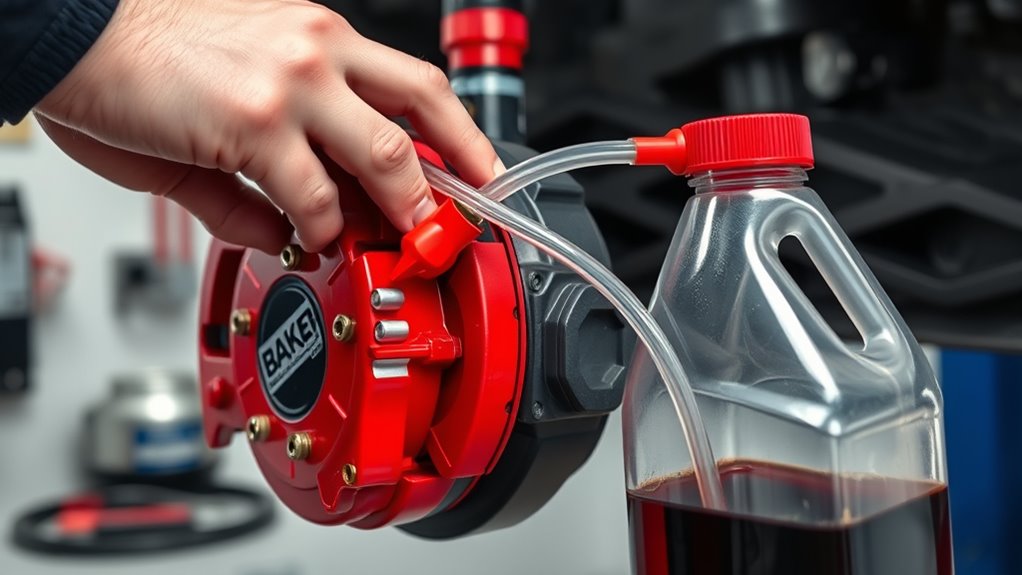
Testing your hydraulic brakes regularly is vital to guarantee they function safely and effectively. Before testing, check the brake fluid level and ensure it’s topped up with fresh, clean fluid. When you press the brake pedal, it should feel firm and responsive, not spongy or soft. Pay attention to any unusual noises or vibrations, which could signal air in the system or worn components. Always follow safety precautions, like wearing gloves and eye protection, to avoid contact with brake fluid, which can be harmful. Test the brakes in a safe, open area, gradually applying pressure to see how they respond under different conditions. Consistent testing helps you catch issues early, ensuring your brakes perform reliably when you need them most.
Tips for Maintaining Your Hydraulic Brakes Between Bleeds
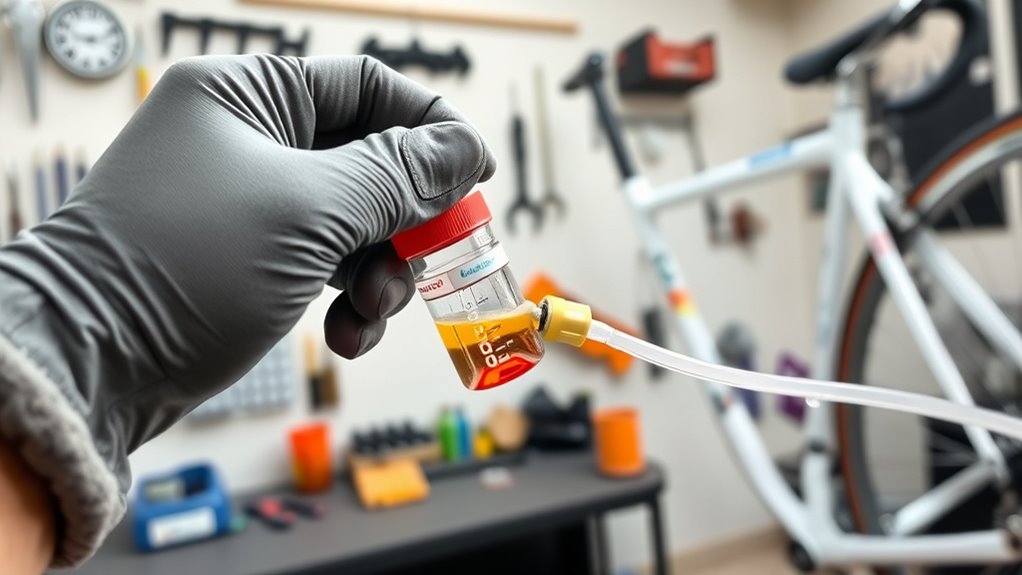
Maintaining your hydraulic brakes between bleeds is essential for consistent performance and safety. Regular checks help prevent brake fade and extend your brake pad wear. Use the correct brake fluid types recommended for your bike—whether DOT 3, DOT 4, or others—to avoid damaging seals. Keep an eye on the brake fluid level; low fluid can lead to spongy brakes. Inspect brake pads frequently for uneven wear or thinning, which signals it’s time for replacement. To uphold maximum performance:
- Check and top off brake fluid regularly
- Use the specified brake fluid types
- Monitor brake pad wear and replace as needed
- Keep brake calipers clean and free of dirt and debris
Following these tips ensures your hydraulic brakes stay responsive and reliable.
Frequently Asked Questions
Can I Bleed Hydraulic Brakes on Any Bike Model?
You might wonder if you can bleed hydraulic brakes on any bike model. The answer is mostly yes, but you should check your bike’s manual for specific brake fluid types, like DOT or mineral oil, to prevent damage. Bleeding brakes is essential after brake pad replacement or if you notice sponginess. Always use the proper brake fluid and follow the correct procedures to ensure safe, effective braking performance.
How Often Should I Perform a Brake Bleed?
Imagine your brake fluid levels dropping like leaves in fall; you should bleed your brakes every 1-2 years or when you notice reduced braking performance. Brake fluid types matter—use the correct one for your bike. Regularly check brake pad wear, too. If you feel spongy brakes or decreased responsiveness, it’s time for a bleed. Routine maintenance keeps your brakes reliable and your rides safe.
What Signs Indicate My Brakes Need Bleeding?
You’ll know your brakes need bleeding if you notice a soft or spongy brake pedal, which indicates air bubble presence. Brake fluid contamination can also cause poor braking performance, making your pedal feel less responsive. If your braking feels inconsistent or you see a drop in braking power, it’s time to bleed the brakes. Regularly checking for these signs helps make certain your brake system stays safe and effective.
Is Special Training Required to Bleed Hydraulic Brakes Properly?
Think of bleeding your hydraulic brakes like tuning a delicate instrument—you don’t need to be a maestro, but precision matters. You can learn the basics with careful attention, but understanding brake fluid safety and hydraulic system maintenance is key. While special training isn’t mandatory, following proper procedures helps prevent issues. With patience and care, you can master this task, ensuring your brake system remains responsive and safe on every ride.
Are There Alternative Methods for Bleeding if I Lack a Bleed Kit?
If you lack a bleed kit for your hydraulic brakes, don’t worry—there are DIY maintenance alternatives. You can use common tools like a clear plastic tube and a container to create a makeshift bleeding system. Some people even use a syringe or a piece of tubing connected to the brake caliper and reservoir, then gently push fluid through. Just guarantee you maintain proper safety and cleanliness to avoid air bubbles and contamination.
Conclusion
Now that you know how to bleed your hydraulic brakes at home, you can save time, money, and mess. Keep your brakes responsive, your rides safe, and your bike in top shape. Regular maintenance, careful attention, and a steady hand will keep your braking smooth and reliable. With each bleed, you’ll gain confidence, improve performance, and enjoy your cycling adventures even more. So, stay proactive, stay safe, and keep those brakes in perfect condition.


