
To measure and adjust your saddle height, start by measuring your inseam from crotch to foot and multiply that number by 0.883 for a good starting point. Set your saddle so that there’s a slight bend in your knee when the pedal is at its lowest point. Make small adjustments and test ride to find the most comfortable, efficient position. For more tips on fine-tuning your setup, keep exploring these important steps.
Key Takeaways
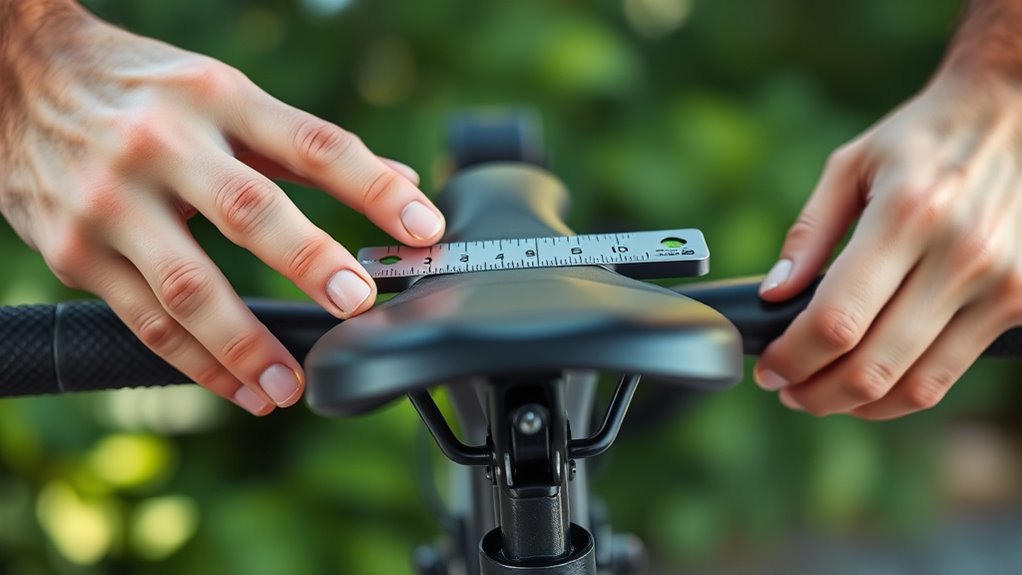
- Measure inseam from crotch to bottom of your foot for accurate saddle height baseline.
- Multiply inseam by 0.883 to determine initial saddle position from bottom bracket to saddle top.
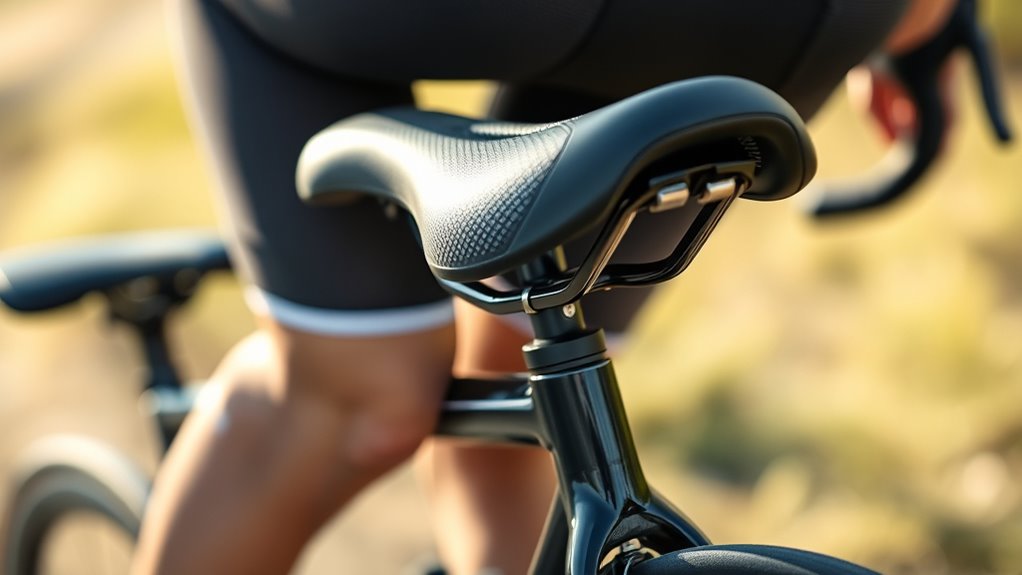
- Ensure a slight knee bend at the pedal’s lowest point for optimal pedal stroke efficiency.
- Adjust saddle height incrementally, testing for comfort, stability, and proper knee tracking.
- Look for signs of proper fit: stable hips, smooth pedaling, and no strain or numbness.
Have you ever wondered how to find the perfect saddle height for your bike? It’s a pivotal detail that can greatly impact your cycling experience. Proper saddle height isn’t just about comfort; it’s about optimizing your cycling biomechanics to boost efficiency and reduce injury risk. When your saddle is set correctly, your muscles work more effectively, your joints move smoothly, and fatigue sets in less quickly. Conversely, an ill-fitting saddle can cause discomfort, saddle sore, or even long-term joint issues. That’s why understanding how to measure and adjust your saddle height is essential for every cyclist.
Finding the right saddle height optimizes comfort, efficiency, and reduces injury for every cyclist.
To start, you need to contemplate your body dimensions and riding style. The most common method involves measuring your inseam, which is the distance from your crotch to the bottom of your foot. Once you have this measurement, you can use it as a baseline for setting your saddle height. A typical recommendation is to multiply your inseam by 0.883 to get a starting point for saddle height when measured from the center of the bottom bracket to the top of the saddle. This measurement guarantees your leg maintains a slight bend at the knee when the pedal is at its lowest point—an ideal position to maximize power and comfort.
However, don’t rely solely on numbers. Cycling biomechanics plays an essential role here, emphasizing that saddle height is not a one-size-fits-all setting. Some riders might prefer a slightly higher or lower saddle depending on their flexibility, riding style, or terrain. For example, road cyclists often prefer a slightly higher saddle for maximum power output, while mountain bikers might opt for a lower saddle for better control and maneuverability. Always make incremental adjustments and test ride after each change. Your goal is to attain a position where you feel balanced and comfortable, with no undue strain on your knees, hips, or lower back.
Saddle comfort is closely linked to this process. An improperly adjusted saddle can lead to discomfort, saddle sores, or numbness, which detracts from your ride and discourages consistency. When you find the right saddle height, you’ll notice your hips remain stable, your knees track properly over the pedals, and your pedaling feels smooth and efficient. Remember, slight tweaks can make a big difference. It’s worth spending the time to fine-tune your saddle height for the best cycling biomechanics and saddle comfort. Ultimately, a well-adjusted saddle enhances your performance, keeps discomfort at bay, and makes every ride more enjoyable.
Frequently Asked Questions
How Often Should I Recheck My Saddle Height?
You should recheck your saddle height every few weeks or after any long rides to make certain bike comfort and prevent saddle wear. Regular adjustments help maintain proper posture and reduce discomfort. If you notice any saddle wear or changes in riding style, remeasure and tweak the saddle height accordingly. Staying attentive to these factors keeps your ride smooth, comfortable, and safe over time.
Can Saddle Height Affect My Cycling Performance?
Like tuning a vintage radio, proper saddle height is vital for peak performance. It directly affects your bike ergonomics and saddle comfort, allowing you to pedal efficiently and reduce fatigue. If your saddle is too high or low, you might struggle with power transfer and experience discomfort, which can hinder your cycling progress. Always make sure your saddle height is optimized for your body to maintain good performance and avoid injury.
What Tools Are Best for Measuring Saddle Height Accurately?
You should use precision tools like a digital caliper or a specialized bike fit gauge for accurate measurements. These tools help you determine your saddle height exactly by allowing you to measure from the saddle to the bottom bracket or pedal axle. Follow proper measurement techniques, such as making sure the bike is on a level surface and your leg is slightly bent at the bottom of the pedal stroke. This guarantees maximum comfort and performance.
How Do I Adjust Saddle Height for Different Riding Styles?
To adjust saddle height for different riding styles, focus on bike ergonomics and saddle comfort. For aggressive riding like racing, keep the saddle lower to maximize power and efficiency. For comfort-oriented rides, raise it slightly to reduce strain. Always test your adjustments by riding a bit, ensuring your hips don’t rock and your knees bend comfortably. Fine-tune until you find a position that feels stable and supports your riding style.
Is It Necessary to Adjust Saddle Height for Cycling on Different Terrains?
Yes, adjusting saddle height for different terrains can improve bike comfort and saddle ergonomics. When tackling steep climbs or rough trails, raising your saddle slightly helps with power and control. On smooth or descents, lowering it offers better stability and comfort. Always make sure your saddle height matches the terrain to prevent strain and enhance your riding experience. Proper adjustments keep you comfortable and optimize your bike’s performance across various terrains.
Conclusion
Now that you know how to measure and adjust your saddle height, you’re ready to hit the road with confidence. Think of your saddle as the captain’s helm—once perfectly set, it guides you smoothly through every pedal stroke. With this simple tune-up, your ride becomes a dance on wheels, flowing effortlessly like a river. Keep tweaking and tuning, and soon you’ll feel like you’re soaring on two wheels, unstoppable and in perfect harmony with your bike.