To guarantee ideal performance and safety, set your cleats so your foot is directly over the pedal axle, adjusting the angle for comfort. Regularly inspect them for cracks, wear, or loose screws, and clean them with gentle soap and a brush. Replace worn cleats around every 1,000 to 2,000 miles, and tighten bolts to avoid accidents. Taking these steps will keep your ride smooth and secure, and more tips await if you keep exploring this topic.
Key Takeaways
- Ensure proper pedal alignment by positioning your foot directly over the pedal axle for optimal efficiency.
- Regularly inspect cleats for wear, cracks, or loose screws, and replace or tighten as needed.
- Choose cleat materials suited to your riding style, with plastic for beginners and metal for durability.
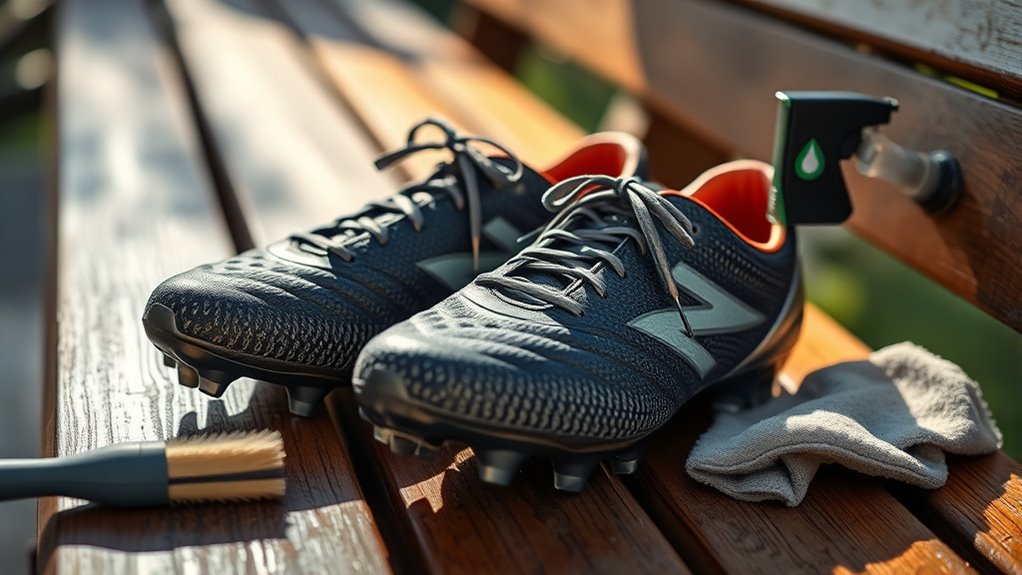
- Clean cleats periodically with mild soap and a brush to prevent dirt buildup and engagement issues.
- Fine-tune cleat angle and position to match your natural foot alignment, enhancing comfort and reducing injury risk.
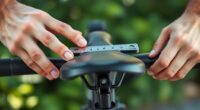
Proper cleat setup and maintenance are essential for maximizing your cycling performance and ensuring safety on the road. When you’re adjusting your cleats, one of the most critical aspects to focus on is pedal alignment. Proper pedal alignment means your foot is correctly positioned over the pedal axle, allowing for efficient power transfer and reducing the risk of discomfort or injury. If your cleats aren’t aligned well, you might notice your knees tracking inward or outward, or feeling unnecessary strain during rides. To get it right, start by mounting your cleats so that the ball of your foot is directly over the pedal axle, then fine-tune the angle to match your natural foot position. Small adjustments can make a big difference in comfort and efficiency, so take your time and test different settings on a ride or two.
In addition to pedal alignment, understanding the materials of your cleats is crucial for durability and performance. Cleat materials vary—from plastic composites to metal components—each offering different benefits. Plastic cleats tend to be lightweight and cost-effective, making them suitable for casual riders or those new to clipless pedals. Metal cleats, on the other hand, are more durable and resistant to wear, which makes them ideal for frequent riders or those tackling rougher terrains. When choosing cleats, consider your riding style and conditions; investing in high-quality materials can extend the lifespan of your setup and improve your overall riding experience. Additionally, selecting the right cleat material can influence your cycling efficiency and comfort over long distances.
Maintaining your cleats involves regular checks to keep them in prime condition. Over time, cleats wear down, especially at the contact points where they engage with the pedal mechanism. Worn cleats can cause slippage, reduce clip-in reliability, and increase your risk of falls. Make it a habit to inspect your cleats before every ride, looking for cracks, excessive wear, or loose screws. Tighten any loose bolts immediately, and replace cleats when you notice significant wear—typically after 1,000 to 2,000 miles, depending on your riding conditions. Cleaning your cleats periodically also helps prevent dirt and debris from accumulating, which can interfere with engagement and disengagement. Use a brush and mild soap, avoiding harsh chemicals that could degrade the cleat materials. Proper maintenance not only extends the lifespan of your cleats but also ensures your safety and optimal performance during each ride.
Frequently Asked Questions
How Often Should I Replace My Cleats?
You should replace your cleats when you notice significant wear and tear or when their replacement frequency becomes noticeable, typically every few hundred miles or after a season of regular riding. Keep an eye on the sole and the cleat attachment points, as worn-out cleats can compromise your safety and efficiency. Regular inspection ensures you catch the need for replacement early, maintaining ideal performance and comfort on every ride.
Can I Switch Cleats Between Different Bike Types?
Switching cleats between bike types is like changing shoes for different adventures—possible but tricky. You need to check bike shoe compatibility first; not all cleats fit every pedal system. Use cleat adjustment tips to fine-tune their fit, ensuring comfort and efficiency. Carefully swap and align your cleats, but remember, mismatched setups can lead to discomfort or injury, so proceed thoughtfully and test thoroughly before hitting the road.
What Tools Are Needed for Cleat Installation?
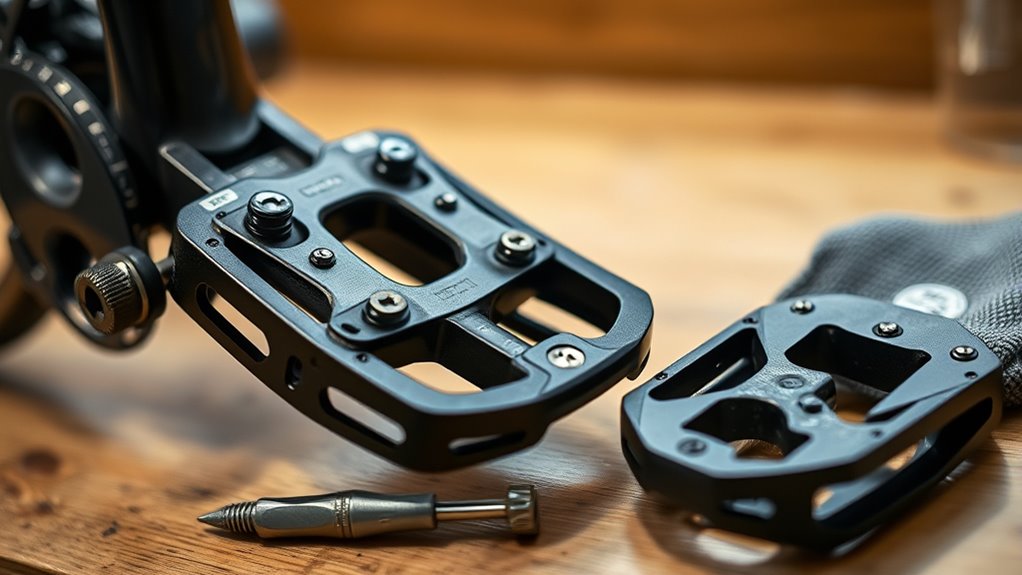
For cleat installation, you’ll need a hex or Allen wrench, usually 4mm or 5mm, to tighten the bolts securely. A torque wrench is helpful to guarantee proper tightness without over-tightening. Some setups might also require a screwdriver if your cleats have Phillips or flat-head screws. Make sure you have these tools on hand before starting, so you can install your cleats correctly and avoid any issues during your ride.
How Do I Prevent Cleats From Squeaking?
Think of your bike’s pedal squeaks as tiny whispers of trouble. To silence them, you need to tame the squeaky beast with proper cleat lubrication. Apply a small amount of lubricant to the cleat’s moving parts, making sure it’s not too much to attract dirt. Regularly check and clean your cleats, and the squeaks will fade into silence, letting you ride smoothly without the distraction of unwanted noise.
Are There Specific Cleat Types for Different Foot Shapes?
Yes, different cleat types suit various foot shapes for ideal comfort and performance. When choosing cleats, consider your foot shape considerations, like arch height and width, to find the best fit. Proper cleat compatibility ensures they work well with your shoe and foot structure. Trying on multiple styles and consulting with a specialist can help you select cleats that provide support and reduce discomfort during activity.
Conclusion
Now that you’ve set up and maintained your cleats properly, you’re ready to hit the trails or streets with confidence. Regular checks and adjustments keep your ride smooth and safe. Think about the countless miles you’ll conquer with secure, comfortable cleats—can you see yourself gliding effortlessly, every pedal stroke feeling just right? Keep up with your maintenance, and your cycling adventures will stay enjoyable for miles to come. Are you ready to ride with assurance?