To service your dropper post at home, start by inspecting it for proper lockout and smooth operation. Clean off dirt and debris from the stanchion and seals, then adjust the air pressure with a shock pump according to the manufacturer’s guidelines. Lubricate the stanchion and moving parts lightly, and consider disassembling if needed, following proper instructions. If you want to keep your post performing like new, continue exploring the detailed steps to master maintenance.
Key Takeaways
- Remove the dropper post following manufacturer instructions for safe disassembly.
- Clean dirt, debris, and inspect seals and hydraulic components for leaks or damage.
- Adjust air pressure using a shock pump to optimize response and lockout functionality.
- Lubricate stanchion and moving parts lightly with bike-specific lubricant to ensure smooth operation.
- Reassemble the post carefully, ensuring all seals and parts are properly seated before testing.
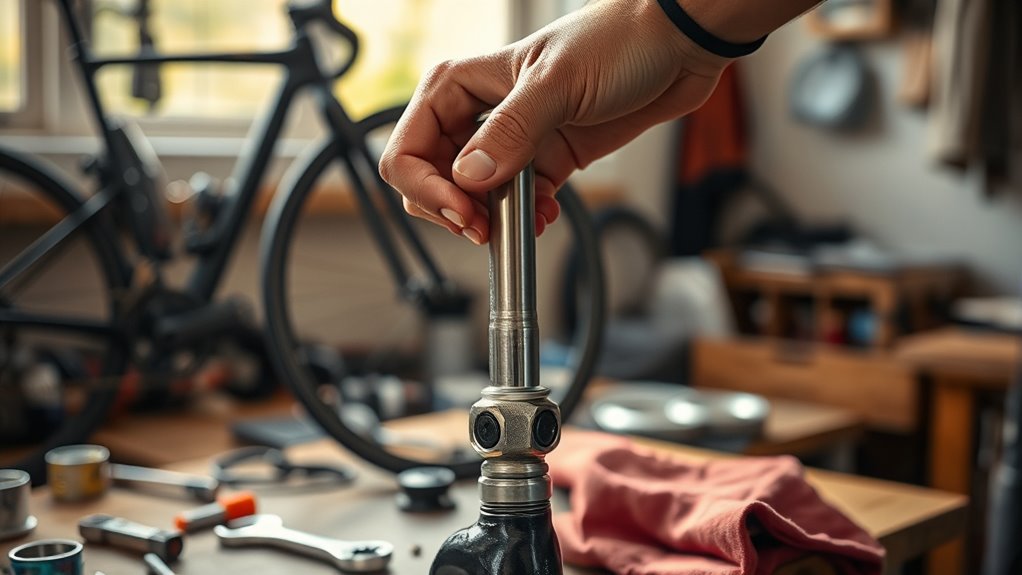
Ever wondered if you can service your dropper post at home without professional help? The good news is, with the right tools and a bit of know-how, you can perform basic maintenance and adjustments yourself. Servicing your dropper post isn’t complicated once you understand the key adjustment techniques and maintenance tips. Doing it yourself not only saves you money but also helps you develop a better understanding of your bike’s components, guaranteeing smoother performance on every ride.
Save money and master your bike with DIY dropper post maintenance and adjustments.
The first step in servicing your dropper post is to assess its current performance. If it’s not locking out properly, feels sluggish, or doesn’t return smoothly, it’s time for some adjustments. Start by checking the air pressure in the post if it’s air-sprung. Most dropper posts have a valve where you can add or release air using a shock pump. Maintaining the correct pressure is essential because over- or under-inflation can cause improper functioning or sluggish return. Consult your post’s manual for the recommended pressure range, and use a shock pump to dial it in precisely. This is one of the simplest adjustment techniques that can dramatically improve performance.
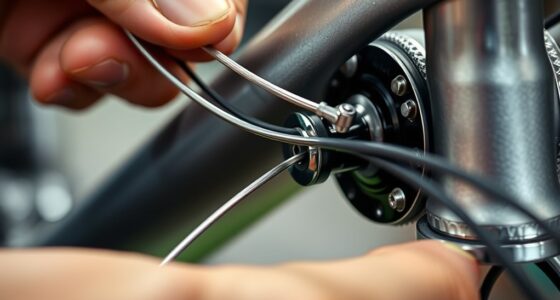
Next, inspect the post for any dirt or debris around the stanchion and sealing areas. Dirt can cause sticking or slow movement. Clean these areas carefully with a soft cloth, avoiding harsh solvents that could damage seals. If your post is hydraulic, check for leaks around the seals. Leaking fluid indicates the need for a more thorough service, which may involve replacing seals or fluid. Regular cleaning is a critical maintenance tip that keeps your dropper post functioning smoothly and prolongs its lifespan. Additionally, understanding that air pressure adjustments can significantly impact operation helps ensure your post performs reliably in various riding conditions.
If your post still isn’t performing well after adjusting air pressure and cleaning, you might need to lubricate its moving parts. Use a light, bike-specific lubricant on the stanchion and moving components, avoiding excess, which can attract dirt. Proper lubrication reduces friction and ensures a smooth, consistent drop and rise. Remember, over-lubricating can do more harm than good, so apply sparingly.
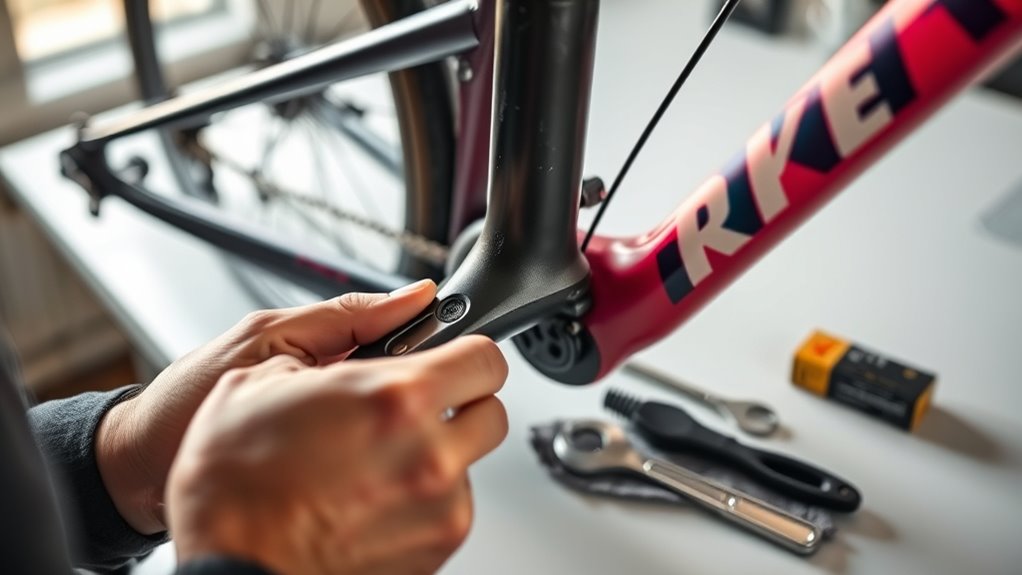
In some cases, you might need to remove the post from the bike for a more detailed check-up. When doing so, follow the manufacturer’s instructions carefully to avoid damaging the post or voiding your warranty. Disassemble the post only if you’re confident in your skills or after watching detailed tutorials. Reassemble it with care, ensuring all seals and components are properly seated.
Frequently Asked Questions
How Often Should I Service My Dropper Post?
You should service your dropper post every 50-100 hours of riding or at least once a year, whichever comes first. Follow a regular maintenance schedule to keep it functioning smoothly. If you notice issues like slow retraction or sticking, use troubleshooting tips like cleaning and re-lubricating. Regular servicing prevents problems and extends your dropper post’s lifespan, ensuring reliable performance whenever you need it.
Can I Fix a Stuck Dropper Post Myself?
Think of your dropper post like a stubborn mule—it might just need some gentle coaxing. Yes, you can fix a stuck dropper post yourself with some troubleshooting skills and at home repair tips. Start by checking for dirt or debris, then carefully clean and lubricate the parts. If it’s still stuck, a little patience and the right tools can have your post sliding smoothly again, saving you a trip to the shop.
What Tools Do I Need for At-Home Maintenance?
To perform at-home maintenance on your dropper post, you need a basic tool kit including Allen wrenches, a torque wrench, and possibly a shock pump. These tools help you follow your maintenance schedule effectively. Regular checks and adjustments keep your dropper post working smoothly. Make sure to consult your manufacturer’s instructions for specific tools and procedures, ensuring safe, proper servicing.
How Do I Identify if My Dropper Post Needs Service?
A stitch in time saves nine—so inspect your dropper post regularly. Check for leakage signs like fluid around the post or inconsistent movement. During a dropper post inspection, if it’s sluggish, sticks, or won’t hold its position, it’s time for maintenance. Don’t ignore these signs; catching issues early keeps your ride smooth and prevents costly repairs later. Stay attentive, and your dropper post will serve you well.
Is It Safe to Disassemble My Dropper Post Without Professional Help?
Disassembling your dropper post without professional assistance can be risky, especially if you’re unfamiliar with its components. DIY repairs might cause damage or void warranties. If you’re comfortable with bike maintenance and follow detailed instructions carefully, it can be safe. However, for complex issues or if you’re unsure, it’s best to seek professional help to ensure proper service and avoid costly mistakes.
Conclusion
Now that you know how to service your dropper post at home, you’re all set to keep your ride smooth and responsive. Just like a trusty steed in a medieval castle, your bike’s dropper post needs regular care to perform its best. Don’t forget, a little maintenance goes a long way—saving you time and money in the long run. So grab your tools, channel your inner knight, and conquer any trail with confidence!