If your bottom bracket is squeaking or creaking, start by inspecting for looseness or roughness when spinning the crank by hand. Remove the crankset with the right tools, clean the area thoroughly, and check the bearings for wear or play. Lubricate or replace the bottom bracket if needed, then reassemble carefully. Once everything’s tightened and properly lubricated, test for quiet, smooth pedaling—if issues persist, more troubleshooting awaits below.
Key Takeaways
- Identify if the creak occurs during pedaling, under load, or when coasting to pinpoint the cause.
- Remove the bottom bracket carefully, inspecting bearings for wear, corrosion, or roughness.
- Clean the shell and replace or service worn bearings, applying proper grease before reinstallation.
- Ensure crankarms and pedals are tight and properly aligned to eliminate other noise sources.
- Test the bike by spinning pedals and shifting gears to confirm the creak is resolved and the bottom bracket functions smoothly.
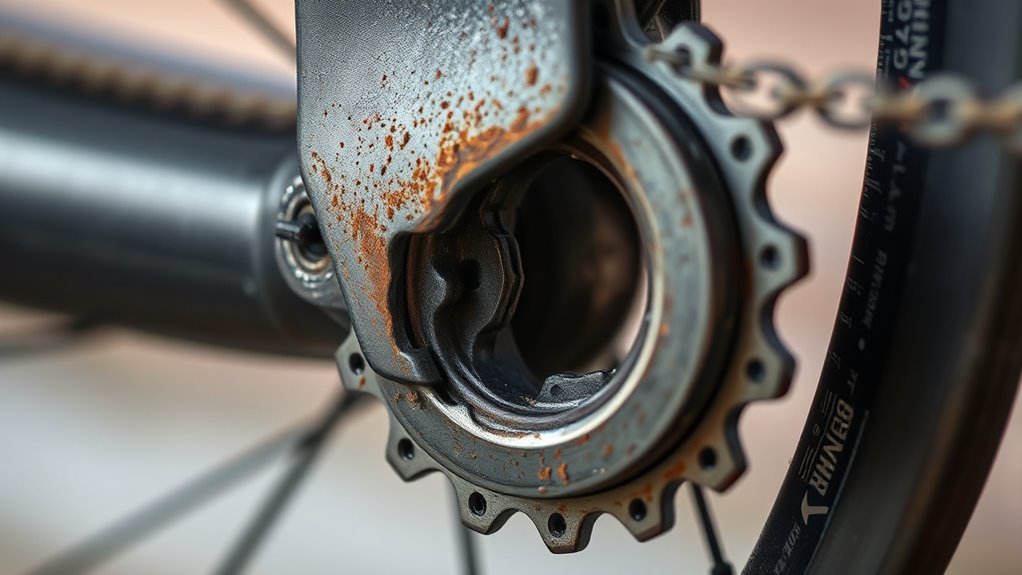
Identifying the Signs of a Creaky Bottom Bracket

A creaky bottom bracket often announces itself through noticeable noises while pedaling. You might hear a consistent squeak or grind that intensifies under load or when climbing. Sometimes, the noise comes and goes, making it tricky to pinpoint. To identify if your bottom bracket is the culprit, pay attention to any looseness or roughness when spinning the crank by hand. Using simple lubrication techniques can reduce creaks, but if the noise persists, it might be time to contemplate alternative solutions like replacing the bottom bracket. Don’t overlook other potential causes, such as loose crank bolts or chainring issues. Proper diagnosis ensures you address the root problem effectively, saving you time and preventing further damage.
Gathering the Necessary Tools and Supplies
Before you can effectively diagnose or replace a creaky bottom bracket, you’ll need to gather the right tools and supplies. Proper bike maintenance depends on selecting the appropriate tools for the job. Start with a quality bottom bracket wrench or socket that fits your bike’s specific model. You’ll also need a crank puller to remove the crank arms safely and some degreaser to clean parts thoroughly. Having access to resources and tools like local bike shops or online retailers can help ensure you get the correct equipment. Additionally, understanding industry transformations can guide you in choosing tools that are compatible with modern components. Here’s what to gather:
Gather the right tools: bottom bracket wrench, crank puller, and degreaser for effective maintenance.
- Bottom bracket wrench or socket
- Crank puller tool
- Degreaser and clean rags
Choosing the right tools is vital for smooth tool selection and efficient work. Having these essentials on hand ensures your maintenance process is straightforward and minimizes potential damage.
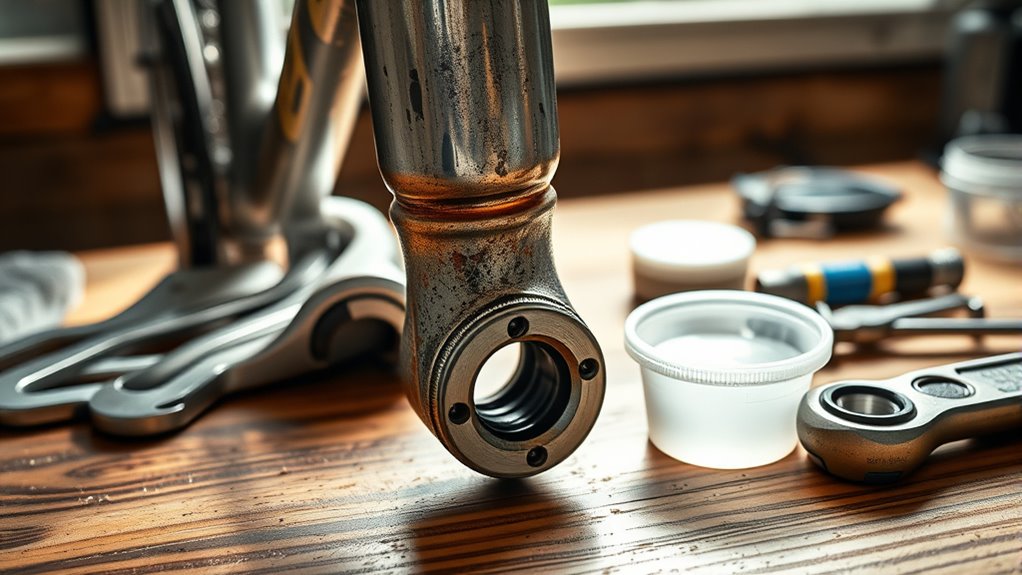
Preparing Your Bike for Inspection and Maintenance
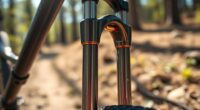
To guarantee a thorough inspection and effective maintenance, start by securing your bike in a stable position. Use a bike stand or lean it gently against a wall, ensuring it won’t tip over. Before you begin, put on your bike safety gear—gloves and eye protection—to stay safe during maintenance. Check the condition of your lubrication, applying lubrication tips where necessary, especially around moving parts like the bottom bracket area. Cleaning your bike thoroughly beforehand makes it easier to spot issues and prevents dirt from contaminating new grease. Make sure your workspace is clear and well-lit. Taking these steps ensures you’re prepared for an efficient inspection and maintenance process, helping you identify creaks and other issues early. Remember to examine the signs of spoilage on your bike components, such as rust or corrosion, which can indicate the need for replacement or additional lubrication. Additionally, inspecting your suspension components can help prevent issues related to handling and ride quality. Conducting a comprehensive bike check regularly can also reveal underlying problems that might not be immediately apparent, ultimately extending the lifespan of your bike. Being aware of cybersecurity vulnerabilities relevant to bike accessories or apps can also help protect your data and devices during maintenance. Incorporating proper lubrication techniques ensures optimal performance and helps prevent premature wear of moving parts.
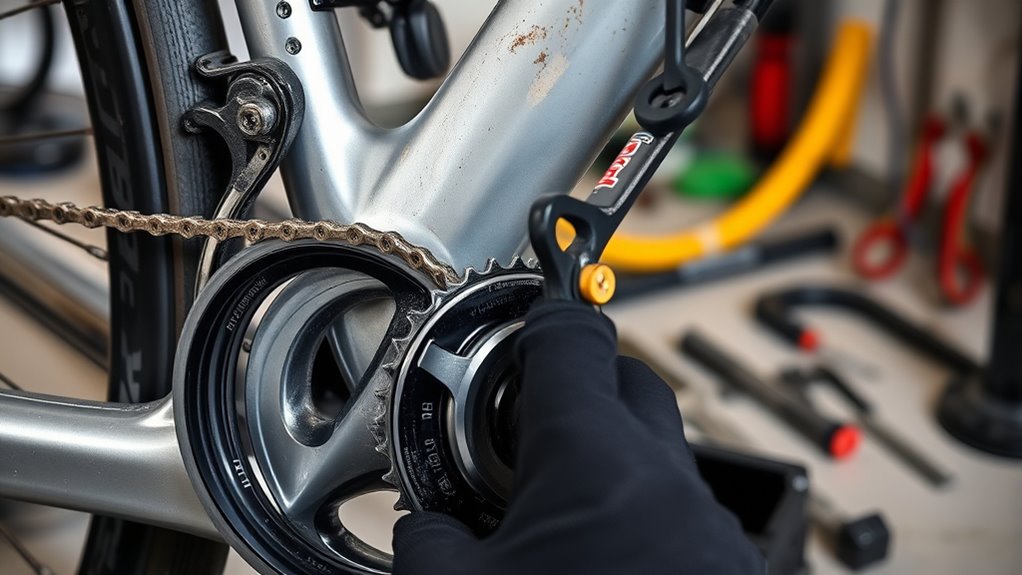
Removing the Crankset and Accessing the Bottom Bracket

To access your bottom bracket, you’ll need the right tools and a clear plan. Start by removing the crankarms carefully, using the appropriate methods for your bike. Once the crankset is off, you’ll have direct access to inspect or replace the bottom bracket.
Tools Needed
Removing the crankset and accessing the bottom bracket requires specific tools to do the job effectively. A tools overview helps verify you have everything necessary before starting. First, you’ll need a crank puller tool to remove the crankarms safely. Next, a bottom bracket wrench or socket is essential for loosening and removing the bottom bracket. Lastly, safety equipment like gloves and eye protection keeps you safe during the process.
Here’s what you’ll want:
- Crank puller tool
- Bottom bracket wrench or socket
- Safety gear (gloves and eye protection)
Having these tools ready makes the job smoother and safer. Proper tools prevent damage to components and help you work confidently, knowing you’re well-equipped for the task ahead.
Removing the Crankarms
Start by shifting your focus to the crankarms. To remove them, you’ll begin with pedal extraction. Use a pedal wrench to loosen and unscrew each pedal counterclockwise; this makes crankarm removal easier later. Once the pedals are off, locate the crankarm bolt—usually secured with a hex or Allen key. Insert your tool into the bolt and turn counterclockwise to loosen. Carefully tap or wiggle the crankarm free once the bolt is loosened. Repeat on both sides if needed. Removing the crankarms clears the way to access the bottom bracket later. Be gentle to avoid damaging the crank or spindle. Proper maintenance techniques, including regular lubrication, can help prevent future creaking issues. Additionally, inspecting the bottom bracket components during removal can identify potential wear or damage. Regularly applying lubrication methods to the crankset can prolong its lifespan and ensure smooth operation. Ensuring your cycling equipment is properly maintained can also help prevent creaking and other issues. With the crankarms out of the way, you’re ready to proceed to the next step in fixing your creaky bottom bracket.
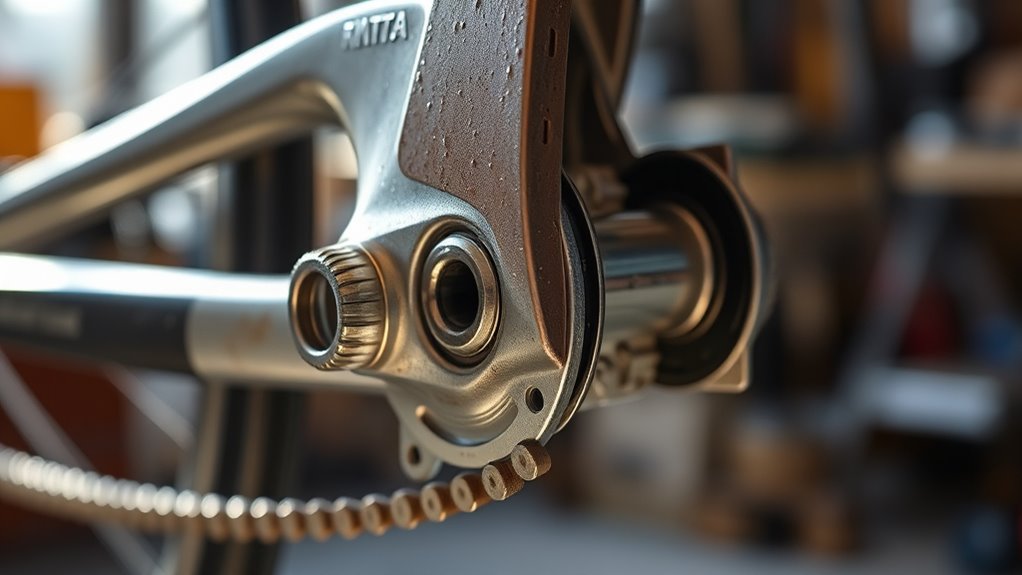
Accessing the Bottom Bracket
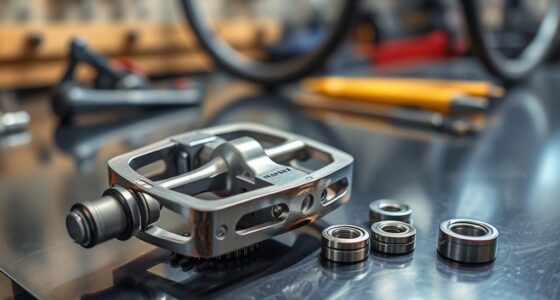
Ever wondered how to access the bottom bracket once the crankarms are out? First, remove the crankset carefully, then follow these steps to reach the bearing wear or inspect for creaks:
- Clear debris around the bottom bracket shell to prevent contamination and get a clear view.
- Use a bottom bracket wrench to loosen and remove the bearing assembly.
- Check the bearing surfaces for play or roughness, which can cause creaks during your pedal stroke.
Accessing the bottom bracket lets you identify issues like bearing wear or dirt buildup that lead to creaking noises. Once exposed, you can decide whether to replace the bearings or service the shell, ensuring smooth pedal strokes and eliminating those annoying creaks.
Diagnosing the Source of the Noise
To find out where the noise is coming from, pay attention to the patterns it makes when you pedal or shift. Notice if it happens only under load, during specific gears, or all the time. Pinpointing the exact source helps you identify whether it’s the bottom bracket or another component. If the noise is persistent and difficult to identify, consider inspecting for deceptive behaviors such as subtle misalignments or looseness that may mimic typical issues. Additionally, understanding the privacy policy of your cycling equipment or accessories can ensure your data and usage are protected while troubleshooting. Familiarity with traditional and modern techniques can also assist in diagnosing mechanical problems more effectively, especially when combined with an awareness of sound healing science, which emphasizes the influence of vibrations and frequencies on systems. Incorporating industry trends into your assessment can further refine your troubleshooting process and ensure the most accurate diagnosis.
Identifying Noise Patterns
When diagnosing a creaky bottom bracket, paying close attention to the noise pattern can reveal its source. Listen carefully to the sound frequency and how it varies. Notice whether the noise occurs only when pedaling or at certain cadences. Is it a consistent squeak or an intermittent creak? These details help narrow down the cause. Incorporating natural elements like wood or stone accents in your bike maintenance or storage area can create a calming environment that promotes focus and clarity during troubleshooting. Additionally, understanding how automation in business can streamline maintenance routines may help you develop more efficient troubleshooting practices. Considering the home environment in which your bike is stored can also influence noise levels and maintenance needs, much like how smart home features improve overall home hygiene. Using ergonomic tools designed for bike repair can further ease the process and reduce the risk of additional issues.
Pinpointing the Source
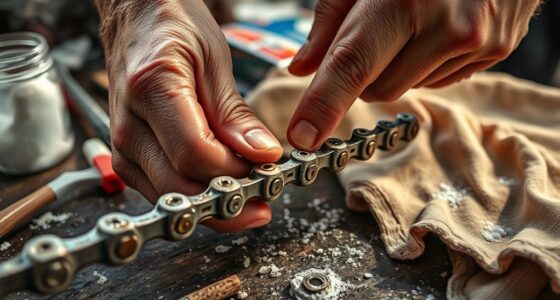
Pinpointing the exact source of a creaky bottom bracket requires careful observation and process of elimination. Start by listening closely as you pedal, noting when the noise occurs—under load, during coasting, or when pedaling backward. Check for loose components or misaligned parts. When inspecting, use lubrication tips like applying a small amount of bike-specific grease to the bearings or spindle, but avoid over-lubricating, which is a common mistake that can attract dirt and worsen noise. Also, ensure the bottom bracket is tight and properly installed. If the noise persists after lubrication, it’s likely caused by worn bearings or a loose crank. Be systematic in your approach, ruling out chainring bolts, pedals, and crank arms to accurately identify the creak’s source. Regularly inspecting the eye patch benefits can help maintain overall eye health and prevent discomfort during riding. Additionally, understanding Porsche Tuning principles can inspire innovative solutions for vehicle maintenance, just as precise diagnostics are essential for bike repairs.
Replacing or Servicing the Bottom Bracket
Replacing or servicing your bottom bracket is a straightforward process if you understand the steps involved. First, you’ll need to remove the crankset and then access the bottom bracket. This is a good time to contemplate lubricating the bottom bracket or replacing worn bearings to prevent creaking.
Here are some tips to keep in mind:
- Use the right tools to avoid damaging components
- Clean the shell thoroughly before installing new or serviced parts
- Apply a light layer of bottom bracket lubrication for smooth operation
If bearings are worn or seized, replacing them is essential for quiet, efficient riding. Regular maintenance ensures your bottom bracket functions smoothly and lasts longer.
Reassembling and Testing for Smooth, Quiet Operation
After installing the cleaned or new bottom bracket, carefully reassemble the crankset, ensuring all components are aligned correctly. Spin the pedals slowly to check for squeaky pedals or unusual resistance. Shift through gears to see if the chain moves smoothly; a greasy chain can cause noise or sluggishness. Listen for any creaks or squeaks indicating misalignment or insufficient tightening. Use this table to guide your testing:
| Test Step | What to Check | Possible Issue |
|---|---|---|
| Pedal spin | Noise, resistance | Squeaky pedals, misaligned crank |
| Gears shift | Smoothness, noise | Greasy chain, improper tension |
| Final rotation | Overall quietness and ease | Loose components, dirt buildup |
If issues persist, revisit torque specs or reapply lubricant.
Frequently Asked Questions
How Often Should I Inspect My Bottom Bracket for Wear?
You should inspect your bottom bracket for wear every few months or if you notice unusual noises or roughness while pedaling. Incorporate a wear inspection into your regular maintenance schedule, especially after riding in muddy or wet conditions. Regular checks help catch issues early, preventing more serious problems. If you feel any play or grinding, it’s time to service or replace the bottom bracket to keep your bike running smoothly.
Can I Fix a Creaky Bottom Bracket Without Removing It?
A creaky bottom bracket can feel like your bike’s about to explode, but don’t worry—you might fix it without removing it. First, try tightening the crank bolts and cleaning the area thoroughly. Applying a bit of bike-specific lubricant to the spindle can improve pedal smoothness and reduce crank noise. If that doesn’t work, removing and regreasing the bottom bracket is often the best fix for long-term silence.
What Are the Signs of a Failing Bottom Bracket?
You’ll notice signs of a failing bottom bracket if you feel crank play, which means the crank moves side to side, or if you hear grinding noises during pedaling. Bearing wear often causes these issues, making pedaling less smooth. You might also experience rough spinning or increased resistance. If these symptoms appear, it’s time to examine and possibly replace the bottom bracket to guarantee your bike runs quietly and efficiently.
Is It Better to Replace or Service the Bottom Bracket?
Did you know nearly 60% of bike issues stem from poorly maintained bottom brackets? When deciding, consider DIY servicing if you’re comfortable, as it saves money and time. However, for best performance and longevity, professional replacement is often better, especially if the noise persists or there’s play. Servicing can fix minor issues, but replacement ensures your bike runs smoothly for miles to come.
Are There Specific Lubricants Recommended for Bottom Bracket Maintenance?
For bottom bracket maintenance, you should use the right lubricant types to keep things smooth. Generally, a high-quality grease or light oil works best, depending on your bike’s conditions. Follow a regular maintenance schedule—typically every few months or after wet rides—to prevent creaks and corrosion. Avoid using too much lubricant, as excess can attract dirt. Properly lubricating helps extend your bottom bracket’s lifespan and guarantees a quiet, efficient ride.
Conclusion
Fixing your creaky bottom bracket is like tuning a guitar—you need to identify the tension points and make precise adjustments. Once you replace or service it, you’ll notice your ride becomes as smooth as a well-strung instrument. Just remember, regular maintenance keeps your bike singing, and a little effort now saves you from squeaks and squeals later. With patience, you’ll keep your bike humming happily down every trail and street.