
To patch a tube that lasts, start by choosing high-quality rubber patches and using the right adhesive designed for your tube’s material. Clean and roughen the surface around the puncture with fine sandpaper, removing dirt and moisture. Apply a thin layer of glue to both the patch and tube, then press firmly, smoothing out air bubbles. Let it cure fully before use. For a truly durable fix, following these steps carefully will make your repair last longer and hold strong.
Key Takeaways
- Use high-quality, tube-specific patches and adhesives for durability.
- Thoroughly clean and roughen the area around the puncture for better adhesion.
- Apply adhesive evenly and press patches firmly, smoothing out air bubbles.
- Allow sufficient curing time without stressing the tube to ensure a strong bond.
- Reinforce the repair with additional patches if needed and double-check for a proper seal.
Patching a tube so it lasts requires careful preparation and proper technique. When you’re fixing a punctured or damaged tube, using the right patch materials is essential to guarantee durability. Proper patch materials, such as high-quality rubber patches and suitable adhesive, are designed to withstand the stresses and environmental conditions the tube will face. Avoid cheap or generic patches, as they tend to fail quickly, leaving you back at square one. Instead, select patches specifically made for your type of tube—whether it’s rubber, PVC, or other materials—and always follow the manufacturer’s instructions for best results.
Use high-quality patches and adhesives for durable, long-lasting tube repairs.
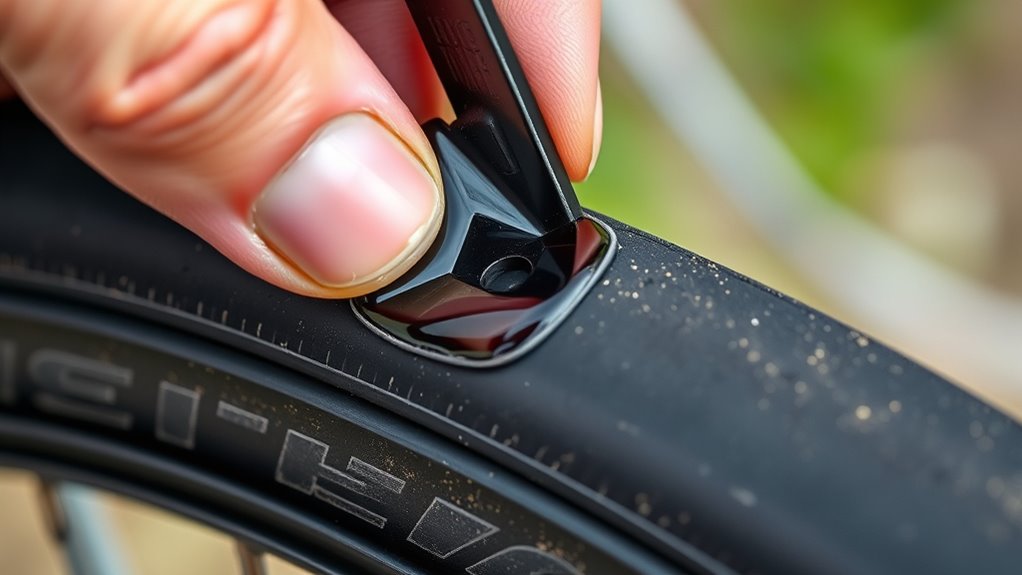
Before applying the patch, you need to thoroughly clean and roughen the surface around the puncture. Use fine-grit sandpaper or a metal scraper to create a slightly textured surface. This step is vital because it promotes better adhesion between the patch and the tube. Make sure the area is free of dirt, grease, and moisture, which can weaken the bond. Wipe the area with a clean cloth and, if necessary, use a solvent like rubbing alcohol to remove any residual oils. Proper surface preparation is the foundation for a long-lasting repair. Additionally, understanding the importance of proper patch materials can significantly impact the longevity of your repair.
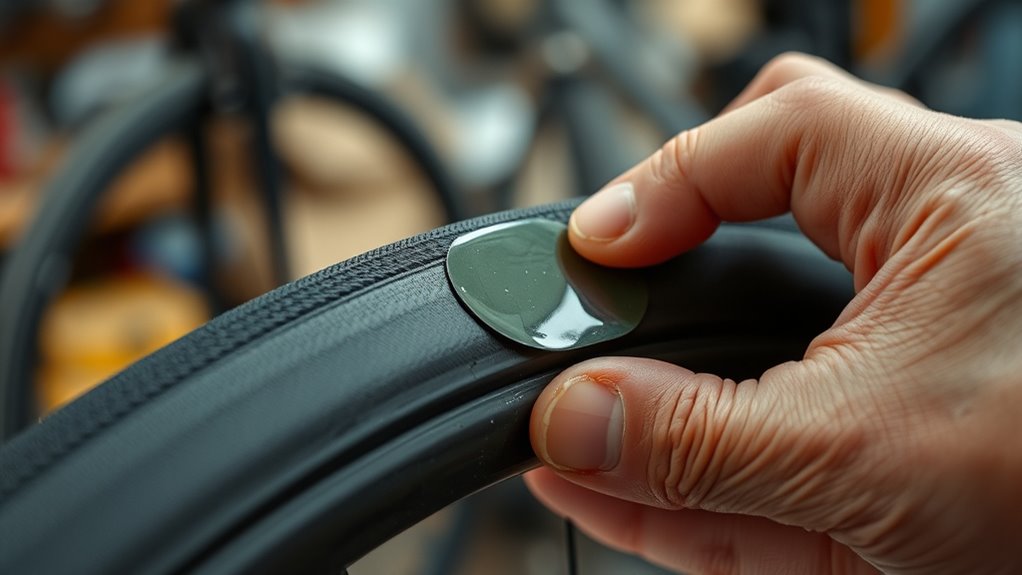
Once the surface is prepared, focus on reinforcing patch techniques to maximize longevity. For maximum reinforcement, apply a thin layer of adhesive to both the patch and the cleaned area on the tube. Be generous but avoid excessive glue, which can lead to uneven adhesion or seepage. Carefully position the patch, pressing firmly to eliminate air bubbles and ensure full contact. Use a roller or your fingers to smooth out the patch, working from the center outward. Applying consistent pressure helps to improve adhesion and prevents weak spots. For extra reinforcement, some repair kits include extra strips or patches that can be layered over the main patch. This multilayer approach adds strength, especially if the tube will be subjected to high pressure or rough handling.
After applying the patch, give it ample time to cure as per the adhesive’s instructions—this might be anywhere from a few minutes to several hours. Avoid stressing or inflating the tube during this period. Once cured, double-check the edges to confirm they’re sealed tightly. If you notice any lifting or bubbles, reapply the patch or add another layer of reinforcement. Proper patch materials and reinforced techniques are key to creating a durable repair that lasts longer and withstands regular use. When done correctly, your patched tube will be reliable, allowing you to continue using it without fear of immediate failure.
Frequently Asked Questions
How Often Should I Check My Patched Tube for Wear?
You should check your patched tube weekly for wear to guarantee safety and longevity. Follow maintenance tips like inspecting for cracks, bubbles, or uneven wear around the patch. Always adhere to safety precautions by testing the patch’s seal before use and replacing it if you notice any deterioration. Regular inspections prevent unexpected blowouts, keeping you safe while riding. Stay vigilant, and don’t ignore signs of wear to maintain peak performance.
Can I Patch a Tube Multiple Times?
Did you know that most bike tubes can be patched multiple times? Yes, you can patch a tube more than once if you use proper patching techniques. To guarantee patch durability, clean and roughen the area before applying the patch, then press firmly. Just remember, repeated patches may weaken the tube over time, so inspect it carefully after each repair. If the tube shows signs of damage, it’s better to replace it.
What Types of Patches Are Most Durable?
You’ll find that rubber patches with a butyl or latex patch material are the most durable, providing long-lasting repairs. For the best patch application, guarantee the surface is clean and dry before applying. Press firmly and hold for a few minutes to allow the adhesive to bond properly. These patches resist wear and tear, making your repair last longer and keeping your tube functional for a much greater time.
Is It Safe to Ride on a Patched Tube?
Yes, it’s safe to ride on a patched tube if you follow proper procedures. Make certain your tire pressure is correct to avoid stress on the patch, and check the valve integrity before riding. A well-applied patch with a secure valve prevents leaks and maintains tube durability. If the patch is properly sealed and your tire is inflated correctly, you can ride confidently without worry.
How Do Temperature Changes Affect a Patched Tube’s Longevity?
Like Icarus flying too close to the sun, you’ll find temperature swings can challenge your patched tube’s durability. Cold weather makes patches take longer to dry, risking reduced adhesion, while heat can weaken the bond prematurely. To guarantee longevity, consider material compatibility and give patches ample drying time in moderate conditions. Sudden temperature changes may compromise the repair, so aim for stable environments and patience to keep your patch secure.
Conclusion
Now that you know how to patch a tube that lasts, you’re all set to hit the road with confidence. Just remember, a stitch in time saves nine—taking care of small issues right away prevents bigger headaches down the line. Keep your patch job clean and secure, and your tube will serve you well for miles to come. With a little effort, you’ll have a reliable fix that stands the test of time.