To rebuild your pedals for smooth spins, start by gathering the right tools and replacement parts like bearings and lubricants. Remove the pedals carefully using a pedal wrench or Allen keys, then disassemble them, paying attention to internal components. Clean and inspect each part for wear or damage, replacing any worn bearings or rusty parts. Reassemble with proper lubrication, tighten everything securely, and test for smooth operation. If you want a step-by-step guide, keep going for detailed instructions.
Key Takeaways
- Gather compatible replacement bearings, pedal parts, and the necessary tools before starting the rebuild process.
- Properly remove pedals using the correct wrench and technique to prevent damage and ensure safety.
- Disassemble pedals carefully, clean internal components, and replace worn bearings or damaged parts for optimal performance.
- Apply appropriate lubrication during reassembly to maintain smooth spinning and prevent dirt buildup.
- Tighten pedals to the correct torque, check for smooth operation, and perform regular maintenance to extend lifespan.
Gathering the Necessary Tools and Materials
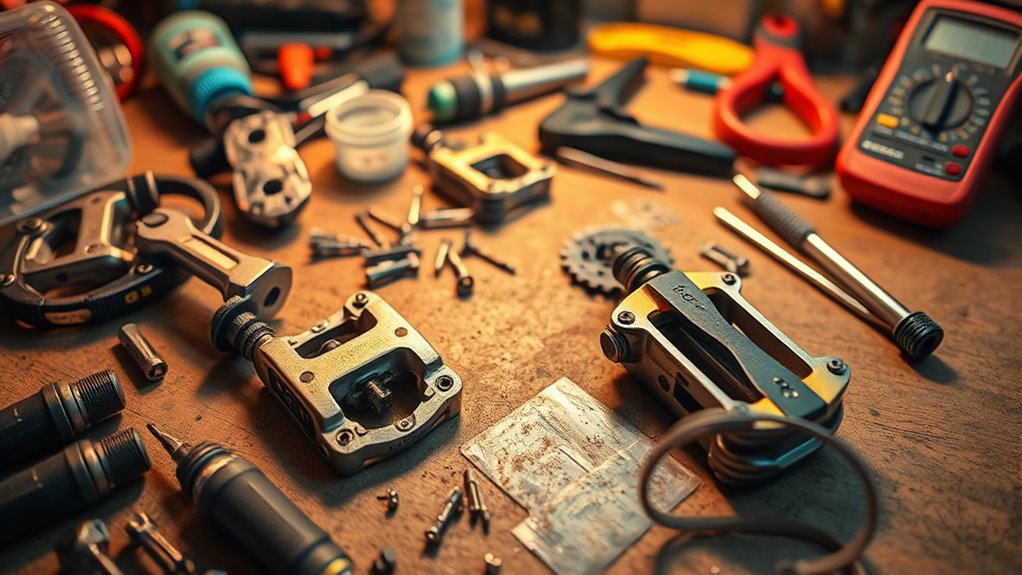
Before you begin rebuilding your pedals, you need to gather all the necessary tools and materials. Start by collecting the right pedal materials, such as replacement bearings, pedal bodies, and any specific parts recommended for your pedal branding. Having the correct tools is essential—an Allen wrench, screwdrivers, and a pedal wrench will make the process smoother. Check if your pedals have unique features or branding that might require specialized parts. Organize everything beforehand to avoid interruptions. Confirm that the materials match your pedal model and branding details. This preparation guarantees you have everything on hand, saving time and preventing potential damage. Properly gathering your tools and pedal materials sets a solid foundation for a successful rebuild. Additionally, understanding the types of headphone jacks can help you choose the right connection method if you plan to test your pedals with audio equipment. Ensuring that your safety equipment is also ready can prevent accidents during the repair process.
Removing the Pedals From Your Bike
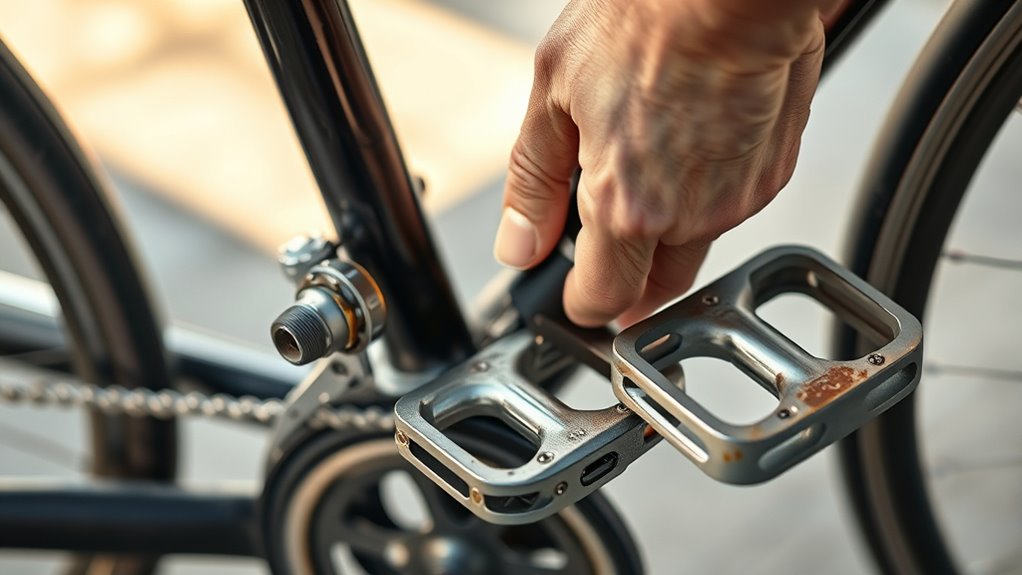
Before you start removing your pedals, make sure you have the right tools, like a pedal wrench or Allen keys. Using proper technique is key—turn counterclockwise to loosen the right pedal and clockwise for the left. Watch out for common challenges like stuck pedals, and apply solutions such as applying penetrating oil or using extra leverage. Incorporating the right exfoliation techniques can help in maintaining smooth skin, similar to how proper pedal removal ensures smooth spinning. Additionally, understanding industry transformations like AI automation can provide insights into optimizing maintenance processes and tools for better efficiency. Being aware of best practices in maintenance can further help prevent issues with stuck pedals and streamline your repair process, especially since techniques for trauma release from somatic therapy can be compared to methodical approaches in mechanical repair. Moreover, adopting effective problem-solving strategies can help address unexpected difficulties and make the process more manageable.
Tools Needed for Removal
To remove your bike pedals effectively, you’ll need a few basic tools. The most essential is a pedal wrench, designed to grip the flat surfaces on your pedals and provide enough leverage. Make sure your wrench fits snugly to prevent slipping and damaging the pedal or crank arm. Additionally, lubricant selection is important; applying a penetrating oil like WD-40 or similar helps loosen stubborn pedals. Before you start, spray the threads and let it sit for a few minutes. This makes removal easier and reduces the risk of stripping the threads. Keep a rag handy to wipe away excess oil. Having these tools ready will streamline the process and set you up for a smooth pedal removal. Proper tool selection based on your bike’s specifications can significantly ease the process. Also, understanding Kia Tuning options can inspire performance improvements for other vehicles. To further facilitate the removal, consider thread condition and whether the pedals are corroded or stuck, which can impact your approach. Additionally, inspecting the pedal threading can help identify potential issues before applying force, preventing damage to your bike components.
Proper Pedal Removal Technique
Start by positioning your bike securely, either on a stand or upside down, so you have easy access to the pedals. To remove them, identify the pedal threading: the right pedal tightens clockwise, while the left pedal loosens clockwise. Remember to check pedal orientation before removal to avoid confusion later. Use a wrench suited for your pedal’s size, turning counterclockwise to loosen. Apply steady pressure to prevent stripping the threads. Here’s a quick reference:
| Pedal Side | Threading Direction | Removal Direction |
|---|---|---|
| Right | Tightens clockwise | Loosen counterclockwise |
| Left | Tightens counterclockwise | Loosen clockwise |
| Both | N/A | Follow thread rules |
Proper technique preserves pedal threading and ensures smooth removal. Additionally, understanding electric dirt bike horsepower can help you select the right bike for your riding style.
Common Challenges and Solutions
Removing bike pedals can sometimes be tricky due to stubborn threads, rust, or stripped fittings. If the pedals don’t turn easily, check pedal compatibility—using the correct tools and directions for your bike’s threading is essential. Rust can seize pedals in place, so applying penetrating oil can loosen them. Stripped fittings often require extra grip or specialized tools; in some cases, replacing damaged pedals is best. Regular pedal maintenance helps prevent common challenges, like rust buildup or thread damage, making removal smoother in the future. Always ensure you’re using the right size wrench or pedal wrench to avoid stripping the fittings. Taking these steps minimizes frustration, preserves pedal integrity, and keeps your bike’s pedal system in top shape for smooth, safe spins.
Disassembling the Pedal Components
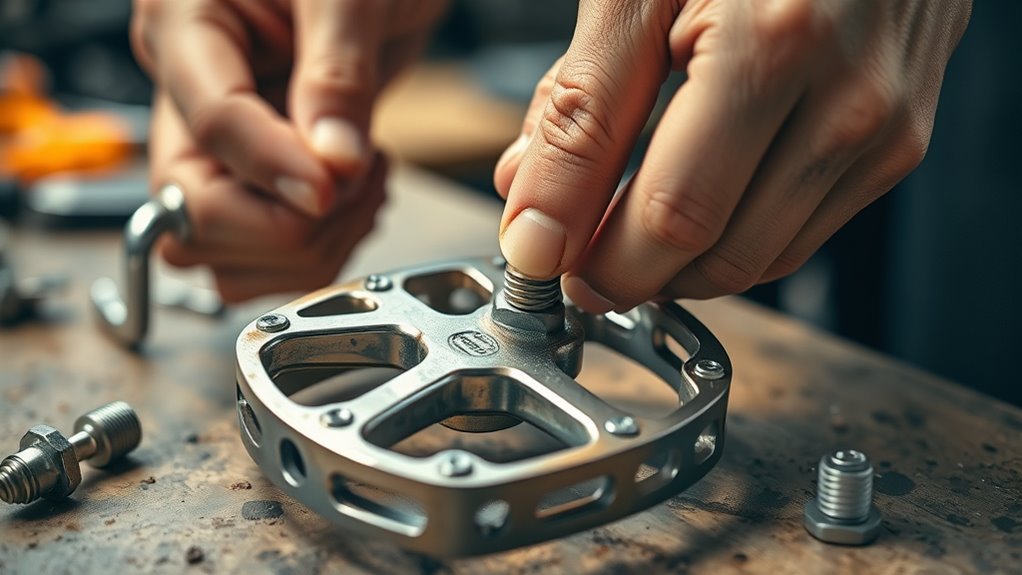
Disassembling pedal components requires careful attention to detail to make sure nothing gets damaged or lost. Start by removing the pedal from your crank arm. Use the correct wrench to unscrew the pedal spindle, turning counterclockwise. Once removed, carefully take apart the pedal body, noting how parts fit together. Pay close attention to the bearing adjustment, as it affects spin smoothness. If your pedal has sealed bearings, avoid forcing them apart; instead, mark their position for reassembly. For loose or adjustable bearings, gently unscrew the bearing caps. Keep track of small components like washers or spacers. Proper disassembly guarantees you can inspect internal parts thoroughly and prepares you for cleaning or replacement, setting the stage for a smooth rebuild. Visual and auditory cues can aid learning, ensuring you handle components accurately during reassembly. Additionally, understanding bearing types can help you determine the best approach for maintenance or replacement during reassembly. Recognizing spindle threading is crucial to ensure correct reinstallation and prevent damage. Moreover, awareness of sound vibrations can assist in diagnosing issues with the pedal’s internal components during reassembly. Checking lubrication levels can also improve the longevity and performance of the pedals after reassembly.
Cleaning and Inspecting Internal Parts
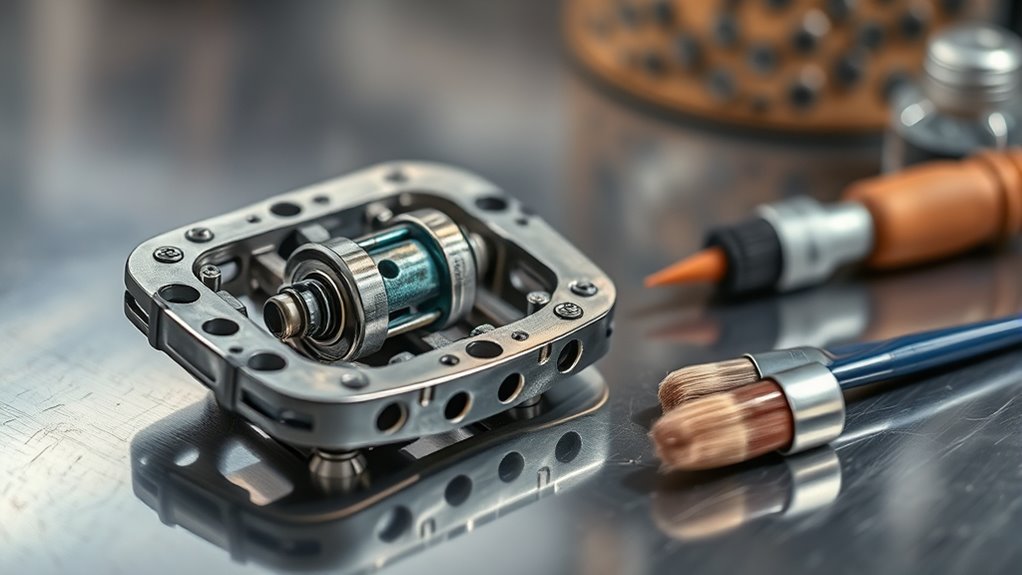
Have you ever wondered how clean and well-maintained your pedal’s internal parts are? Regular cleaning and inspection are essential to extending your pedal’s lifespan. Dust, dirt, and old lubricant can cause unnecessary wear, leading to decreased performance. During your maintenance schedule, carefully wipe away grime and check for signs of corrosion or damage. Use a soft brush and contact cleaner to remove stubborn debris without harming internal components. Inspect for loose or worn parts, such as bearings or seals, which could compromise smooth operation. Keeping internal parts clean not only preserves the pedal’s functionality but also helps you identify potential issues early. Additionally, understanding vetted maintenance practices techniques can inform proper maintenance practices for vehicle components, ensuring optimal performance. Incorporating proper automation techniques in your maintenance routine can help streamline the process and improve efficiency. Regularly monitoring the condition of delicate skin, such as the area around the eyes, can also prevent longer-term issues. This step should be performed regularly to ensure your pedals stay in top condition for many rides to come.
Replacing Worn or Damaged Components
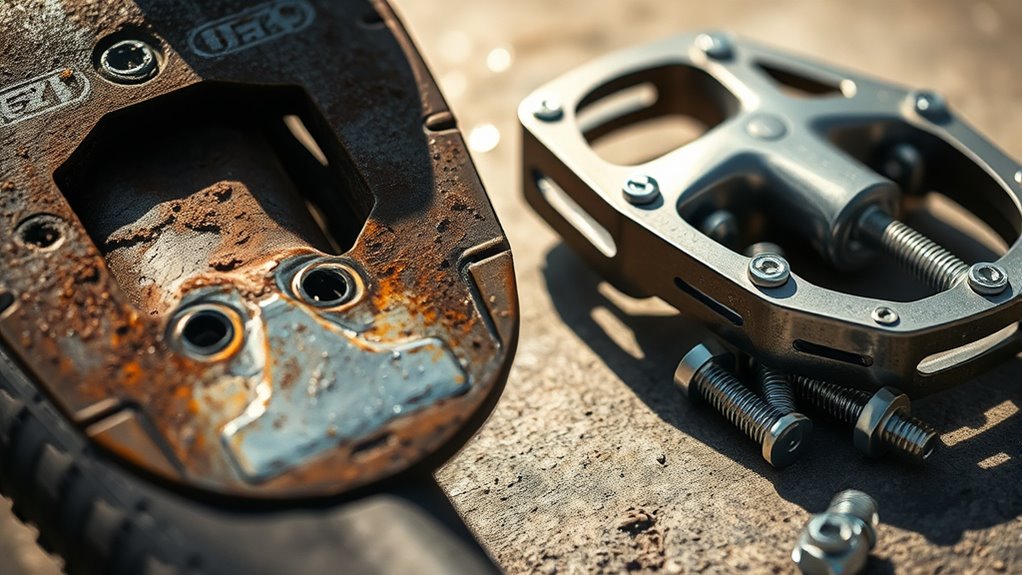
When you notice that your pedal feels less smooth or makes unusual noises, it’s time to substitute worn or damaged components. Over time, the pedal material can degrade, especially if it’s made from plastic or low-quality metal, reducing the pedal’s lifespan. Check for cracks, chips, or excessive play in the pedal body and axle. Damaged bearings or worn-out cleats also contribute to poor performance. Replacing these parts promptly restores smooth operation and prevents further damage. Use the appropriate replacement components suited for your pedal’s material and design. Remember, investing in high-quality parts can extend your pedal’s lifespan and keep your rides comfortable. Regularly inspecting and replacing damaged components ensures your pedals stay reliable and perform at their best.
Reassembling and Lubricating the Pedals
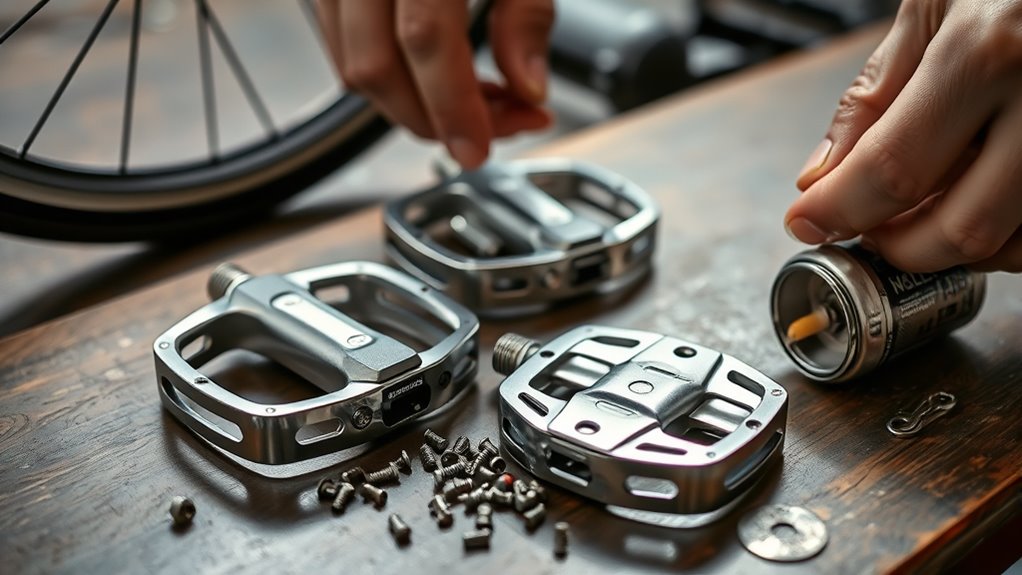
After replacing worn or damaged components, it’s time to reassemble and lubricate your pedals to guarantee smooth operation. Proper lubrication techniques extend your pedal lifespan and prevent squeaks or stiffness. Carefully align all parts, ensuring screws and bearings fit snugly. Use the right lubricant—light oil or grease—to avoid over-application, which can attract dirt. Here’s a quick reference:
| Lubrication Technique | Effect on Pedal Lifespan |
|---|---|
| Applying sparingly | Prevents dirt buildup |
| Using appropriate oil | Reduces friction |
| Avoiding over-lubrication | Prevents residue buildup |
| Regular reapplication | Maintains smoothness |
| Cleaning before lubrication | Extends component life |
Focusing on proper maintenance and cleanliness is essential for ideal results and prolonged pedal durability.
Reinstalling Pedals and Testing for Smooth Operation
Once you’ve lubricated and reassembled your pedals, it is essential to reinstall them correctly onto your bike. Start by ensuring proper pedal alignment; note that the right pedal threads clockwise, while the left threads counterclockwise. Carefully screw each pedal into its designated crank arm, avoiding cross-threading. Use a pedal wrench to tighten each pedal to the manufacturer’s recommended pedal torque—over-tightening can damage threads, while under-tightening may cause pedals to loosen during rides. After installation, spin the pedals to check for smooth operation, listening for any grinding or resistance. If needed, make minor adjustments to pedal torque to improve feel. Properly installed pedals with correct torque and alignment ensure safe, smooth spins and extend the lifespan of your pedals.
Frequently Asked Questions
How Often Should I Rebuild My Bike Pedals for Optimal Performance?
You should rebuild your bike pedals based on your maintenance schedule and pedal lifespan. Typically, inspecting and servicing them every 3 to 6 months keeps them in top shape, especially if you ride frequently. If you notice creaking, looseness, or difficulty spinning, it’s time for a rebuild. Regular maintenance ensures smooth spins and extends your pedals’ life, preventing unexpected issues and maintaining ideal performance.
Can I Rebuild Pedals Without Specialized Tools or Experience?
Yes, you can rebuild your pedals with basic DIY maintenance, even if you lack specialized tools or experience. Most pedal rebuilds require only simple tools like a wrench and grease. Follow clear instructions and take your time to avoid damaging parts. While having the right tools makes the process easier, it’s still doable without them if you’re careful. Just make certain you understand each step before starting to get smooth, reliable results.
What Are Signs That My Pedals Need Rebuilding Sooner?
You’ll notice your pedals need rebuilding sooner if you see visible pedal wear, such as cracks or excessive dirt buildup. Another sign is bearing noise—if your pedals creak, grind, or spin less smoothly, it’s time to examine the bearings. These issues indicate that the internal components are wearing out and require maintenance to ensure safe, smooth rides. Addressing these signs early can prolong your pedals’ lifespan.
Are There Different Rebuilding Techniques for Clipless Versus Flat Pedals?
You might find it surprising, but different pedal types call for distinct repair techniques. For clipless pedals, focus on precise pedal maintenance, replacing bearings, and lubricating mechanisms. Flat pedals often require straightforward repairs like replacing worn-out pins or bearings. Understanding these nuances helps you choose the right rebuilding technique, ensuring smooth spins. Whether you’re fixing clipless or flat pedals, tailoring your approach enhances durability and performance, making your ride more enjoyable.
How Long Does a Typical Pedal Rebuild Process Usually Take?
A typical pedal rebuild usually takes about 30 minutes to an hour, depending on your experience and the pedal type. During a pedal service, you’ll disassemble the components, clean and replace worn parts, then reassemble. It’s a good idea to include this in your maintenance schedule to keep your pedals functioning smoothly. Regular maintenance prevents costly repairs and extends the lifespan of your pedals, ensuring peak performance on every ride.
Conclusion
Just like a master craftsman restoring a vintage watch, your attention to detail brings new life to your pedals. With patience and care, you’ve transformed rough spins into silky smooth rotations. Think of your pedals as the heartbeat of your ride—when properly rebuilt, they’ll keep your journey flowing seamlessly. Keep this momentum going, and every pedal stroke will feel as effortless as a gentle breeze guiding you forward. Happy riding!