
To plug a tubeless puncture, first locate the leak by listening or feeling for escaping air, then clean the area thoroughly. If it’s a small hole, use a tubeless repair kit with rubber plugs—re-ream the hole, insert the plug, and remove the tool. For larger punctures, adding tire sealant through the valve can seal it temporarily. Properly fixing your tire requires the right techniques, and if you continue, you’ll find detailed steps to restore your ride smoothly.
Key Takeaways
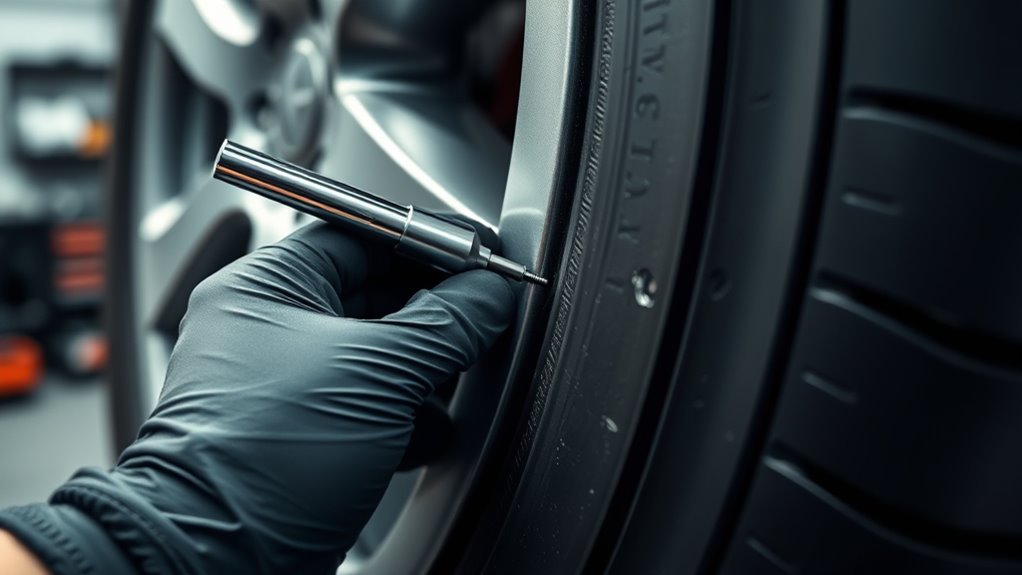
- Identify the puncture by listening for hissing sounds or observing pressure loss before attempting to plug.
- Use a tubeless repair kit with rubber plugs and reaming tools for effective sealing of larger punctures.
- Ream the puncture area to roughen the surface, then insert a rubber plug firmly into the hole.
- After plugging, inflate the tire and check for leaks to ensure a proper seal.
- Keep repair tools and sealant handy for quick fixes during rides or emergencies.
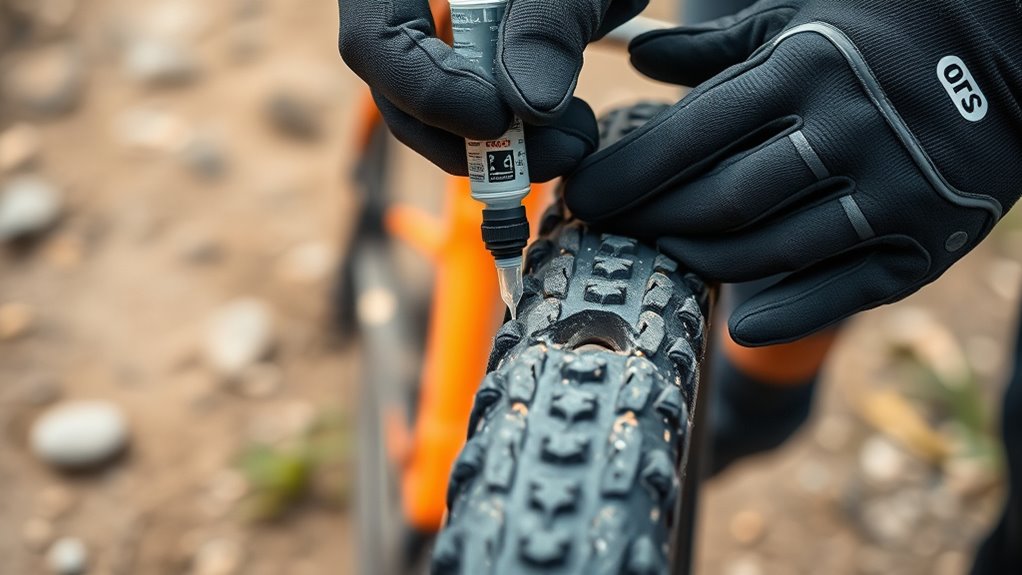
When you get a puncture in a tubeless tire, it doesn’t necessarily mean you need to replace the entire wheel. In many cases, you can fix it yourself using the right tools and techniques. The first step is to identify the puncture point. If you notice a slow leak, you might hear a hissing sound or see a drop in pressure over time. To repair the puncture, you’ll typically need tire sealant or a puncture repair kit, both of which are designed to quickly seal small holes and cuts. Tire sealant is especially handy because it’s designed to be added directly into the tire through the valve stem. Once inside, it coats the interior of the tire and automatically seals punctures as they occur, making it a convenient, semi-permanent solution for small punctures. Proper sealing depends on the quality of the material used and the correct application technique. If the leak is more significant or you prefer a more immediate fix, a puncture repair kit is your best bet. These kits usually include rubber plugs, a reaming tool, and an insertion tool. To use it, you first locate the puncture, then use the reaming tool to roughen the area around the hole. Next, you insert the rubber plug with the insertion tool, ensuring it’s securely in place. Once the plug is seated, you remove the tool, and the plug stays inside to seal the leak. This method is effective for larger holes or cuts that can’t be sealed with just sealant. In some cases, you might need to remove the tire from the rim to get better access to the puncture. This process involves deflating the tire completely, then using tire levers to lift it off the wheel. Once off, you can locate the puncture more precisely, clean the area, and apply the repair method of your choice. After sealing the puncture with either sealant or a plug, you reassemble the tire onto the rim, inflate it to the recommended pressure, and check for leaks. It’s also wise to keep a small bottle of tire sealant and a puncture repair kit in your bike bag or car for emergencies.
Frequently Asked Questions
Can I Plug a Tubeless Tire While Riding?
You can plug a tubeless tire while riding, but it’s challenging. First, find the puncture near the tire bead or valve stem, then remove the valve core for easier access. Quickly insert the plug into the hole, ensuring it’s secure. Keep in mind, it’s a temporary fix, and you should stop as soon as possible to check the tire’s integrity and consider a proper repair or replacement later.
How Long Does a Tubeless Plug Last?
You wonder how long a tubeless plug lasts, don’t you? It’s not just about sealing; the real question is its durability over time. Sealant longevity varies, but typically, a plug can last anywhere from a few weeks to several months, depending on riding conditions and sealant quality. Keep in mind, plug durability isn’t permanent—regular checks make certain your ride stays smooth and safe, avoiding surprises down the trail.
Is a Plug a Permanent Fix or Temporary?
A tubeless plug isn’t a permanent solution; it’s more of a temporary repair. While it can restore your tire’s functionality and extend its repair longevity, it doesn’t guarantee long-term durability. For a permanent fix, you’ll want to think about professional patching or replacing the tire. Using a plug is handy for immediate needs, but keep in mind that lasting repair usually involves more thorough methods to ensure safety and reliability.
What Tools Are Needed for Tubeless Puncture Repair?
You’ll need a tubeless tire plug kit, including a reamer, plug insertion tool, and tire sealant compatible with your setup. Think of it as your secret weapon against punctures! These tools help you quickly seal small cuts and prevent further damage, boosting puncture prevention. Make sure your sealant is compatible with your tires, so you get a seamless repair that keeps you rolling smoothly without the worry of leaks.
Can I Reuse a Tubeless Plug After Fixing?
You shouldn’t reuse a tubeless plug after fixing a puncture because it can compromise the seal and cause further issues. Proper plug removal is essential to guarantee the integrity of your tire. Keep in mind that tubeless sealant longevity varies, and reusing a plug may reduce effectiveness. Always replace the plug with a new one to maintain a secure seal, ensuring your tire stays safe and reliable on your ride.
Conclusion
Now that you know how to plug a tubeless puncture, you’re ready to hit the trails again. Just remember, a quick fix can save the day and get you back on your ride faster than you’d think. Don’t let a small hole become a big headache—sometimes, a little know-how goes a long way. With these steps, you’ll be patching like a pro in no time. Keep your wheels rolling and don’t let setbacks slow you down.