To replace a cassette at home, first clean your tape deck with a soft cloth or cleaner to prevent dust and grime buildup. Carefully remove the old cassette by holding it at the edges, then align and insert the new tape gently, ensuring it’s properly oriented. Play the cassette to check sound quality and make any needed adjustments. If you want to keep your tapes in top shape and avoid issues, you’ll want to learn more about proper handling and maintenance.
Key Takeaways
- Turn off the tape deck and open the cassette compartment carefully.
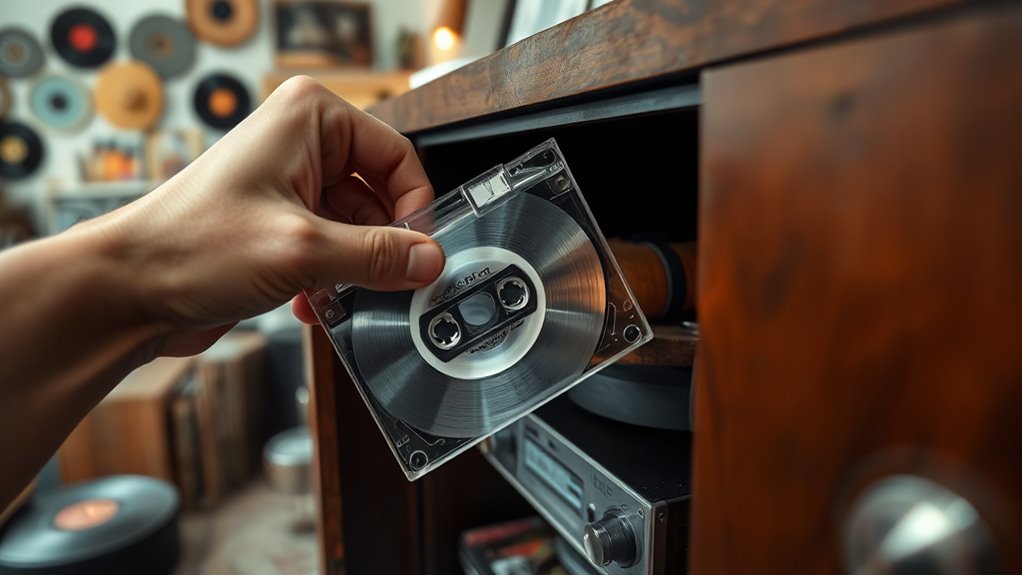
- Remove the old cassette by gently pulling it out, handling it by the edges.
- Clean the tape heads, rollers, and pinch rollers with a soft cloth or tape head cleaner.
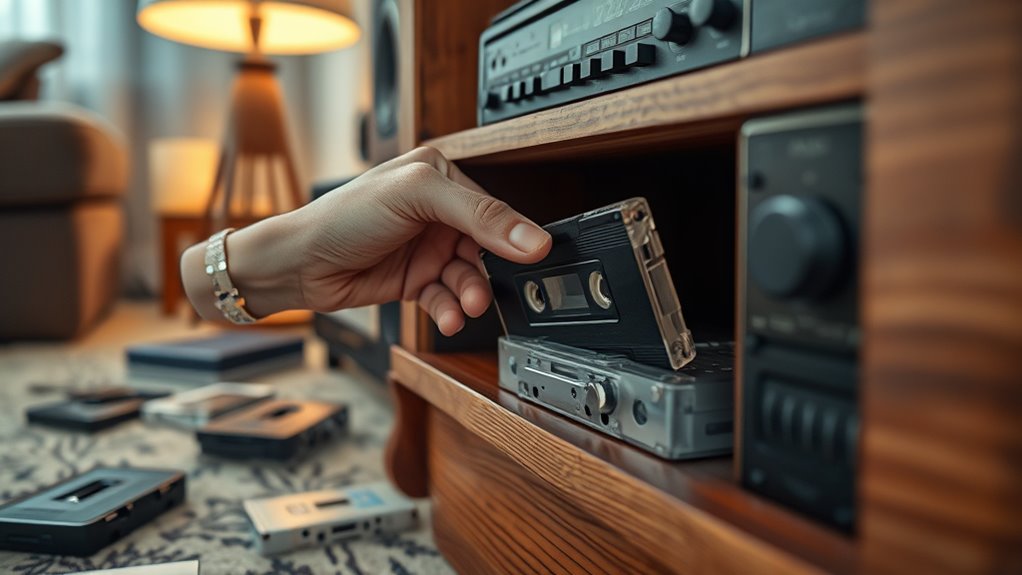
- Insert the new cassette, ensuring correct orientation and gentle placement.
- Play the tape and listen for sound quality; re-clean if audio issues are detected.
Ever wonder how to replace a cassette at home quickly and easily? It’s a straightforward process that not only refreshes your music collection but also helps with audio preservation. When you’re replacing a cassette, it’s important to handle the tape carefully to avoid damage, and this is where tape cleaning comes into play. Proper tape cleaning can greatly extend the lifespan of your cassettes and ensure you enjoy high-quality sound after replacement.
First, before you even start swapping out cassettes, take a moment to check the condition of your tape deck. Dust, dirt, and grime can accumulate over time, which could compromise audio preservation efforts. Use a soft, lint-free cloth or a specialized tape head cleaner to gently wipe down the tape heads, capstan, and pinch rollers. This step helps prevent unwanted noise or distortion and ensures your new cassette plays smoothly. Cleaning the tape deck is a key prep step that improves sound quality and conserves the integrity of your tapes over the long run.
Once your deck is clean, remove the old cassette carefully. Be gentle to avoid pulling or stretching the tape, which can cause permanent damage. When inserting the new cassette, make sure it’s properly aligned in the deck’s compartment. Most cassettes have a designated side to play, so double-check that it’s facing the right way. As you do this, handle the tape by the edges to prevent fingerprints or oils from contaminating the tape surface, which can interfere with audio quality. Proper handling and alignment are essential to maintaining audio preservation and ensuring your tapes sound clear and vibrant.
After inserting the new cassette, press play and listen for any irregularities. If you notice muffled sound, distortion, or hissing, it might be time to perform some tape cleaning on the deck again. Regularly cleaning the tape heads and rollers helps maintain ideal audio quality and prolongs the life of your tapes. If you’re dealing with old tapes that have become sticky or degrade over time, consider using a tape degausser or a specialized cleaning cassette designed for such issues. These tools can help rejuvenate your tapes and ensure they deliver the best possible sound.
Replacing a cassette isn’t just about swapping tapes; it’s about taking steps to preserve your audio collection. Proper tape cleaning and careful handling during replacement protect your recordings from deterioration. Maintaining your tape deck with regular cleaning and proper handling can significantly improve sound quality and extend the life of your tapes. With a few simple techniques, you can enjoy your favorite music or recordings with pristine sound quality, ensuring your tapes stay in great shape for years to come. The key is consistent maintenance and mindful handling, which makes replacing a cassette at home both easy and effective.
Frequently Asked Questions
Can I Replace a Cassette Without Turning off the Device?
You shouldn’t replace a cassette without turning off the device. For safety precautions, always unplug it first to prevent electrical shocks or damage. Turning off the device allows you to troubleshoot any issues and ensures the cassette is handled safely. Rushing this process can lead to malfunctions or injury. So, always power down, follow troubleshooting tips, and carefully replace the cassette for a smooth, safe experience.
What Tools Are Necessary for Replacing a Cassette?
Think of replacing a cassette as unsealing a secret door. You’ll need basic tools like a screwdriver or pliers to open the device, gently remove the old cassette, and insert the new one. Make sure you have proper disposal methods for the old tape to keep the environment safe. With the right tools and care, you can smoothly swap cassettes and keep your device humming like a well-tuned instrument.
How Do I Identify the Correct Replacement Cassette?
To identify the correct replacement cassette, you need to check its compatibility with your bike’s drivetrain, including the number of speeds and freehub type. Follow the replacement guidelines, which usually specify the compatible brand and model. Take your old cassette with you to the store or compare it online. Ensuring compatibility prevents shifting issues and guarantees smooth performance, making your replacement process simple and effective.
Is It Safe to Replace a Cassette While the Device Is Plugged In?
No, it’s not safe to replace a cassette while the device is plugged in, as doing so risks electrical safety hazards and device damage. Always unplug the device first to prevent electric shock or short circuits. Handling electrical components with power connected increases the chance of damaging the device or injuring yourself. Prioritize unplugging and wait for the device to be fully powered off before replacing the cassette.
How Often Should Cassettes Be Replaced for Optimal Performance?
Picture your cassette as a delicate river, flowing smoothly when well-maintained. For ideal performance, you should follow a regular maintenance schedule, replacing the cassette every 1 to 2 years or after about 300-500 hours of use. This replacement frequency prevents wear and ensures your device runs smoothly. Keep an eye on signs of deterioration, like noise or sluggishness, and don’t wait too long to refresh your setup.
Conclusion
Replacing a cassette at home is straightforward and saves you time and money. Just follow the steps carefully, and you’ll have your tape playing smoothly again. Remarkably, some experts suggest that handling tapes gently can actually extend their lifespan, which aligns with the idea that a little care goes a long way. So, take your time, stay patient, and treat your cassettes with respect—your effort will pay off with better sound quality and longevity.