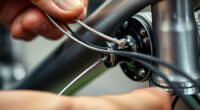
To replace brake cables and housing, start by removing the old components carefully, noting the routing. Measure and choose compatible housing and new cables, then thread the cables through the housing smoothly, applying lubricant to reduce friction. Adjust the tension at the caliper or lever for quick, responsive braking. Proper installation and fine-tuning guarantee safety and durability. If you want detailed steps and tips, keep going to learn how to do the job right.
Key Takeaways
- Remove old cables and housing, noting routing for proper reinstallation.
- Select compatible high-quality replacement housing suited for your brake system.
- Thread new cables through housing smoothly, using lubricant to reduce friction.
- Adjust cable tension at the caliper or lever for responsive, firm braking.
- Test and fine-tune brakes to ensure quick response and full release.
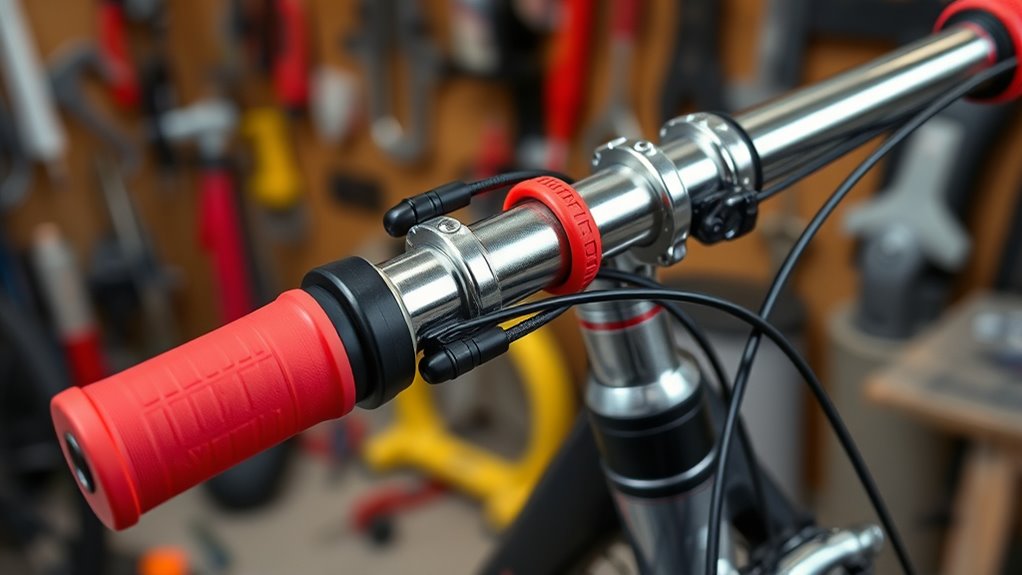
Over time, brake cables and housing can wear out, become frayed, or lose their responsiveness, which can compromise your bike’s stopping power. When this happens, it’s essential to replace them promptly to maintain safe and effective braking. One of the first things you’ll want to check is the cable tension. Proper cable tension ensures that your brake lever feels firm and responsive without excessive pull, and that the brakes engage quickly when you squeeze the lever. If your brake lever feels loose or requires a lot of pull before the brakes engage, it’s a sign that the cables need adjusting or replacing. When installing new cables, pay close attention to maintaining the correct cable tension. Too tight, and your brakes may drag; too loose, and they won’t stop effectively. Adjusting tension during installation is key to achieving ideal braking performance.
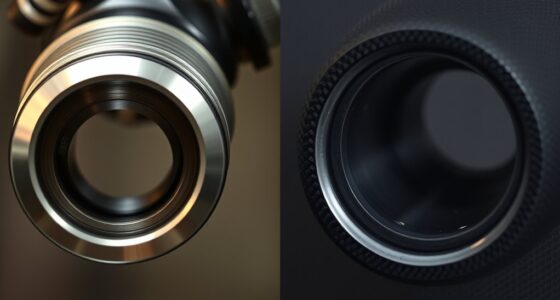
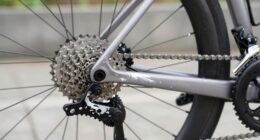
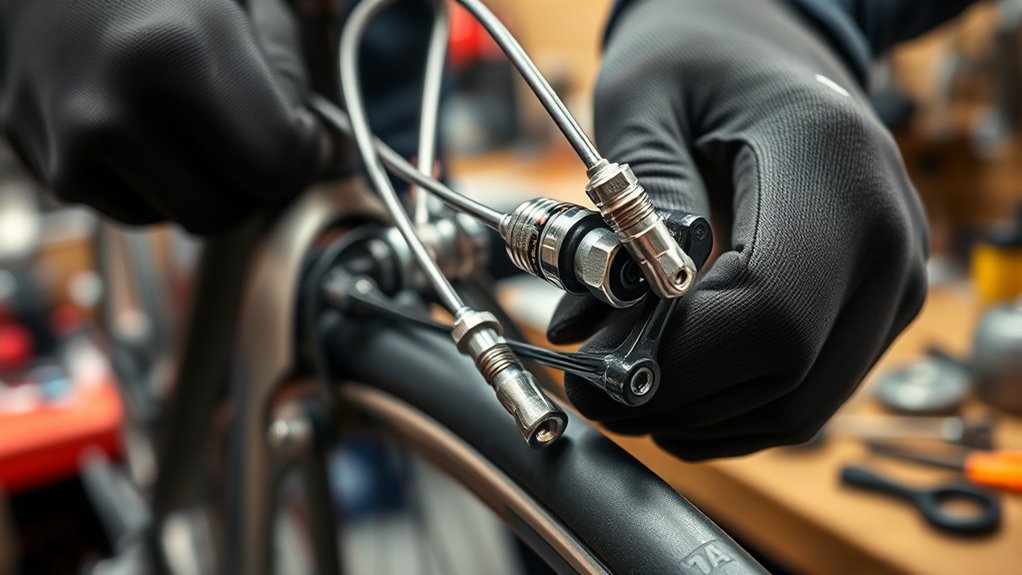
Another important consideration is housing compatibility. Brake housing acts as a conduit, guiding the cable from the brake lever to the brake caliper. Over time, the housing can become compressed, cracked, or corroded, reducing overall responsiveness. When replacing cables, you should match the new housing with the existing system to ensure compatibility. Not all housing is created equal—some are designed for specific brake types (such as rim brakes or disc brakes), and some feature different diameters or coatings for enhanced durability. Using incompatible housing can cause friction or poor cable movement, leading to sluggish braking response. Before installing, verify that the new housing fits snugly into the frame stops and operates smoothly through the cable routing. This helps prevent unnecessary friction, which can cause the cable to wear out faster or reduce braking efficiency. Additionally, selecting high-quality brake housing can significantly improve overall performance and longevity.
When replacing brake cables and housing, start by removing the old components carefully, noting how the cables are routed and secured. As you thread the new cables through the housing, ensure they glide smoothly without binding. Use cable lubricants if necessary to reduce friction and protect against corrosion. Once everything is in place, adjust the cable tension at the brake caliper or lever to ensure the brakes respond quickly and release properly. Test the brakes multiple times, making small adjustments until you achieve a firm, responsive feel. Proper cable tension and housing compatibility not only improve braking performance but also extend the lifespan of your components, making your rides safer and more reliable. Remember, taking the time to get these details right pays off in the long run.
Frequently Asked Questions
How Often Should Brake Cables Be Replaced?
You should replace brake cables when they show signs of fraying, corrosion, or if your braking feels less responsive. Regularly lubricate the brake cable to keep it smooth and check its length to ensure proper tension. If you notice the cable is stretched or damaged, it’s time for a replacement. Doing this maintenance keeps your brakes functioning safely and effectively, extending their lifespan and ensuring smooth rides.
Can I Replace Brake Cables Myself Without Tools?
Yes, you can replace brake cables yourself without tools if you’re comfortable with basic DIY maintenance. You’ll need some simple tools like pliers and possibly a screwdriver, but no specialized equipment. Make sure to follow instructions carefully, loosen the cable clamps, and thread the new cables through the housing. Taking your time guarantees proper installation, and doing it yourself saves money while giving you a sense of accomplishment.
What Signs Indicate Brake Cable Wear or Damage?
You’ll notice signs of brake cable wear or damage if you feel increased brake lever effort or hear squeaking during braking. Frayed or rusted cables, visible corrosion, or irregular movement also indicate issues. Regularly check for cable lubrication, as lack of it can diminish brake performance. If you see any of these signs, it’s time to replace or lubricate the cables to guarantee your brakes work smoothly and safely.
Are There Different Types of Brake Cables for Specific Bikes?
You bet there are different types of brake cables for specific bikes. It is crucial to match your cable to your bike’s make and model, ensuring compatibility. Using bike-specific cables guarantees a smooth ride and reliable braking. Think of it as locking two pieces of a puzzle together—cable compatibility really matters. Always check your bike’s specifications before buying, so you avoid the headache of incompatible parts and keep everything running like clockwork.
How Do I Choose the Right Housing for My Bike?
You should choose the right housing for your bike by considering material compatibility and cost. Look for housing made from materials that suit your riding style—stiffer for mountain biking, more flexible for road riding. Balance your budget; high-end options offer smooth performance, but affordable options work well too. make certain the housing fits your bike’s cable diameter and frame. This way, you get reliable braking without overspending.
Conclusion
Now that you’ve replaced your brake cables and housing, you’ll notice a smoother, more responsive ride. It’s funny how a simple upgrade can suddenly make your bike feel brand new—like rediscovering the joy of cycling. Just as you thought your bike was ready for the road, this small tweak can unexpectedly improve your experience. So, next time you hit the trails, remember that sometimes, fixing the small stuff makes all the difference. Happy riding!