To replace a rotor and align the caliper, start by safely lifting your vehicle and removing the wheel. Unbolt the caliper and hang it aside, then remove the rotor, cleaning the mounting surface thoroughly. Install the new rotor, making sure it seats flush against the hub. Check the caliper slide pins for smooth movement, lubricate if needed, then reassemble and torque everything to specs. Proper alignment guarantees even wear—learn more to get every detail just right.
Key Takeaways
- Safely lift and support the vehicle, then remove the wheel to access the rotor and caliper.
- Unbolt the caliper, suspend it, then remove the rotor, cleaning the mounting surface thoroughly.
- Install the new rotor, ensuring it seats flush against the hub for proper alignment.
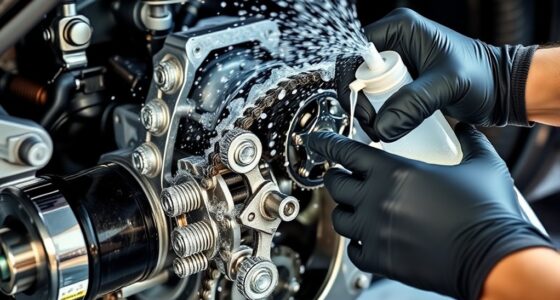
- Reinstall and lubricate caliper slide pins, then position the caliper correctly over the rotor.
- Tighten all bolts to manufacturer specifications, reattach the wheel, and verify proper torque.
Have you noticed your brakes feeling less responsive or unusual squealing during stops? If so, it’s time to think about replacing your rotor and aligning the caliper. The process starts with a thorough brake pad inspection; you want to check if the pads are worn down unevenly or if they’re still thick enough to provide proper stopping power. Worn brake pads can cause your rotor to become uneven or damaged, which in turn affects braking performance. Before removing any parts, make sure your vehicle is safely lifted and supported with jack stands. Once elevated, remove the wheel and check the wheel lug torque specifications to confirm they’re properly tightened after the wheel is reinstalled—this prevents issues like loose wheels or uneven braking.
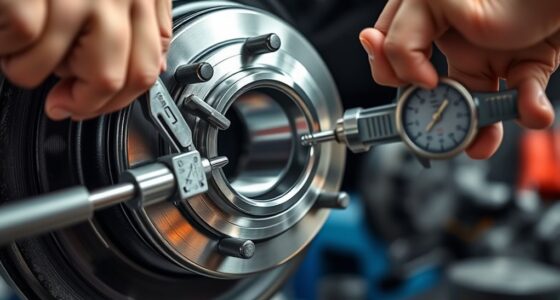
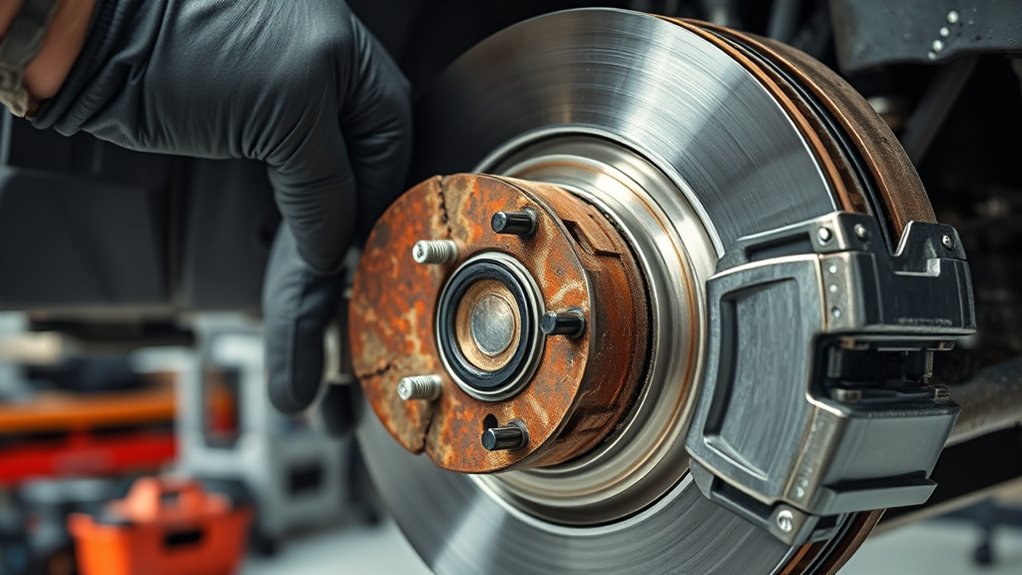
Next, you’ll need to remove the caliper and the rotor. Carefully unbolt the caliper and suspend it using a wire hook or bungee cord so that tension isn’t placed on the brake hose. Remove the rotor, which may be stuck due to rust or debris; if it’s stubborn, gently tap around its edges with a rubber mallet. When replacing the rotor, clean the mounting surface thoroughly to remove rust or dirt that could cause misalignment. Once the new rotor is in place, you want to verify that it is properly seated and flush against the hub. This is vital for even brake pad contact and peak braking.
Remove caliper and rotor carefully; ensure rotor seats flush for optimal braking performance.
Aligning the caliper involves more than just bolting it back in place. First, check that the caliper slides smoothly on its pins—if they’re rusty or stuck, clean and lubricate them. When reinstalling the caliper, ensure it’s aligned correctly over the new rotor. Proper caliper alignment guarantees even brake pad wear and consistent braking performance. After everything is in place, tighten all bolts to the manufacturer’s specified torque settings, especially the wheel lug nuts, to avoid uneven pressure or wheel wobble during driving. It’s also important to periodically check the brake system for signs of wear to maintain safety and performance. Once reassembled, pump the brake pedal several times to seat the new rotor and pads properly, and test your brakes in a safe area before resuming normal driving.
Replacing a rotor and aligning the caliper might seem straightforward, but attention to detail is key. Regular brake inspections, including checking the brake pad condition and verifying proper wheel lug torque, help prevent further issues down the road. Taking the time to do it right ensures your brakes function reliably, keeping you safe on the road.
Frequently Asked Questions
How Do I Know When My Rotor Needs Replacement?
You’ll know your rotor needs replacing if you notice brake noise, like squealing or grinding, or experience uneven wear on the rotor surface. Warping or grooves also indicate it’s time for a replacement. When you press the brake pedal, if it feels pulsating or less responsive, it’s a sign your rotor may be damaged. Address these issues promptly to maintain safe braking performance and prevent further damage.
Can I Replace Rotors Without Professional Tools?
You can attempt DIY maintenance on rotors without professional tools, but it’s like trying to craft a delicate sculpture with household items—you might get close, but precision suffers. Basic tools like a jack, socket set, and brake caliper piston tool are essential. For a proper job, using professional tools guarantees safety and alignment, preventing future issues. If you’re unsure, consulting a mechanic guarantees your brakes perform flawlessly.
What Are Signs of a Misaligned Caliper?
You’ll notice signs of a misaligned caliper if your brake caliper is sticking, causing uneven brake wear. When the caliper isn’t aligned properly, it can lead to the brake pad pressing unevenly against the rotor, resulting in squeaking, dragging, or a soft brake pedal. If you experience these issues, it’s a clear sign that your caliper needs realignment or replacement to confirm safe and effective braking.
How Long Does a Rotor Replacement Typically Take?
A rotor replacement usually takes about 1 to 2 hours. You’ll start by removing the wheel and brake pad, then disconnect the caliper from the wheel hub. As you work through replacing the rotor, guarantee the new one aligns perfectly with the wheel hub to prevent vibrations. This process involves some patience, but with the right tools, you’ll have your brakes functioning smoothly again in no time.
Are There Different Types of Rotors for Specific Vehicles?
Yes, there are different types of rotors designed for specific vehicles. You need to take into account vehicle compatibility and rotor specifications to ensure proper fit and performance. Factors like rotor size, venting, and material vary depending on the make and model. Always check your vehicle’s manual or consult with a professional to choose the right rotor, preventing issues like uneven braking or premature wear.
Conclusion
Now that you’ve replaced the rotor and aligned the caliper, your brakes should perform smoothly and reliably. Just like tuning up a classic car in a vintage garage, proper alignment guarantees safety and efficiency. Remember, regular checks keep everything in top shape—no need to wait for a breakdown. With a little care, your brakes will be ready to handle the road ahead, making every drive feel as confident as cruising down Route 66 in a shiny, new ride.