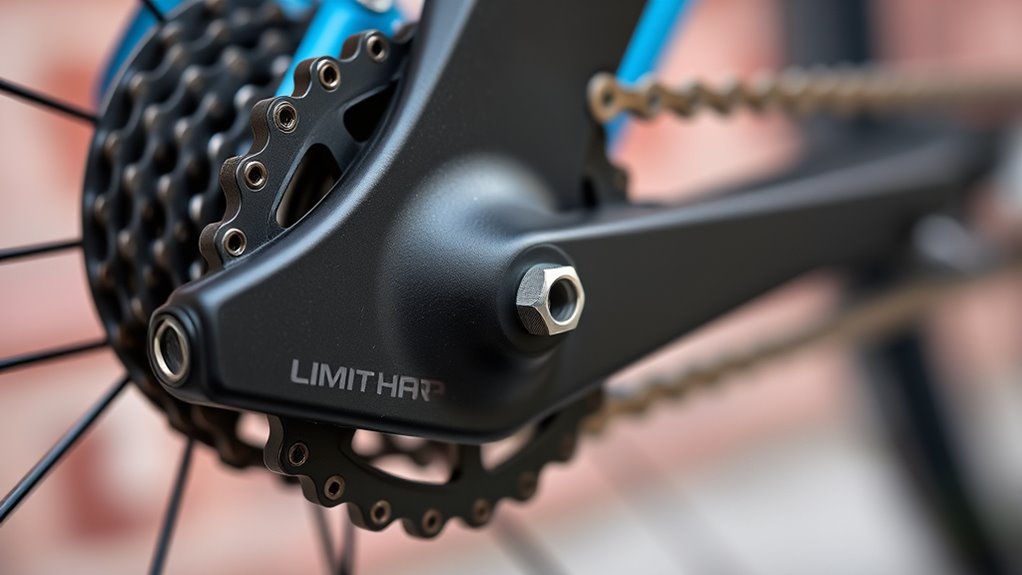
To set your rear derailleur limit screws, shift to the smallest sprocket and turn the “H” screw clockwise until the derailleur just touches the smallest cog without rubbing. Then shift to the largest sprocket, turn the “L” screw clockwise until the derailleur lines up with it perfectly, avoiding chain overshoot. Make sure the derailleur remains parallel to the cassette. If you want detailed steps to get it just right, keep going to learn more.
Key Takeaways
- Shift to the smallest sprocket, then turn the “H” screw clockwise until the derailleur just touches the sprocket edge.
- Shift to the largest sprocket, then turn the “L” screw clockwise until the derailleur aligns with the sprocket without rubbing.
- Ensure the derailleur cage remains parallel to the sprockets before fine-tuning the limit screws.
- Test shifts across all gears to confirm the derailleur stops correctly without chain overshoot or rubbing.
- Adjust derailleur cable tension if necessary to improve shift accuracy after setting the limit screws.

Adjusting the rear derailleur limit screws is a essential step in ensuring smooth shifting and preventing chain derailment. These screws control how far the derailleur moves in either direction, making it it’s necessary to set them correctly for reliable gear shifting. If the limit screws aren’t properly adjusted, your bike might struggle to shift between gears smoothly or, worse, the chain could slip off entirely. Properly setting these screws also helps maintain derailleur alignment, ensuring the derailleur hangs perfectly parallel to the cassette and guiding the chain accurately across all gears.
Start by shifting to the smallest sprocket in the rear. This gives you a baseline where the derailleur is positioned closest to the wheel. Next, locate the high limit screw, often labeled as “H” on your derailleur. Turn this screw clockwise to limit how far inward the derailleur can move toward the wheel. Your goal is to prevent the derailleur from pushing the chain beyond the smallest sprocket, but still allow smooth shifting onto it. Test by shifting down to the smallest sprocket; if the chain hesitates or doesn’t settle properly, make small adjustments to the high limit screw until the derailleur just touches the edge of the smallest sprocket without overextending.
Then, shift to the largest sprocket in the rear. Find the low limit screw, labeled “L,” and turn it clockwise to limit how far outward the derailleur can go. This prevents the chain from overshooting onto the spokes or falling off the largest sprocket. As with the high screw, test the shift and make tiny adjustments until the derailleur aligns perfectly with the largest sprocket without rubbing or skipping.
While adjusting these screws, keep an eye on derailleur alignment. A misaligned derailleur can cause poor gear shifting regardless of screw adjustments. To check this, observe whether the derailleur cage remains parallel to the sprockets. If not, you might need to realign it or check for bent components before fine-tuning the limit screws further. Additionally, understanding the derailleur mechanism can help you troubleshoot and optimize your setup more effectively.
Once you’ve set the limit screws, test the entire gear range by shifting through all gears. Make sure each shift is clean, quick, and precise without chain rub or hesitation. Fine-tune the tension of your derailleur cable if shifts aren’t perfect. Remember, setting the limit screws correctly is a fundamental step in maintaining smooth gear shifting and prolonging the life of your drivetrain. Proper derailleur alignment combined with well-adjusted limit screws ensures your bike shifts confidently and reliably every ride.
Frequently Asked Questions
How Often Should I Check and Adjust My Derailleur Limit Screws?
You should check and adjust your derailleur limit screws every few months or whenever you notice shifting issues. Regular limit screw maintenance guarantees proper derailleur alignment, preventing chain drop or skipping. If you switch to a different cassette or chainring, or after a crash, it’s a good idea to recheck these screws. Keeping your derailleur properly aligned with correct limit screw adjustments maintains smooth, safe shifting performance.
Can I Fix Shifting Issues Without Adjusting the Limit Screws?
You can often improve shifting performance without adjusting the limit screws by checking the cable tension and ensuring your derailleur is properly aligned. Sometimes, issues stem from worn or dirty components, so cleaning and lubricating your derailleur and chain can help. However, if shifting remains problematic, limit screw adjustment is essential to prevent the chain from overshifting or dropping, ensuring smooth, reliable gear changes.
Are There Different Types of Limit Screws for Various Derailleur Brands?
It’s a bit like choosing the right key for a door—there are different limit screw types for various derailleur brands, so you can’t assume one size fits all. You need to check derailleur compatibility to guarantee you get the correct limit screw type. Different brands and models may have unique screw designs, making it essential to match the right limit screw type to your specific derailleur for smooth shifting.
What Tools Are Needed to Properly Set the Limit Screws?
You need a Phillips or flat-head screwdriver, depending on your derailleur’s screws, to properly set the limit screws. A small Allen wrench might be necessary if your derailleur has Allen bolt adjustments. Make sure you avoid common mistakes like over-tightening or not checking the derailleur’s movement across gears. Using the right tools helps you make precise adjustments, preventing issues like chain drop or gear slipping.
How Do I Know if My Derailleur Needs New Limit Screws?
You’ll know your derailleur needs new limit screws if you notice persistent shifting issues, like the chain dropping off the gears or not shifting into the highest or lowest gear. Check for derailleur wear or damage to the limit screws—they might be stripped or bent. If adjusting the screws doesn’t fix the problem, it’s time to replace them, preventing further damage and ensuring smooth, reliable shifting.
Conclusion
Now that you’ve set your rear derailleur limit screws, you’re in control of smooth gear changes. Don’t worry if it takes a few tries—perfection comes with practice. Remember, proper adjustment prevents costly damage and keeps your ride safe. You might feel frustrated at first, but every turn brings you closer to cycling confidence. Keep at it; your bike—and your adventures—will thank you for the effort. Happy riding!


