When swapping a chainring, it’s vital to understand the bolt circle diameter (BCD), which measures the fitment of the chainring to your crankset. You need to match the BCD and bolt pattern exactly to guarantee compatibility. Measure your current chainring’s BCD or check the crankset specs before buying a new one. Using the correct bolts and following proper installation steps assures a secure fit. Keep going to discover more tips for a smooth swap.
Key Takeaways
- Measure your current chainring’s Bolt Circle Diameter (BCD) or check crankset specifications for compatibility.
- Confirm the new chainring’s bolt pattern and number of bolts match your crankset’s BCD.
- Use correct bolts, matching thread pitch and length, to secure the chainring properly.
- Remove old bolts, align the new chainring’s holes with the crankset, and tighten bolts evenly in a star pattern.
- Ensure all bolts are secure before riding to maintain proper fit and safe operation.
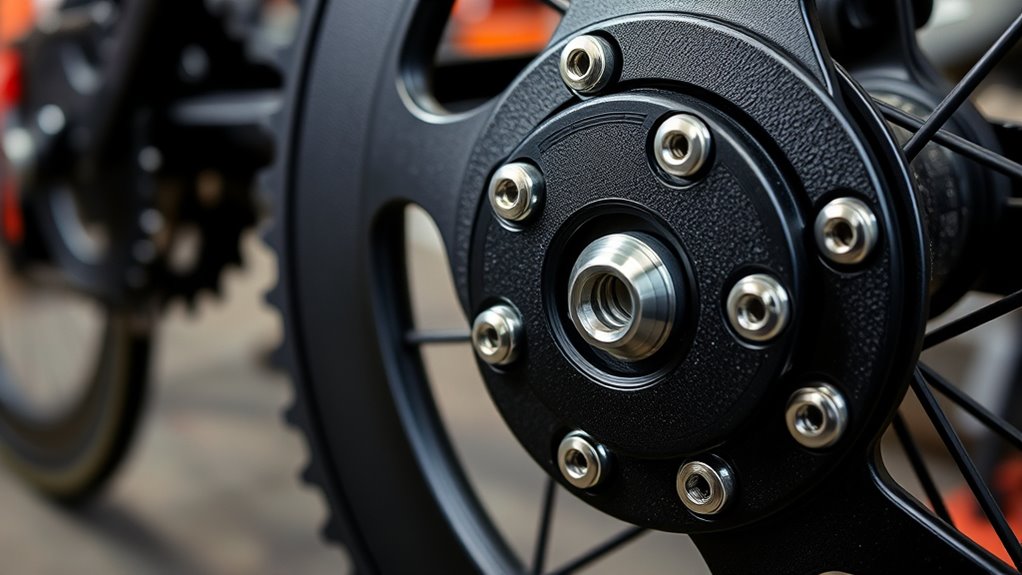
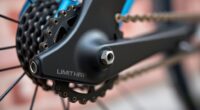
If you’re looking to improve your bike’s performance or replace a worn-out chainring, swapping it out is a straightforward upgrade you can do yourself. One of the key factors to consider when choosing a new chainring is understanding the basics of bolt circle diameter (BCD). The BCD is the measurement used to determine if a chainring will fit your crankset, and it’s essential to match this precisely. Different bikes and cranksets use various chainring types, which are categorized by their bolt circle diameters and the number of bolts. Common types include 5-bolt, 4-bolt, and 6-bolt configurations, each corresponding to specific BCD measurements, such as 110mm, 130mm, or 110/74mm for compact setups. Before purchasing a replacement, measure your current chainring’s BCD or check your crankset specifications to guarantee compatibility.
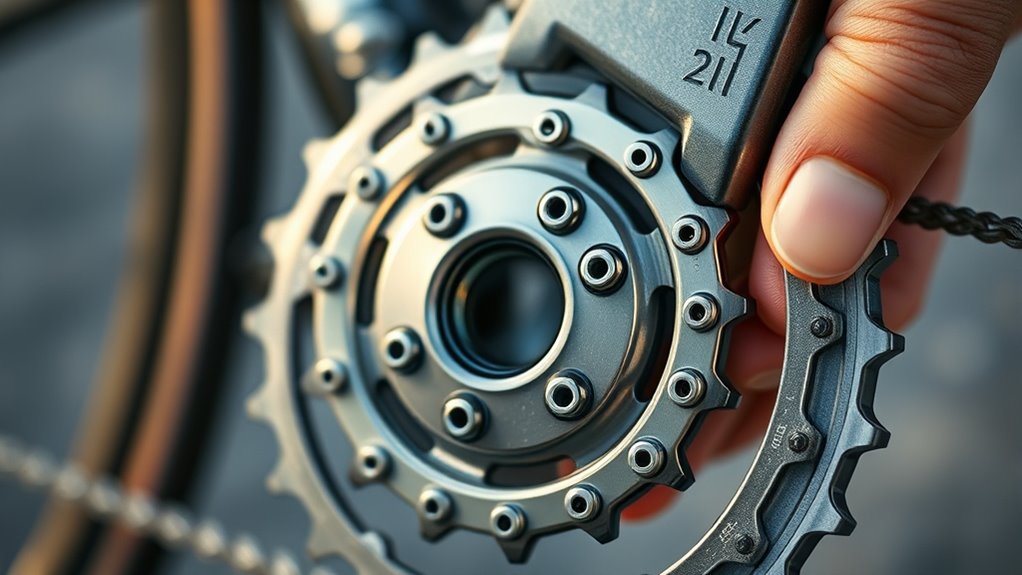
Once you know the correct chainring type, you’ll need to focus on compatible bolts. The bolts are vital because they secure the chainring to the crankset. Different chainring types require specific compatible bolts, often designed to match the bolt pattern and size. Some chainrings come with their own set of bolts, while others require you to buy them separately. When selecting bolts, pay attention to length and thread pitch to avoid stripping or improper fit. Using the correct bolts guarantees that your new chainring stays securely attached during rides, preventing potential accidents or chain drops.
Choose compatible bolts by matching length and thread pitch for secure, safe chainring installation.
Removing the old chainring involves loosening the bolts that hold it to the crankset. Use the appropriate Allen wrench or socket tool to unscrew these bolts, keeping them safe if you plan to reuse them. Once the old chainring is detached, align the new chainring’s bolt holes with the crankset’s bolt pattern. Carefully insert the compatible bolts, ensuring they fit snugly into their respective holes. Tighten them gradually in a star pattern to evenly distribute pressure and avoid warping the chainring. Check that everything is firmly secured before you start riding, as loose bolts can cause misalignment or damage. Additionally, understanding the different toilet types and features can help you choose the best upgrade for your bike’s maintenance needs.
When selecting a new chainring, consult your bike’s specifications to match the bolt circle diameter and bolt pattern exactly. This guarantees compatibility and smooth operation. Remember, the right chainring type and compatible bolts make the installation process simple and effective, providing you with a reliable upgrade that enhances your cycling experience. With a little patience and the right tools, swapping a chainring becomes a quick, cost-effective way to keep your bike performing at its best.
Frequently Asked Questions
Can I Use a Chainring With a Different Bolt Circle Diameter?
You can’t generally use a chainring with a different bolt pattern or bolt circle diameter because it won’t align properly with your crankset. The bolt pattern, often determined by chainring materials and design, must match your crank’s bolt circle diameter for a secure fit. Check your crankset’s specifications first. If they match, swapping is straightforward; if not, you’ll need a compatible chainring with the correct bolt pattern for safe and reliable riding.
How Do I Determine My Bike’s Bolt Circle Diameter?
To determine your bike’s bolt circle diameter, you should use measurement techniques like a ruler or caliper to measure the distance between bolt holes across the center. Check bolt circle standards for your bike’s model, which typically specify the diameter. Confirm your measurements match the standard, ensuring compatibility when swapping chainrings. Accurate measurement is key to selecting the right chainring that fits your bike’s bolt pattern.
Are There Compatibility Issues With Different Cranksets and Chainrings?
Compatibility concerns can feel like steering a maze, but understanding crankset variations helps. You might face issues if your chainring doesn’t match your crankset’s bolt circle diameter or if the bolt pattern differs. Always check the specifications before swapping. Many cranksets aren’t universal, so mismatched parts can cause shifting problems or damage. To avoid headaches, verify compatibility, and choose chainrings designed for your specific crankset.
What Tools Are Needed to Measure Bolt Circle Diameter Accurately?
To measure bolt circle diameter accurately, you need a quality caliper. First, calibrate your caliper to verify precise measurement techniques. Use the caliper to measure the distance between the centers of two opposite bolt holes, ensuring it’s perpendicular to the bolt holes. Repeat the process for consistency. This method helps you determine the exact bolt circle diameter, making sure your chainring fits perfectly with your crankset.
How Do I Replace a Worn or Damaged Chainring?
Ever wondered how to replace a worn or damaged chainring? First, choose a matching chainring style and material that suits your bike and riding style. Then, remove the crank arm and unbolt the old chainring, taking note of the bolt circle diameter. Install the new chainring, tighten the bolts securely, and reassemble. This quick swap keeps your drivetrain smooth and efficient, no matter the chainring materials or styles you prefer.
Conclusion
Now that you know the basics of swapping a chainring and understanding bolt circle patterns, you’re ready to take on the challenge. But beware—there’s more to discover that could change your entire ride. Will you choose the perfect chainring for speed or durability? The next step could reveal hidden performance secrets you never knew existed. Ready to dive deeper and elevate your cycling game? The adventure isn’t over yet—you just got started.