To set up tubeless tires without mess and frustration, start by thoroughly cleaning your rim with isopropyl alcohol, ensuring the bead seat is spotless. Use high-quality tubeless-ready rim tape to seal all spoke holes flat and securely. Mount your tire evenly and add sealant through the valve or directly into the tire. Inflate quickly with a compressor until the bead snaps into place, then shake the tire to distribute the sealant evenly. Following these steps will make your tubeless setup smoother and cleaner.
Key Takeaways
- Thoroughly clean the rim with isopropyl alcohol and focus on the bead seat to ensure a good seal.
- Use high-quality tubeless rim tape, covering all spoke holes flat and bubble-free.
- Apply sealant carefully through the valve or directly into the tire to prevent leaks and flats.
- Inflate with a high-volume pump or compressor until the bead snaps into place with audible pops.
- Check for leaks after setup, add more sealant if needed, and reseat the bead to ensure a mess-free, reliable seal.
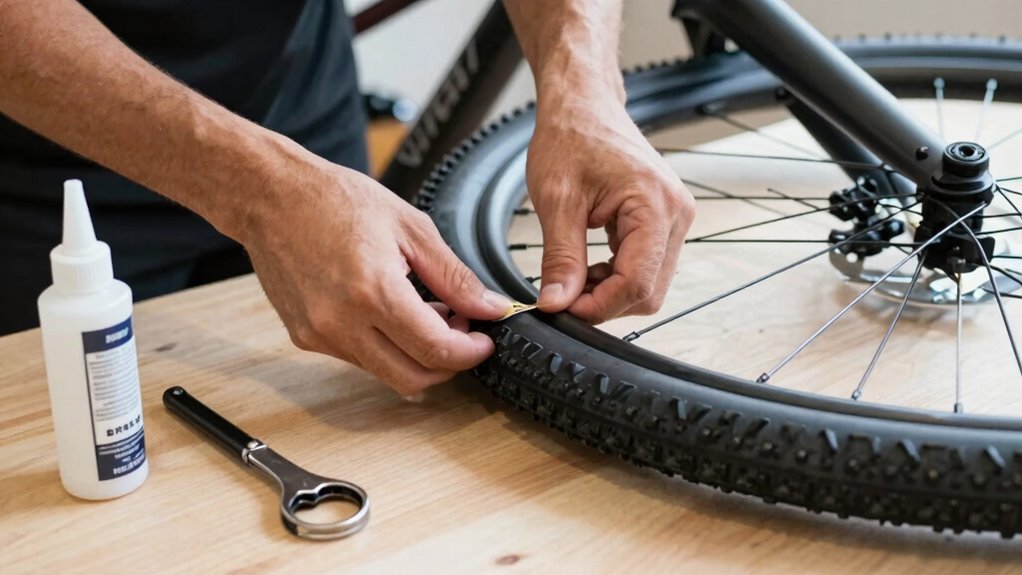
Have you ever wondered how to set up tubeless tires for your bike or vehicle? If so, you’re not alone. Many riders and drivers find the process intimidating at first, especially with concerns about mess and frustration. The key to a smooth setup lies in proper rim preparation and using the right tire sealant. When you start, you want to ensure your rim is perfectly prepared to accept the tubeless setup. Rim preparation involves cleaning the rim thoroughly to remove any dirt, debris, or old adhesive residue. Use a clean cloth and some isopropyl alcohol to wipe down the rim’s surface, paying special attention to the bead seat area. This step is vital because any dirt or grime can prevent the tire from sealing properly, leading to leaks or difficulty mounting the tire.
Proper rim cleaning and tape ensure a successful, mess-free tubeless setup.
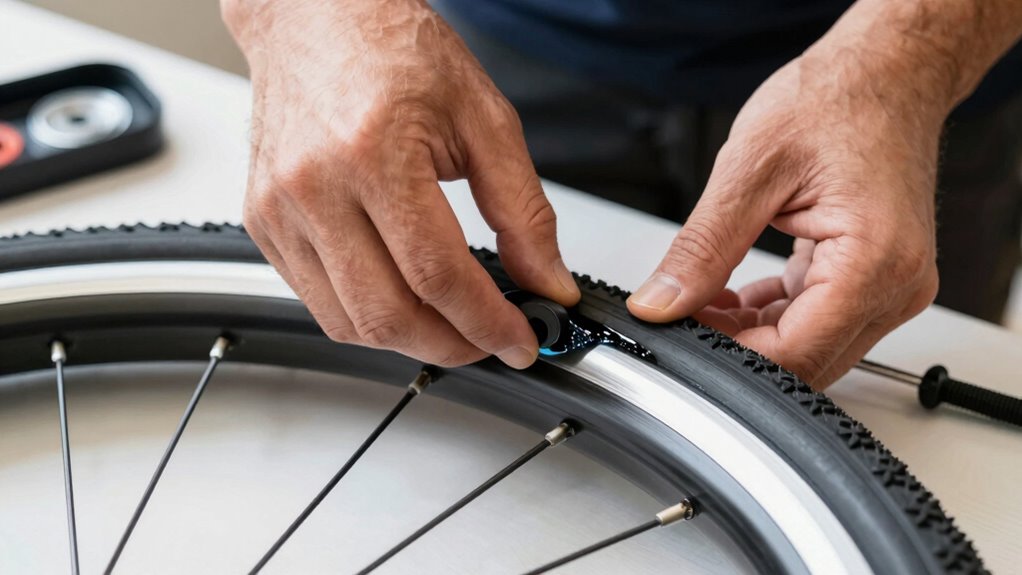
Next, inspect your rim tape. If it’s damaged or old, replace it with a high-quality tubeless-ready rim tape. Proper rim tape ensures the spoke holes are sealed, so air doesn’t escape from the rim itself. Carefully apply the tape, making sure it’s flat and fully covering all spoke holes without bubbles or wrinkles. Once your rim is prepped, it’s time to install the tire. Mount the tire onto the rim, making sure the bead is seated evenly on both sides. This can sometimes be tricky, but a bit of patience and a tire lever can help if needed. Before inflating, add a generous amount of tire sealant through the valve stem or directly into the tire. Tire sealant is essential because it seals small punctures and leaks, keeping your setup airtight and reducing the chance of flats. Understanding the projector technology involved can also help you choose the right setup for your specific needs.
When inflating the tire, use a high-volume pump or an air compressor if available. This helps seat the bead firmly against the rim, creating a proper seal. As you inflate, listen for a series of pops—these are the beads snapping into place. Once the tire is inflated to the recommended pressure, shake the tire side to side to distribute the sealant evenly, ensuring all potential leaks are sealed. Keep an eye on the pressure over the next few hours; the sealant will work to fill any tiny gaps or punctures. If you notice any leaks or if the tire won’t hold air, add more sealant or repeat the rim preparation process.
Setting up tubeless tires might seem intimidating initially, but with the right rim preparation and tire sealant, it becomes manageable and mess-free. This approach minimizes frustration and ensures a reliable, puncture-resistant ride every time. Once you’ve done it a few times, you’ll find it quicker, cleaner, and more satisfying than traditional setups.

Muc-Off Ultimate Tubeless Setup Kit, Road/Gravel/CX 44mm – Tubeless Conversion Kit for Bikes – Includes Tubeless Tire Sealant and Tubeless Valve Stems
GOING TUBELESS?: Muc-Off Ultimate Tubeless Setup Kit is a one-stop shop for everything you need to make the…
As an affiliate, we earn on qualifying purchases.
As an affiliate, we earn on qualifying purchases.
Frequently Asked Questions
What Tools Are Essential for Tubeless Tire Setup?
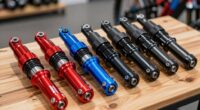
You’ll need a few essential tools for setting up tubeless tires. A tire bead tool helps seat the bead properly, while a valve core removal tool makes installing or removing the valve core easy. You’ll also want a floor pump with a high-volume capacity to seat the bead fully and add sealant. Don’t forget a valve stem and some sealant to guarantee an airtight fit and prevent leaks during your ride.
How Do I Fix a Tubeless Tire Puncture?
To fix a tubeless tire puncture, first locate the leak and remove the valve core to add sealant if needed. Use a tubeless tire repair kit with a plug or patch to seal the puncture. Guarantee rim tape is properly applied during maintenance to prevent future issues. Reinflate the tire, check for leaks, and ride confidently knowing your rim tape and sealant work together to keep your tubeless setup secure.
Can I Convert Any Clincher Tire to Tubeless?
Imagine you’re enthusiastic to upgrade your trusty clincher tire to tubeless for better ride quality. The truth is, not all clincher tires are compatible, so you need to check tire compatibility and rim compatibility first. Some tires, especially those designed for tubeless setups, work perfectly, while others don’t seal properly. Always verify your rim’s ability to support tubeless setups and choose tires accordingly to avoid frustration.
What Is the Ideal Sealant Type for Tubeless Tires?
The ideal sealant type for tubeless tires offers good longevity and reliable sealing. Look for latex-based sealants, as they’re known for their durability and ease of use. They provide best sealant longevity, so you won’t need to top off frequently. Avoid silicone or water-based options, which don’t last as long or seal as effectively. Choose a reputable brand, and you’ll enjoy a smoother, mess-free ride with fewer interruptions.
How Often Should I Replace Tubeless Tire Sealant?
You should replace your tubeless tire sealant every 2 to 6 months, depending on its sealant longevity. Regularly check for signs of dryness or clumping, and follow a consistent replacement schedule to maintain peak sealing performance. If you notice reduced puncture protection or difficulty sealing leaks, it’s time to refresh the sealant. Staying on top of this ensures your tires stay reliable and your rides stay smooth.

Muc-Off Tubeless Rim Tape, 25mm – Adhesive Bike Tire Liner, Tubeless Tape for MTB/Road/Gravel Bikes – Tubeless Kit Including 10m Roll of Bike Tape
GOING TUBELESS?: Our bike rim tape is the perfect choice if you’re looking to make the switch to…
As an affiliate, we earn on qualifying purchases.
As an affiliate, we earn on qualifying purchases.
Conclusion
Now you’re ready to conquer tubeless tires like a pro, avoiding the mess and frustration of past eras. With a little patience and these simple steps, you’ll enjoy a smoother ride and fewer flats. Think of it as upgrading from a chariot to a sleek modern vehicle—it’s all about making life easier. So, grab your tools, follow the guide, and roll on confidently. The road awaits—no need for an ancient scroll to get started!

Stan's NoTubes Tire Sealant (500ml), Long Lasting Flat Prevention, Ultra Fast Sealing, up to 1/4" punctures, Proactive Tire Repair, for Mountain, Road, Gravel, Cyclocross, and Commuter Bikes
The world’s first tubeless sealant and the first choice of riders today
As an affiliate, we earn on qualifying purchases.
As an affiliate, we earn on qualifying purchases.
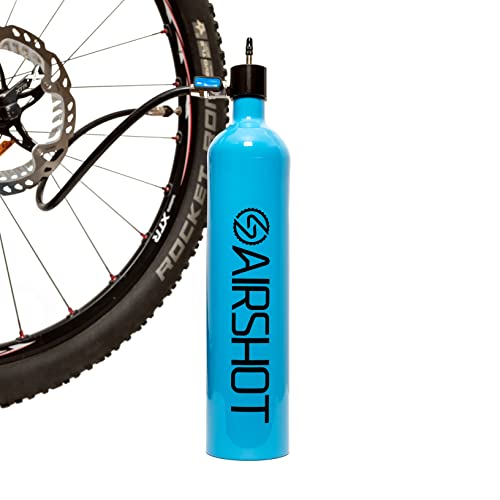
Airshot Tubeless Tire Inflator 1.15l
COMPATIBLE with all tire sizes: 26", 27.5", 27.5+", 29", "29+", MTB, road, cyclocross and fat bikes, the Airshot…
As an affiliate, we earn on qualifying purchases.
As an affiliate, we earn on qualifying purchases.