
To fix a flat tire, first gather your tools and safety gear like gloves, a tire pressure gauge, and a jack. Find a safe, flat spot away from traffic. Turn on hazard lights, engage the parking brake, and loosen the lug nuts with a wrench. Lift the vehicle with a jack, remove the flat tire, then install the spare or replacement. Tighten everything securely and lower your car. Keep in mind, proper technique makes all the difference—learn more to do it confidently.
Key Takeaways
- Find a safe, flat location and engage parking brake before beginning the tire change process.
- Loosen lug nuts slightly while the tire is still on the ground, then lift the vehicle with a jack at proper points.
- Remove the flat tire completely and inspect the spare or replacement tire for damage and proper inflation.
- Mount the spare, tighten lug nuts in a crisscross pattern, and ensure they are torqued to manufacturer specifications.
- Lower the vehicle, perform a final check of lug nuts and tire pressure, then test drive briefly to confirm safety.
Gather Your Tools and Safety Gear

Before you begin fixing your flat tire, it’s essential to gather all the necessary tools and safety gear. You’ll need a spare tire, a jack, and a lug wrench. Check your vehicle’s manual for the recommended tire pressure to guarantee your spare is properly inflated. Using the right airless paint sprayer can demonstrate the importance of having the proper tools for a task. Safety gear like gloves and reflective vests help protect you and increase visibility. When removing the lug nuts, remember to loosen them in a star pattern to avoid warping the wheel, and tighten them back to the proper lug nut torque specifications once the tire is installed. Having these tools ready and understanding tire pressure and lug nut torque will make the process safer and more efficient. Proper tool organization also prevents delays during emergency repairs. Being prepared minimizes stress and guarantees you’re ready for any situation. Additionally, knowing how to change gears on a gravel bike can help you move your vehicle more smoothly if you’re on uneven terrain during a roadside repair. Recognizing the importance of data analytics in vehicle maintenance can also help you monitor tire wear patterns and prevent future flats.
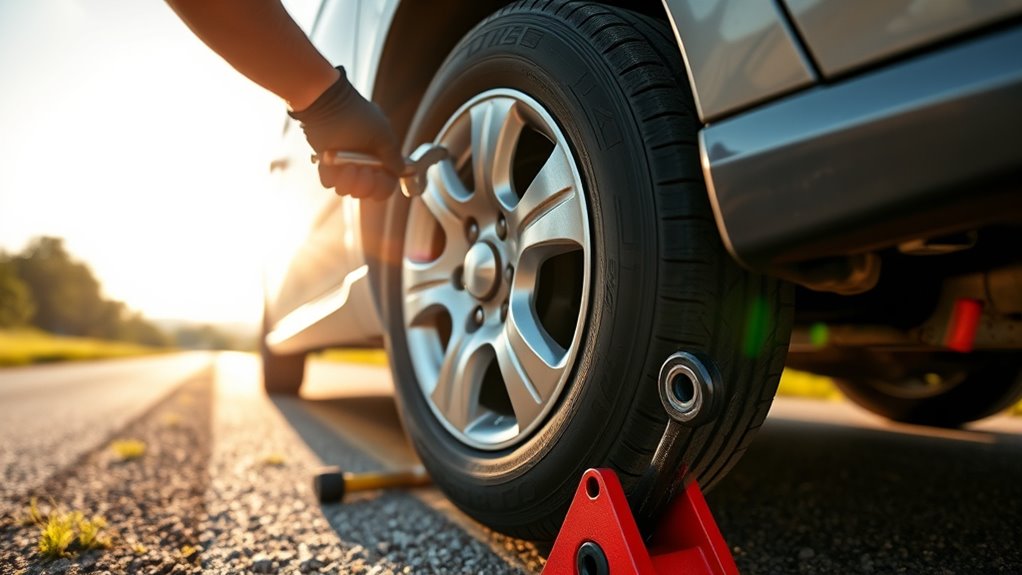
Find a Safe and Flat Location

Finding a safe and flat location is crucial for your safety and ease of fixing a flat tire. You want to find a flat, stable area away from traffic, ideally on level ground to prevent your vehicle from rolling. Look for a spot with good parking safety, such as a parking lot or a wide shoulder, where you’re visible to other drivers. Avoid areas with road hazard awareness issues, like uneven pavement, gravel, or debris that could cause injury or damage your tools. Make sure the spot is clear of obstacles and provides enough space for you to work comfortably. Additionally, selecting a location that is appropriate for DIY repairs can help you access necessary tools and stay safe during the process. Choosing a suitable spot also minimizes the risk of accidents or injuries, ensuring a safer tire-changing experience. Being aware of the local regulations regarding parking and roadside repairs can prevent potential fines or issues. By choosing a safe, flat location, you reduce the risk of accidents and make the tire-changing process much smoother and safer. Considering the performance metrics of your vehicle or tools can also improve the efficiency of your repair. Moreover, selecting a location with adequate lighting can make the task easier, especially if you need to work early in the morning or late at night.
Prepare Your Vehicle for the Tire Change

Once you’ve found a safe and flat spot, it’s time to prepare your vehicle to guarantee a smooth tire change. First, turn on your hazard lights to alert others. Engage the parking brake to prevent movement. If possible, place wheel wedges against the tires opposite the flat to keep the vehicle steady. Check your owner’s manual for any specific instructions, especially if your vehicle requires a tire rotation or wheel alignment afterward. Properly preparing your vehicle assures you won’t damage the wheel hubs or suspension components during the process. It also helps maintain proper alignment and prolongs the life of your tires. Additionally, inspecting your vehicle’s air quality can help ensure a safe environment for the repair process. Being aware of spiritual guidance can also provide comfort and clarity during stressful situations like a flat tire. Taking these steps minimizes risks and makes the tire change more efficient. Understanding the horsepower of electric dirt bikes can inspire confidence and patience during challenging repairs, especially if you are working on specialized equipment. Moreover, being familiar with AI in Business concepts such as automation and data analysis can help you troubleshoot and utilize modern tools effectively if you encounter digital or electronic issues during your repair process. To further ensure safety, consider learning about the vehicle’s suspension system, which can impact how you handle tire repairs and maintenance.
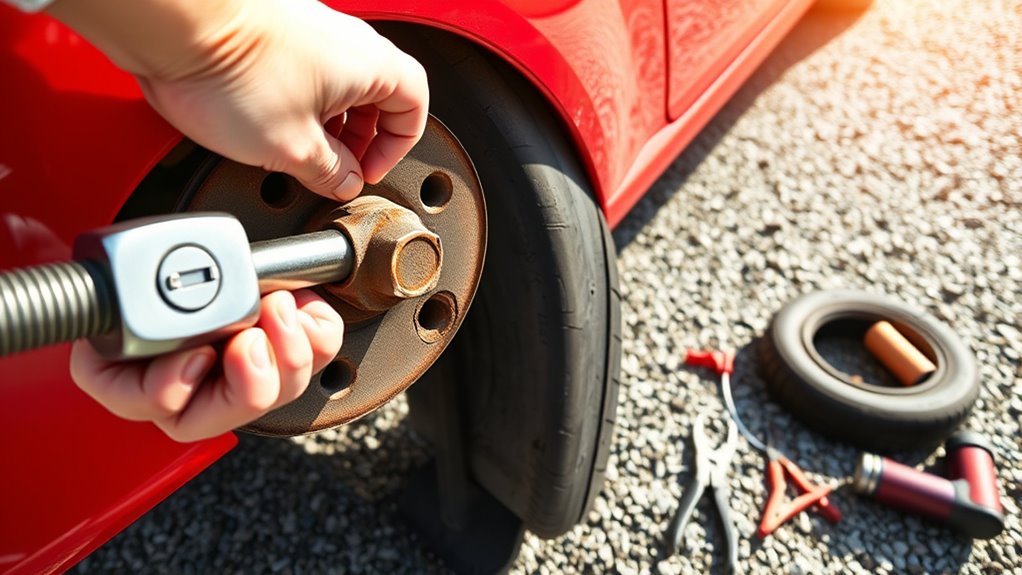
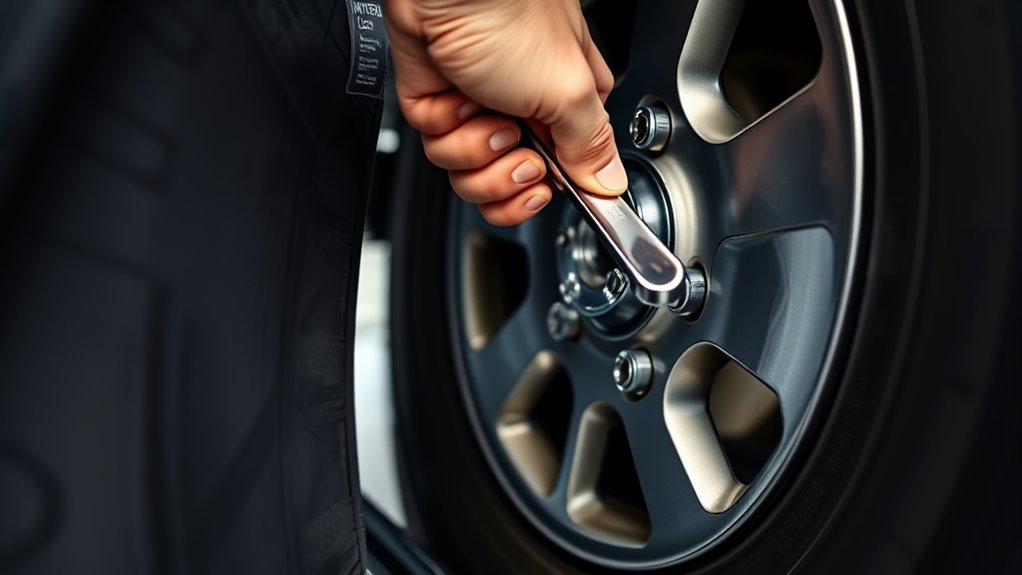
Loosen the Lug Nuts

To loosen the lug nuts, start by firmly attaching your lug wrench to a nut and turning it counterclockwise. Apply steady pressure, but don’t force too hard, as excessive torque can strip the lug nut or damage the wheel. Monitoring AI behavior is essential during this process to ensure safety and accuracy. Remember, lug nut torque is important when tightening later, so don’t loosen all nuts at once—loosen them in a star or crisscross pattern. This lug nut pattern helps distribute pressure evenly across the wheel, preventing warping or uneven wear. Once you’ve loosened each lug nut about a turn, you can remove them completely once the vehicle is lifted. Keeping the pattern in mind ensures a balanced removal process and prepares you for proper reinstallation later.
Lift the Vehicle With a Jack
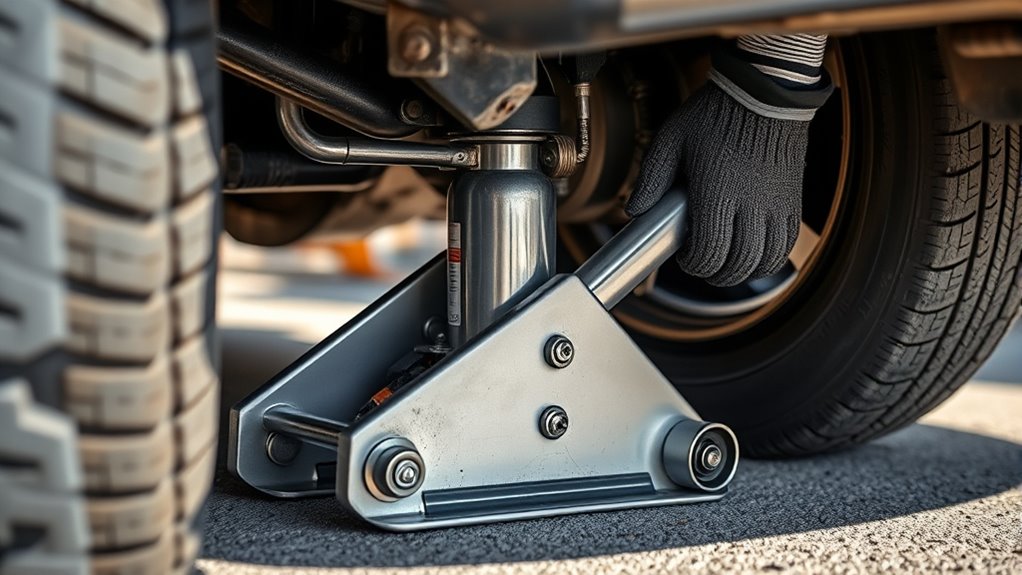
Before lifting the vehicle, locate a flat, stable surface away from traffic. Position your hydraulic jack under the vehicle’s recommended lift point, usually near the tire you’re changing. Pump the jack handle slowly to raise the vehicle until the tire is just clear of the ground. Once lifted, place jack stands securely under the vehicle’s frame or designated support points for added safety. Never rely solely on the hydraulic jack to hold the car; always use jack stands. Make sure the vehicle is stable before working underneath or removing the tire. Confirm that the jack and stands are on level ground and properly positioned. To ensure safety during this process, check that the vehicle is on a level surface, which reduces the risk of slipping or falling. Utilizing proper lifting techniques can further enhance safety. Ensuring the stability of your setup contributes significantly to accident prevention. Additionally, understanding the importance of safety precautions can help prevent accidents during this process. Incorporating proper vehicle maintenance can also prevent issues that might compromise safety during such procedures. With your vehicle securely elevated, you’re ready to proceed to remove the flat tire.
Remove the Flat Tire
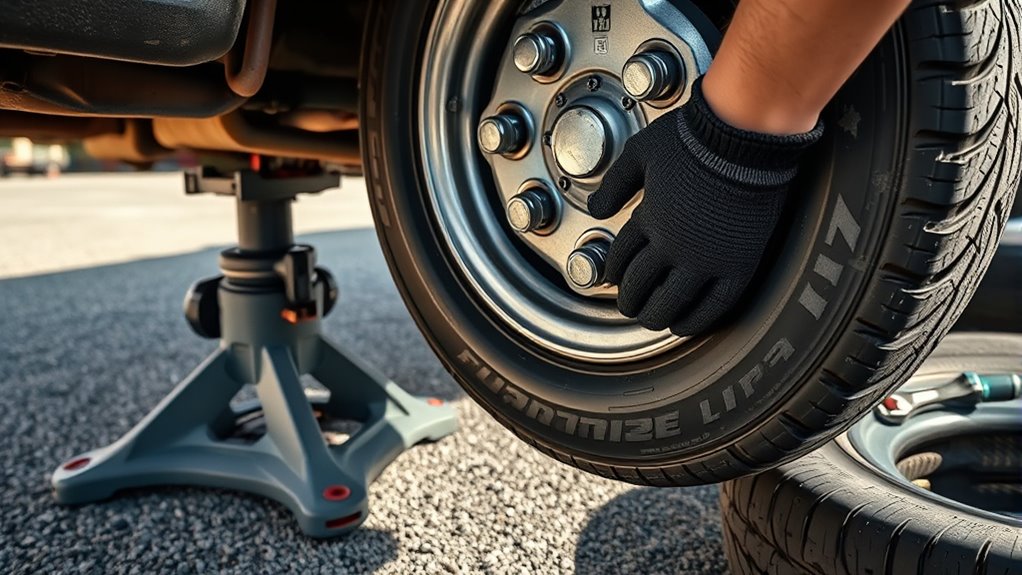
How do you actually remove the flat tire? First, loosen the lug nuts with a wrench, turning counterclockwise, but don’t fully remove them yet. Once the nuts are loose, lift the flat tire straight off the hub, pulling firmly to disconnect it. Incorporating proper sound healing techniques can make the process more calming and focused. If the tire shows uneven tread depth or signs of wear, it’s a good idea to contemplate tire rotation for even wear in future. Keep track of the lug nuts, placing them somewhere safe so they don’t get lost. When the tire is free, set it aside. Make sure the area around the wheel is clear, and double-check that the vehicle remains stable on the jack before proceeding to the next step. Additionally, understanding automotive safety procedures can help prevent accidents during the removal process. Being aware of state tax implications for IRA withdrawals can also be useful if you’re planning financial moves around vehicle repairs or replacements.
Inspect and Prepare the Spare or Replacement Tire

Before installing the spare or replacement tire, check its condition for any damage or wear.
Make sure you have all the necessary tools, like a jack and lug wrench, within reach.
Taking these steps guarantees you’re ready to replace the tire safely and efficiently.
Check Tire Condition
Have you checked the spare or replacement tire recently? It’s essential to examine its condition before you need it.
Start by inspecting the tire tread; ensure it has sufficient depth and isn’t worn down. A worn tread can reduce traction, making the spare unsafe to use.
Next, look for any sidewall damage, such as cuts, cracks, or bulges, which can weaken the tire’s structure. If you notice any signs of damage or if the tread is overly worn, it’s best to replace the tire rather than use it in an emergency.
Also, check the tire’s air pressure to confirm it’s properly inflated. A well-maintained spare or replacement tire can save you time and prevent further issues when you’re already dealing with a flat.
Gather Necessary Tools
Start by gathering all the tools you’ll need to inspect and prepare your spare or replacement tire. First, grab a tire pressure gauge to verify your spare has the proper pressure, which is essential for safe driving.
You’ll also need a jack and lug wrench to lift the vehicle and remove the flat tire. Consider a wheel chock to prevent rolling and a flashlight if visibility is low.
Before installing the spare, check its tire pressure—an underinflated spare can be dangerous. If you’re using a full-size or temporary spare, verify that wheel alignment isn’t compromised.
Having these tools ready ensures a smooth process, and proper tire pressure helps avoid future issues related to uneven wear or imbalance.
Mount the Spare or New Tire
To mount the spare or new tire correctly, start by aligning it with the wheel bolts.
Tighten the lug nuts firmly in a crisscross pattern to guarantee even pressure.
Finally, check the tire pressure and adjust it to the recommended level before driving.
Properly Align the Tire
Wondering how to guarantee your spare or new tire is properly aligned? Proper alignment ensures smooth driving and prevents uneven tire wear.
First, check that the tire is mounted correctly on the wheel hub. Next, inspect for proper tire balancing to avoid vibrations.
Then, verify the wheel alignment is correct by confirming that the tire sits flush with the vehicle’s body and moves smoothly.
Finally, rotate the tire slightly and observe if it moves freely without wobbling or resistance.
Properly aligned tires will roll evenly and reduce strain on suspension components. Keep in mind, if the tire feels unbalanced or misaligned, seek professional wheel alignment to optimize performance and safety.
Proper alignment is key to long-lasting, safe driving.
Secure Lug Nuts Firmly
Once you’ve positioned the spare or new tire onto the wheel hub, it’s essential to tighten the lug nuts securely. Use a wrench to tighten each lug nut in a crisscross pattern to guarantee even pressure.
Pay attention to the recommended lug nut torque, which helps prevent over-tightening or loosening later. Proper lug nut torque is critical for wheel nut safety, reducing the risk of the wheel coming loose while driving.
Tighten each lug nut firmly but avoid applying excessive force. Once all nuts are snug, go back and tighten them again in the same pattern for added security.
Making sure the lug nuts are securely fastened now will keep your wheel safely mounted until you’re ready for the next step.
Check Tire Pressure
After installing the spare or new tire, you need to check its air pressure to make sure it’s properly inflated. Proper inflation levels are vital for safety and peak performance. Use a reliable tire pressure gauge to measure the tire pressure accurately.
If the pressure isn’t correct, follow these steps:
- Remove the valve cap and press the gauge onto the valve stem.
- Read the tire pressure measurement displayed.
- Compare the reading to your vehicle’s recommended PSI found in the owner’s manual or on the door placard.
- Adjust the inflation levels by adding or releasing air until the tire reaches the proper pressure.
Maintaining correct tire pressure ensures safety, prolongs tire life, and improves fuel efficiency. Always double-check after adjusting to confirm accuracy.
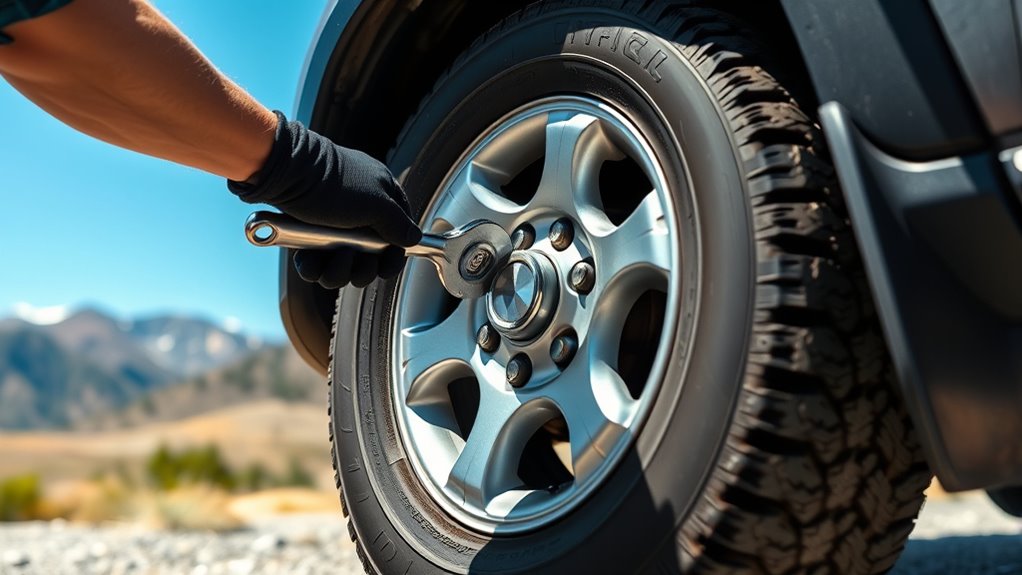
Tighten the Lug Nuts and Lower the Vehicle
To properly secure the tire, start by tightening the lug nuts in a crisscross pattern. This guarantees even distribution of pressure, helping you achieve the correct lug nut torque.
Tighten each nut gradually, working across from one to the opposite side, rather than tightening one nut completely before moving to the next. Once all nuts are snug, use a torque wrench to tighten them to the vehicle manufacturer’s specifications.
Proper lug nut torque is critical for vehicle stability and safety. After tightening, carefully lower the vehicle to the ground, keeping the lug nuts secure but not fully torqued.
Once the vehicle is on the ground, give each lug nut a final, firm tighten in the same crisscross pattern.
Final Checks and Road Readiness
With the lug nuts securely tightened and the vehicle lowered, it’s time to perform final checks to guarantee everything is in place and safe for the road. This step ensures maximum road safety and proper tire maintenance.
- Verify that all lug nuts are torqued to the manufacturer’s specifications.
- Check that the spare tire is properly inflated.
- Ensure the tire pressure matches recommended levels using a gauge.
- Inspect the tire for any visible damage or debris.
Confirming these details prevents accidents and extends your tire’s lifespan.
Ensuring proper tire checks helps prevent accidents and prolongs tire life.
Additionally, test the vehicle’s stability by gently pressing the brakes and gently driving a few feet to feel for any irregularities.
Completing these final checks ensures you’re ready for a safe journey and maintains good tire maintenance habits.
Frequently Asked Questions
How Do I Know if My Spare Tire Is Still Usable?
You check if your spare tire is still usable by inspecting its condition and ensuring proper spare tire maintenance.
Start by looking for cracks, dry rot, or punctures. Use a tire pressure monitoring system or a gauge to verify it has the correct pressure, usually listed on your vehicle’s door frame.
Regularly checking your spare keeps it ready for emergencies, preventing surprises when you need it most.
What Should I Do if I Can’t Loosen the Lug Nuts?
Think of loosening lug nuts as trying to unlock a stubborn treasure chest—you need the right key and technique. If you can’t loosen the lug nut removal, try using a longer socket wrench for more leverage, or apply steady, firm pressure.
Sometimes, tapping the wrench with a hammer can loosen rust or dirt. Remember, patience and proper socket wrench techniques are your best tools to free those stubborn nuts.
How Tight Should the Lug Nuts Be When Securing the Tire?
When securing the tire, you should tighten the lug nuts to the manufacturer’s recommended lug nut torque, usually specified in your vehicle’s manual. Use a torque wrench for accuracy.
Follow a proper tightening sequence, typically crisscross, to evenly distribute pressure.
Avoid over-tightening, which can damage components, or under-tightening, which risks the wheel coming loose.
Ensuring proper lug nut torque and sequence keeps your tire safely secured.
How Do I Prevent My Flat Tire From Happening Again?
Imagine your tires rolling smoothly over the road, avoiding unexpected flats. To prevent your flat tire from happening again, prioritize regular tire rotation and guarantee proper inflation.
Rotate your tires every 5,000 to 8,000 miles to promote even wear, and check tire pressure monthly.
Maintaining proper inflation keeps your tires healthy, reducing the risk of flats.
Consistent care keeps your journey safe and smooth, letting you enjoy the ride without surprises.
Is It Safe to Drive on a Spare Tire for Long Distances?
Driving on a spare tire for long distances isn’t safe, as it’s meant for short-term tire maintenance until you get proper roadside assistance. Spare tires, especially compact ones, have limited tread and lower durability, risking your safety.
To prevent future flats, regularly check tire pressure and condition. If you’re unsure, always call roadside assistance for help, ensuring you stay safe and avoid unnecessary accidents or damage to your vehicle.
Conclusion
Now that you know how to fix a flat tire, you’re practically a roadside hero! With these simple steps, you can turn a frustrating situation into a quick victory, saving yourself hours of waiting and costly help. Remember, staying calm and following each step carefully is key—before you know it, you’ll be back on the road, feeling unstoppable. Don’t let a flat tire slow you down; you’re fully equipped to handle it like a pro!