Tubeless tires boost your ride with better durability, comfort, and efficiency by reducing flats and allowing lower pressures for smoother travel. To set them up, you’ll need tools like tire levers, a pump, sealant, and a valve core tool, ensuring proper installation and inflation. Regular maintenance, including sealant checks and puncture repairs, keeps your tires performing their best. Keep your pressures optimized for different rides, and you’ll enjoy safer, more reliable cycling—there’s plenty more to discover to get the most from your tubeless setup.
Key Takeaways
- Tubeless tires offer benefits like reduced flats, improved ride comfort, better traction, and increased energy efficiency.
- Proper setup involves rim compatibility, applying sealant, and correct inflation with specialized tools.
- Regular inspection and maintenance of sealant, pressure, and valve components prolong tire lifespan.
- Using the right tools, such as tire levers and high-volume pumps, ensures proper bead seating and sealing.
- Routine checks for damage, leaks, and tire wear are essential for safe, optimal tubeless tire performance.
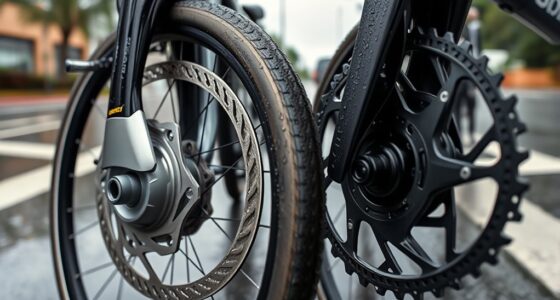
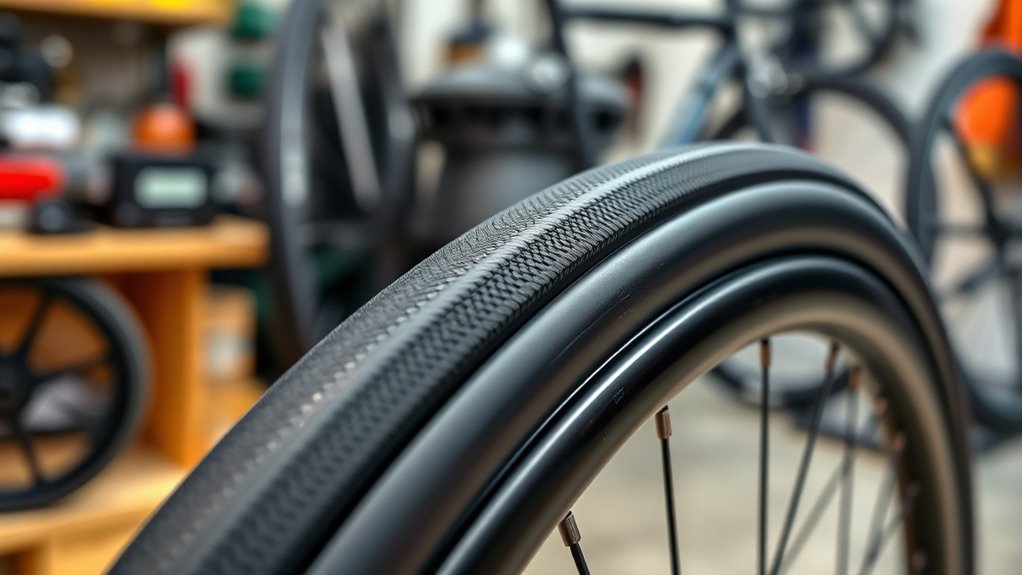
Advantages of Choosing Tubeless Tires
Tubeless tires offer several key advantages that make them a popular choice among cyclists and motorists alike. One major benefit is their enhanced tire durability, as they’re less prone to pinch flats and punctures. Additionally, tubeless tires improve ride comfort because they allow for lower pressures without risking pinch flats, leading to a smoother, more cushioned ride over rough surfaces. The seamless design also helps maintain consistent tire pressure, reducing the need for frequent inflation. Moreover, they are often more energy efficient, since maintaining optimal pressure reduces rolling resistance and improves overall performance. Proper setup involves understanding tire maintenance and ensuring correct installation to prevent leaks. Cultivating a bias to action by regularly checking and maintaining tubeless tires can further extend their lifespan and performance. Regular inspection for potential leak prevention can help avoid common issues and ensure reliable performance over time. Additionally, understanding Ford Tuning principles can aid in optimizing vehicle performance and ensuring your tires work effectively with your vehicle’s setup.
Essential Tools and Equipment for Setup
To set up tubeless tires properly, you’ll need a specific list of essential tools and equipment. Having the right proper inflation device guarantees your tire reaches the correct pressure without hassle.
Using a tire pressure gauge ensures accurate inflation, which is crucial for optimal performance and safety.
Let’s go over the must-have tools to make your tubeless setup smooth and effective.
Necessary Tools List
Setting up tubeless tires requires having the right tools on hand to guarantee a smooth installation. First, you’ll need tire levers to carefully break the tire bead away from the rim without damage.
A floor pump or a high-volume air compressor is essential for seating the tire bead properly, ensuring rim compatibility and a secure fit.
Sealant is also vital for sealing small leaks and maintaining air pressure.
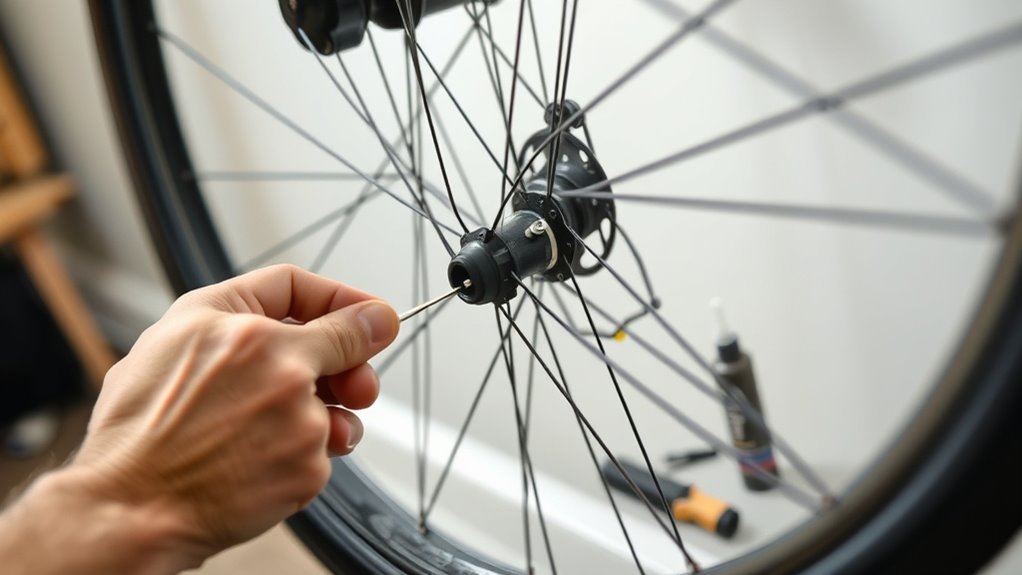
A valve core removal tool helps you add or replace the valve core easily.
Additionally, a tire pressure gauge will keep you accurate during inflation.
Finally, having a clean rag or cloth helps you wipe excess sealant and keep your workspace tidy.
With these tools, you’ll streamline the setup process and ensure your tubeless tires perform at their best.
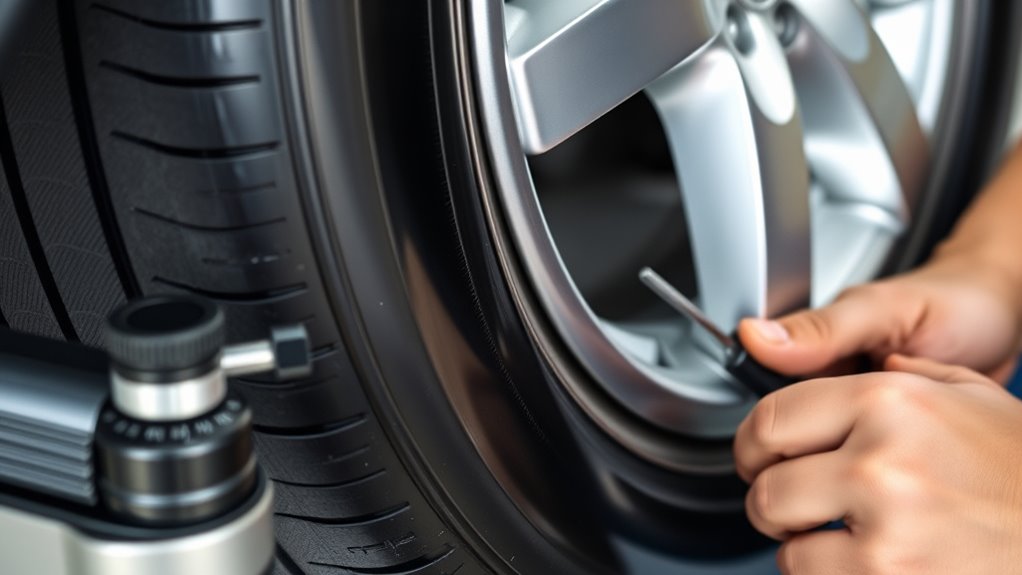
Proper Inflation Equipment
Having the right inflation equipment is vital for guaranteeing your tubeless tires are seated properly and maintain ideal pressure. You’ll need a quality pump or compressor that can deliver enough airflow to seat the tire beads securely. A dedicated tubeless-compatible valve core remover is useful for quick valve maintenance and adjustments. Additionally, understanding valve types—such as Presta or Schrader—is key, as they determine the compatible tools and pumps. Proper inflation equipment ensures you can accurately set tire pressure, preventing under- or over-inflation that can lead to poor performance or damage. Keep a reliable pressure gauge on hand to monitor tire pressure precisely. Choosing the right inflation tools can also influence how quickly you can set up your tubeless tires and ensure a secure seal, especially important for high-performance or off-road riding. Using the right tools and understanding valve types will make setup easier and help you maintain optimal inflation for a smooth, safe ride. Additionally, selecting appropriate inflation equipment can help prevent common issues like bead seating failure or slow air leaks, ensuring a more efficient setup process. Proper inflation techniques are also essential to achieve a secure seal and prolong the lifespan of your tires. Ensuring your tools are compatible with tubeless technology can further streamline the setup process and improve overall performance.
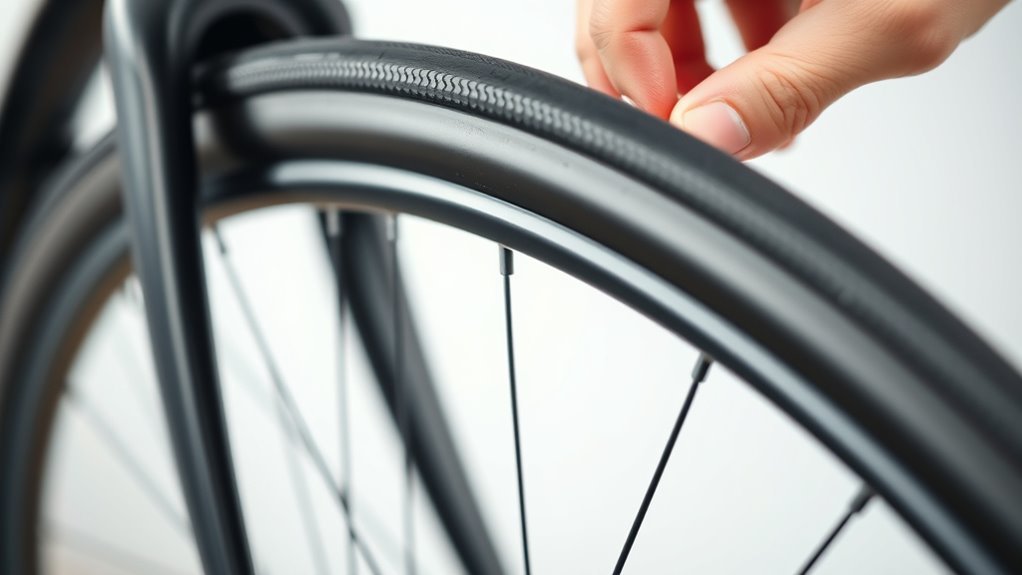
Preparing Your Wheel for Tubeless Installation
Before installing tubeless tires, you need to make certain your wheel is properly prepared. First, check rim compatibility to ensure your wheel is suitable for tubeless setups. Many rims are designed specifically for tubeless tires, but some may require sealing or tape to create an airtight seal. Inspect the rim bed for any damage or debris, and clean it thoroughly to prevent leaks. Next, ensure the tire bead is free of dirt, oil, or old sealant, which could hinder sealing. Applying tubeless rim tape is essential to seal the spoke holes and create a proper airtight chamber. Confirm that the rim tape covers all spoke holes securely. Proper preparation guarantees a reliable seal, making your tubeless installation smoother and more effective. Additionally, verifying the noise levels of modern heat pumps can ensure your setup is quiet enough for comfortable use in your environment. Being aware of market growth projections in AI technology can also be helpful if you’re considering upgrading your smart home devices for better automation and efficiency. Staying informed about sealant and tire compatibility helps prevent leaks and ensures optimal performance in your tubeless setup. Moreover, consulting best oils for deep frying on keto diet can provide insights into maintaining low-carb, health-conscious choices if you’re combining cycling with ketogenic lifestyle tips.
Installing Tubeless Tires Step-by-Step
To install tubeless tires properly, start by preparing your wheel to make sure a clean, airtight fit. Next, carefully insert the sealant into the tire, making sure it’s evenly distributed. Proper preparation of the wheel can also help prevent air quality issues during setup. Additionally, using a headphone with a 3.5mm jack can help you listen to music or instructions clearly during installation. Ensuring your wheel and tire are free of debris can also help prevent oxidative stress issues that may compromise the seal. Regular maintenance, such as checking for leaks and replacing sealant when needed, can prolong the lifespan of your tubeless setup. Finally, inflate the tire and check for a proper seal to complete the installation. Incorporating sound healing science principles can also enhance your experience by promoting relaxation and mental clarity during setup.
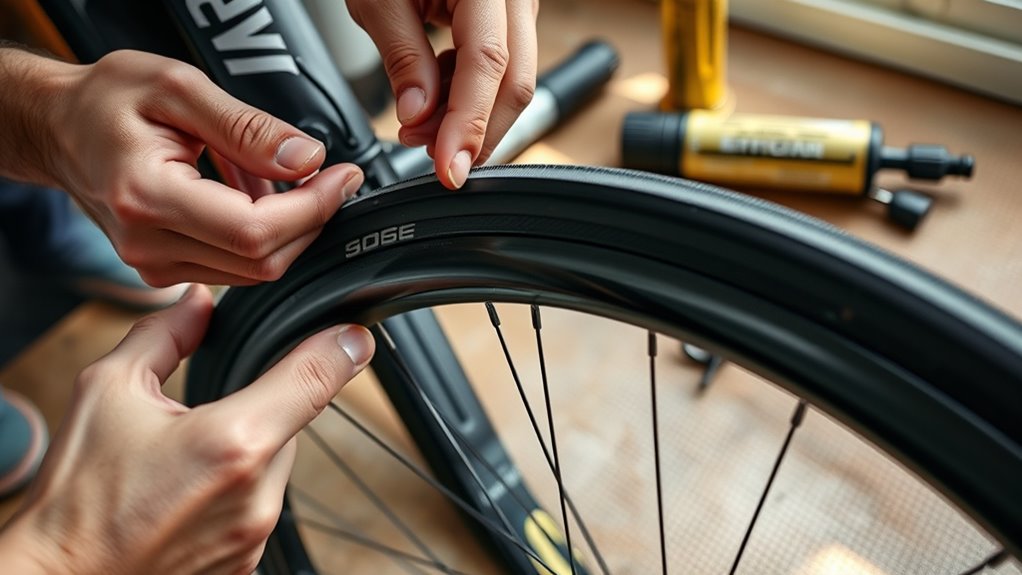
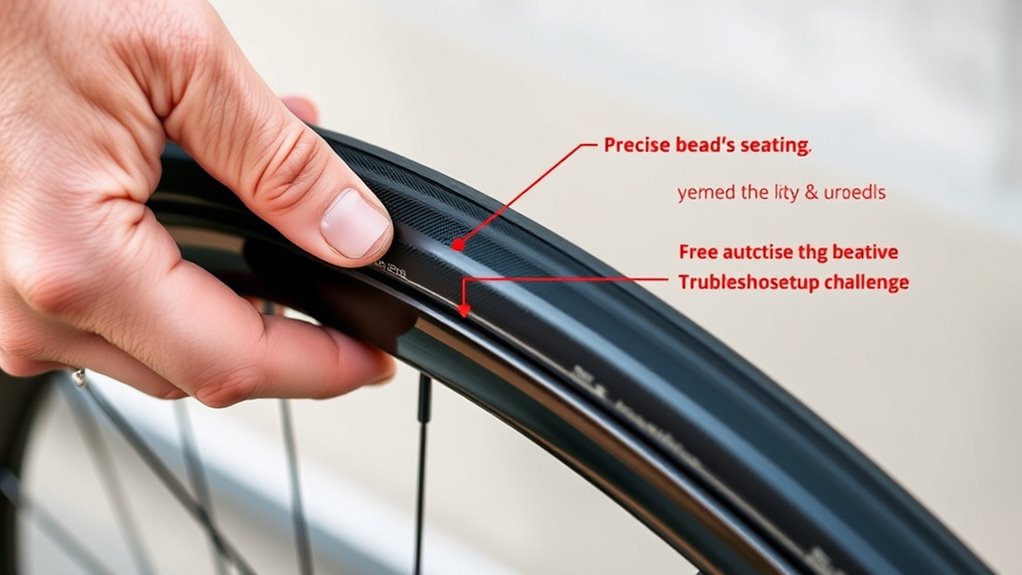
Prepare the Wheel
Preparing the wheel correctly is essential to guarantee a successful tubeless tire installation. First, check rim compatibility to ensure your rim is designed for tubeless tires. Inspect the rim bed for any damage or debris, as this can affect the seal. Remove any existing tubes, then clean the rim thoroughly. Using the right airless paint sprayer can make maintenance and cleaning easier after the project. When mounting the tire, make sure the tire bead is properly seated on the rim’s edges, creating a secure seal. Proper positioning of the tire bead is vital for preventing leaks later on. Use your hands to fit the bead evenly around the rim, avoiding pinched areas. Additionally, having proper inflation tools ready helps achieve the correct pressure during installation. Ensuring rim compatibility and properly seating the tire bead sets the foundation for a reliable tubeless setup, reducing the risk of leaks and ensuring a smooth ride.
To further improve the seal, consider applying a tubeless sealant inside the tire before final inflation, which helps seal any small leaks or punctures that may occur over time.
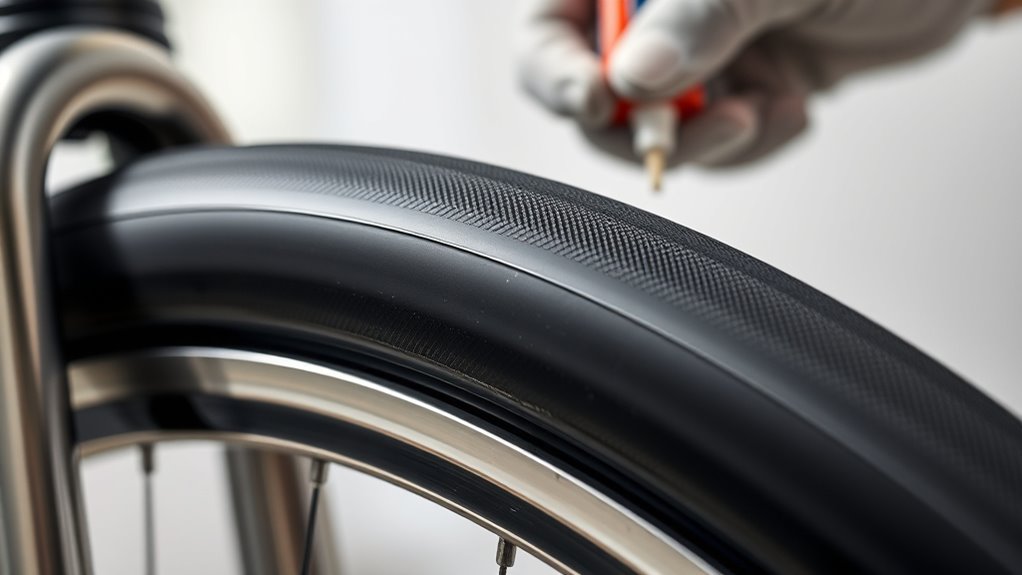
Insert Sealant Properly
How do you guarantee your tubeless setup seals properly? The key is correct sealant application.
First, shake the sealant bottle well to ensure even distribution. Then, pour the recommended amount directly into the tire through the valve stem or the tire bead. Make sure the bead seats fully to prevent leaks, and rotate the wheel to spread the sealant evenly across the interior.
Proper application enhances sealant longevity, so don’t skimp. Keep these tips in mind:
- Use fresh sealant for ideal sealing
- Avoid overfilling to prevent messes
- Distribute sealant evenly by rotating the wheel
- Check for leaks after initial setup
- Replenish sealant periodically for longevity
Following these steps ensures a tight, long-lasting seal, ready for riding.
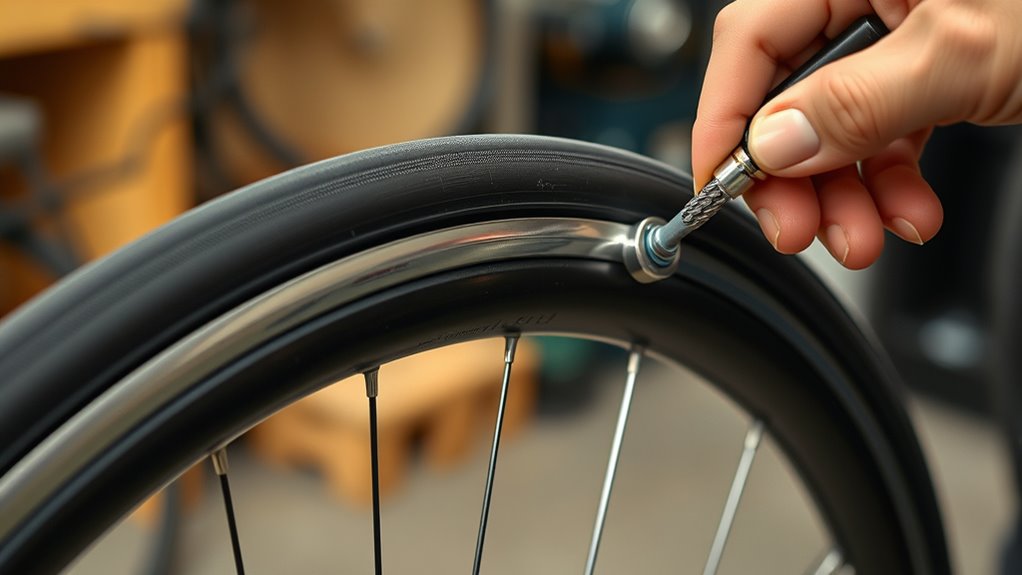
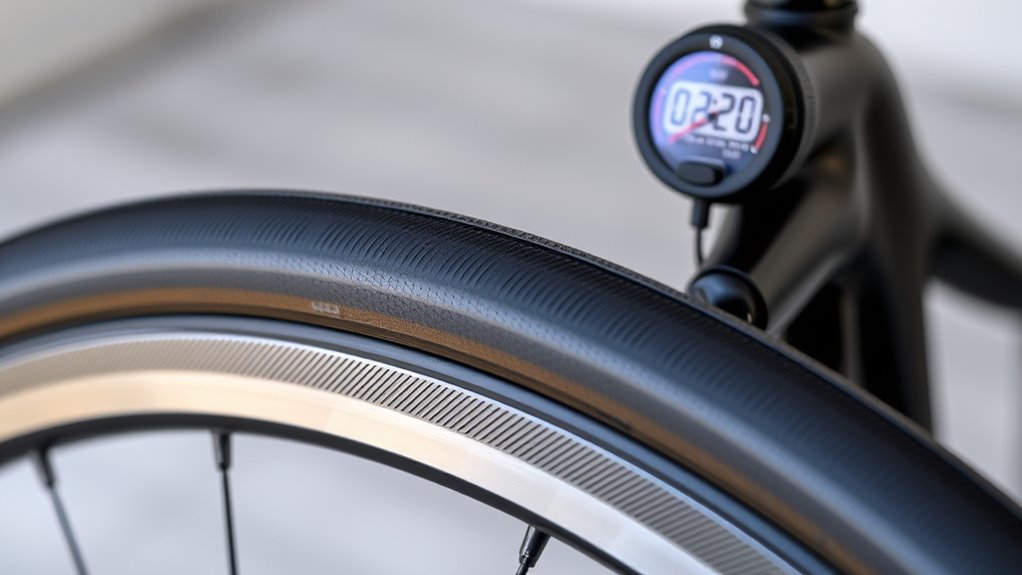
Inflate and Check Seal
After applying the sealant properly, it’s time to inflate the tire to the correct pressure. Use a compatible pump and ensure your valve is sealed tightly to prevent leaks.
During inflation, check for any hissing sounds that indicate leaks and address them immediately. Valve maintenance is essential here—clean or replace the valve core if needed to ensure a secure seal.
Once inflated, spin the wheel to help distribute the sealant evenly and verify the tire seats properly on the rim.
Regularly check the sealant’s condition, as proper inflation and valve maintenance directly impact sealant longevity and tubeless performance.
Maintaining correct pressure and a secure valve helps prevent punctures and keeps your tubeless setup reliable.
Sealing and Inflating Your Tubeless Setup
Sealing and inflating your tubeless setup is a crucial step to guarantee a secure and reliable ride. Proper sealing ensures no air leaks and excellent performance.
Start by choosing the right valve type for your wheel—there are presta and schrader options, each requiring different tools. Use fresh sealant, as sealant longevity varies; typically, it lasts 2-6 months depending on conditions.
Before inflating, confirm the rim bead seats correctly by applying steady pressure. When inflating, use a pump or CO2 inflator that can deliver rapid, controlled air.
Check for leaks around the valve stem and rim. Finally, spin the wheel and shake it to distribute sealant evenly, sealing tiny punctures instantly.
Proper sealing and inflation set the foundation for a smooth, puncture-resistant ride.
Troubleshooting Common Setup Challenges
When setting up tubeless tires, you might encounter issues like sealant compatibility, valve installation problems, or air leaks.
Ensuring your sealant works well with your tires and rims is key. Proper valve installation can prevent leaks from the start.
If you notice air escaping, identifying and fixing the leak quickly keeps your setup secure and ready to go.
Sealant Compatibility Tips
Ensuring your sealant is compatible with your tubeless tires is crucial for a reliable setup. Proper compatibility testing helps prevent leaks and sealing issues.
Start by checking the manufacturer’s recommendations for your tire and sealant brands. When sealant mixing, verify that the components are compatible to avoid clumping or reduced sealing ability.
Perform compatibility testing by applying a small amount of sealant inside a spare tire or tube. Look for signs of chemical reactions, such as bubbling or thickening.
Use these tips to troubleshoot common setup challenges:
- Read sealant labels for compatibility info
- Test sealant on a small section first
- Avoid mixing different brands haphazardly
- Check expiration dates on sealant
- Regularly inspect and replace old sealant to maintain effectiveness
Proper Valve Installation
Have you ever struggled with air leaks or difficulty installing valves on your tubeless tires? Proper valve installation is key to preventing leaks and ensuring a reliable seal.
Start by choosing the proper valve selection for your rim type and tire setup. When installing the valve, ensure it fits snugly into the valve hole without forcing it, which could damage the rim or valve.
Use a valve core removal tool if needed to tighten the core securely but avoid over-tightening, which can cause damage. Make sure the valve stem is fully seated and aligned correctly.
Applying a small amount of sealant around the valve base can also help prevent leaks. Proper valve installation takes patience, but it’s essential for a safe, leak-free tubeless setup.
Removing Air Leaks
Are persistent air leaks frustrating your tubeless setup? To fix this, focus on air leak prevention and ensuring sealant effectiveness.
First, inspect the valve core and tighten it if loose. Next, check for small punctures or cuts in the tire or rim, resealing or replacing as needed. Consider reapplying sealant if bubbles or leaks persist.
You can also:
- Use a soapy water solution to identify leaks
- Add more sealant to seal small pinholes
- Carefully clean the rim and bead before reseating
- Reinstall the tire, ensuring proper bead seating
- Use a pump or compressor to seat the tire fully
These steps help locate leaks and improve sealant performance, ensuring your tubeless tires stay airtight and reliable for rides ahead.
Routine Maintenance for Longevity and Performance
Regularly inspecting your tubeless tires is essential to keep them performing at their best and lasting longer. Check the tire tread for uneven wear, which can indicate wheel misalignment or suspension issues. Proper wheel alignment guarantees even tire wear and ideal handling. Also, examine the sidewalls for cuts or punctures, and ensure the sealant is fresh to prevent leaks. Keep your rim and tire interface clean to maintain a good seal.
| Maintenance Task | Benefit |
|---|---|
| Check tire tread | Detects uneven wear early |
| Inspect sidewalls | Prevents punctures and damage |
| Verify sealant freshness | Ensures airtight seal |
| Realign wheels | Promotes even tire wear |
| Clean rim and tire interface | Maintains ideal seal and performance |
Repairing Punctures Without Inner Tubes
When you get a puncture in a tubeless tire, quick action can save you time and hassle. Start by removing any debris near the hole.
Quickly remove debris near the puncture to get back on the road faster.
Then, locate the puncture and prepare for sealant application. To repair the puncture effectively:
- Remove the valve core to allow sealant flow
- Inject sealant directly into the tire through the valve
- Spin the wheel to evenly distribute the sealant
- Wait a few minutes for the sealant to seal the hole
- Reinstall the valve core and inflate the tire to proper pressure
Sealant application creates a temporary or permanent fix, depending on the size of the puncture. For larger holes, a plug or patch might be necessary, but for small punctures, sealant usually does the trick.
Optimizing Tire Pressure for Different Rides
After repairing a puncture, maintaining the right tire pressure is key to guaranteeing ideal performance and safety.
For mountain biking, lower pressures improve grip and comfort on rough trails, so aim for about 20-25 psi, depending on your weight and terrain.
For road cycling, higher pressures—around 80-100 psi—reduce rolling resistance on smooth pavement, enhancing speed and efficiency.
Adjust your pressure based on conditions: softer for loose surfaces and harder for hard-packed roads.
Always check your pressure before each ride, especially after repairs, to prevent pinch flats and ensure optimal traction.
Remember, slightly lowering pressure in tubeless tires can also help absorb shocks, providing a smoother ride.
Proper pressure management tailors your setup for each ride, maximizing safety and performance.
Tips for Long-Term Care and Upkeep
To guarantee your tubeless tires stay in top condition over the long haul, focus on routine maintenance and careful inspection. Regularly check tire pressure and look for cuts, cracks, or embedded debris that could affect tire durability.
Keep the sealant fresh—replacing it every few months helps maintain ideal road grip and prevents leaks. Rotate your tires periodically to assure even wear, which extends their lifespan.
Clean your tires after muddy or dusty rides to prevent buildup that can compromise performance. Finally, monitor tread depth and replace tires when they show significant wear, preserving both tire durability and safety.
Staying attentive to these aspects ensures your tubeless tires deliver consistent grip and last longer on the road.
Frequently Asked Questions
How Do Tubeless Tires Affect Overall Bike Weight?
Tubeless tires can reduce your bike’s overall weight thanks to tire weight reduction, which helps improve bike performance enhancement. Without inner tubes, you eliminate extra components, making your setup lighter.
This weight savings can lead to better acceleration, handling, and efficiency, especially on climbs or long rides. Plus, lighter tires decrease rotational mass, making your bike feel more responsive and easier to maneuver during your ride.
Can Tubeless Tires Be Used With Any Rim Type?
You might wonder if tubeless tires work with any rim type. The answer is no; rim compatibility is essential for a successful tubeless conversion.
Many modern rims are designed specifically for tubeless setups, but some older or traditional rims may require special tubeless-ready rims or conversion kits.
Always check your rim’s compatibility before attempting a tubeless conversion to guarantee a safe and effective fit.
Are Tubeless Tires Suitable for All Cycling Disciplines?
They say, “Know your terrain,” and that’s key for tubeless tires. You might find they’re great for mountain biking, considering the benefits like better traction and lower flats, but not all are suited for every discipline.
For road cycling, compatibility depends on your rims and tires. So, weigh your specific needs and bike type, ensuring tubeless setups match your riding style for ideal performance.
What Are the Environmental Impacts of Tubeless Tire Disposal?
You might wonder about tubeless tire disposal’s environmental impacts. When you participate in recycling programs, you help reduce waste and limit landfill accumulation.
Choosing tires made with eco-friendly materials further minimizes ecological harm. Proper disposal guarantees that harmful chemicals don’t leach into the environment.
How Often Should I Replace Tubeless Sealant?
Think of your tubeless sealant like a ticking time bomb—you need to keep an eye on it. Usually, you should replace the sealant every 3 to 6 months to maintain ideal sealant longevity and prevent dry, ineffective material from compromising your ride.
Regular replacement ensures your tires stay sealed and safe. Don’t wait until you’re caught off guard; stay ahead by checking and revitalizing your sealant routinely.
Conclusion
Switching to tubeless tires can boost your riding experience with fewer flats and better performance. Did you know that riders using tubeless setups experience up to 50% fewer punctures? By properly setting up and maintaining your tires, you’ll enjoy smoother rides and fewer interruptions. Keep up with routine checks and repairs to maximize their lifespan. Embrace tubeless; it’s a smart upgrade that keeps you rolling confidently for miles to come.