TL;DR
The most useful bike accessories for winter riding are dependable front and rear lights, windproof gloves, adjustable layers, and full coverage fenders for wet roads. Choose wider or studded tires to match your route, then slow down on slippery surfaces and clean salt and grit from your bike after rides.
Start with working front and rear lights, windproof gloves, adjustable layers, and fenders for wet roads.
Choose studded tires for routes with frequent or persistent ice; they add weight and rolling resistance.
Check glove grip, brake reach, helmet fit, and fender clearance before relying on new gear.
Slow down and brake earlier on wet leaves, slush, snow, and ice.
After salted rides, rinse and dry the bike, clean the drivetrain, and use wet-weather lubricant.

Get sports gear delivered free with Prime
- Fast, free delivery on millions of items
- Prime Video, Amazon Music and more included
- Member-only deals all year
Start with four upgrades that solve the most common winter problems
For most riders, the most useful first bike accessories for winter riding are dependable front and rear lights, windproof gloves, adjustable layers, and fenders for wet roads. These cover the everyday combination of short daylight, cold hands, changing effort, and road spray. Add tire changes to match the snow and ice you actually encounter. Think of winter riding as a series of small problems to solve, not one giant weather problem. If your fingers go numb on a 20-minute commute, gloves may change the ride more than a new jacket. If every passing car leaves you soaked, full coverage fenders can make the next ride feel like a different season. Try a simple priority check after each ride: what made you uncomfortable, less visible, or less confident? If you ride home at dusk on wet roads, put lights and fenders at the top. If your path stays icy for days, investigate studded tires. Winter riding is mainly a challenge of cold, wind, wet, low light, and slippery surfaces, and accessories address those conditions while preserving comfort and control.- Lights: Use front and rear lights in dim winter conditions, including overcast daytime rides.
- Gloves: Choose insulation and wind protection while keeping a secure grip on brake and shift controls.
- Layers: Combine a moisture-wicking base, insulating mid-layer, and wind-resistant outer layer.
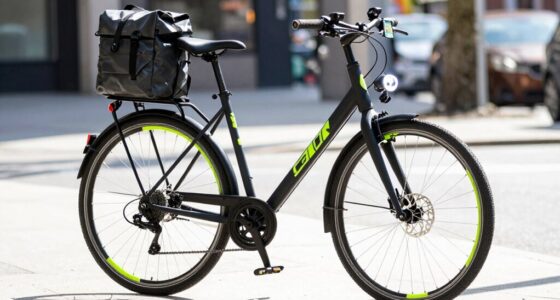
- Fenders: Pick coverage and clearance that suit wet roads, slush, and your bike.
Products Worth Considering

BowFlex Results Series SelectTech Adjustable Dumbbells (Pair)

Therabody Theragun Mini Plus Portable Massage Gun with Heat

Coleman RoadTrip 285 Portable Stand-Up Propane Grill
As an affiliate, we earn on qualifying purchases.
Keep your hands warm without losing control
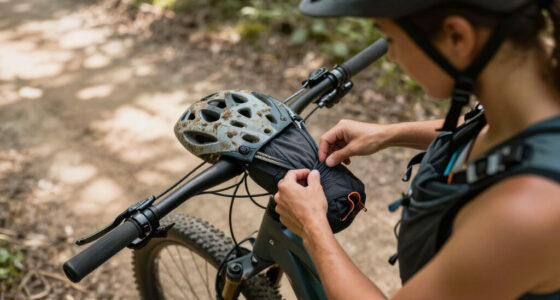
Windproof gloves are a strong first upgrade because cold hands can make braking and shifting uncomfortable. Look for warmth that still lets you operate the controls with confidence; a bulky glove that blunts your grip can create its own problem. On very cold rides, bar mitts or pogies add a wind-blocking shell around your hands while they remain on the bars. Test gloves before relying on them in traffic. Put them on, grip the bars, squeeze both brake levers, and shift through the gears. For example, if you commute through busy intersections, you need to feel the lever and reach it without fumbling. A short loop on a quiet street gives you a chance to notice problems before a car pulls up behind you. Warmth starts beyond your fingers. A thin cap or balaclava under your helmet and a neck gaiter can block cold air without interfering with helmet fit or your vision. Keep any face covering clear of your eyes; if your glasses fog, try a different fit or ventilation. Cold toes can also ruin a ride, so use warm socks and shoes that leave room for circulation. Tight shoes can make feet colder, even when the socks feel thick. Layering works best when you expect to warm up as you ride. Start comfortable rather than hot, because sweat trapped under clothing can leave you chilled when you stop. Carry an extra layer for a long wait or the trip home, and stop if numbness, loss of dexterity, or unusual shivering develops.Make yourself easier to see on short, gray days
Use clean, charged front and rear lights when winter daylight is dim, and add reflective details to help drivers see you from different angles. A steady light can help others judge your position and distance, while a flashing light can attract attention. Many current lights offer rechargeable LEDs, daytime modes, USB-C charging, and battery indicators, though exact features vary by product. Place lights where they remain visible and aim them appropriately. A front light pointed too high can bother oncoming riders or drivers, while a rear light hidden behind a bag loses much of its value. Reflective ankle bands add movement that catches the eye as you pedal; reflective details on a backpack can help from behind and from the side. Imagine riding through a gray afternoon with rain streaking across your glasses. A bright jacket helps, but a rear light and ankle reflectors make your motion easier to pick out against wet traffic and dark pavement. Gear cannot guarantee that a driver will notice you, so keep scanning the road and leave room to react. Check your lights before setting off, especially on longer rides. Keep lenses clean, charge them regularly, and carry a backup power option when the trip is long enough that a dead battery would leave you without light. Test a new light on a quiet route first so you can check its angle and controls while wearing your winter gloves.Choose fenders and tires for the roads you actually ride
Full coverage fenders reduce road spray onto you, your bike, and people riding behind you, while tire choice helps match grip and comfort to the surface. Wider tires can feel more comfortable on rough or soft ground when the bike has room for them; studded tires can help on routes with persistent ice. Neither tire width nor studs replace careful handling. A fender can turn a wet commute from a spray-soaked slog into a manageable ride. Check that it covers enough of the wheel and leaves clearance for the mud, slush, and debris you might meet. If snow packs between the tire and fender, the wheel can stop turning, so extra clearance matters when conditions are messy. Confirm the bike manufacturer’s fit guidance before choosing a size. Use this comparison to decide where to spend your money:| Route condition | Accessory to consider | Tradeoff |
|---|---|---|
| Wet pavement and puddles | Full coverage fenders | Fit and clearance need checking |
| Rough pavement or soft surfaces | Wider tires, if your bike allows them | Fit depends on frame and fork clearance |
| Frequent or persistent ice | Studded tires | Extra weight and rolling resistance |
| Mostly clear, wet roads | Suitable regular tires at an appropriate pressure | Still call for slower, smoother riding |
Dress for the effort, then protect the bike after the ride
Layer for the work you plan to do: a rider pushing hard may need less insulation while moving than someone pedaling gently on a short commute. A moisture-wicking base layer moves sweat away from your skin, an insulating mid-layer holds warmth, and a wind-resistant outer layer blocks cold air. This setup lets you adjust instead of trapping heat under one heavy coat. On a brisk 30-minute ride, you might start with a thin base layer, a light insulating layer, and a wind-resistant shell. If you leave home feeling toasty in a thick coat, a hard climb can make you sweat; then a red light or a mechanical stop can feel surprisingly cold. Pack a layer for the pause or trip home, particularly when the weather may change. After a ride on salted roads, rinse away visible salt and grit, dry the bike, and clean and lubricate the drivetrain with a product suited to wet conditions. Winter grime can accelerate wear and corrosion. A small cloth, wet-weather chain lubricant, and basic repair kit are practical additions to your ride bag. E-bike riders should also plan for cold-related changes in battery performance. Available range can drop in low temperatures, so leave a margin in your route and follow the manufacturer’s advice for storage and charging. For instance, a familiar round trip that usually uses half a charge may call for a shorter route or a charge stop on a cold day.Use a simple check before your next cold-weather ride
A quick pre-ride check can catch the small problems that become harder to handle with cold fingers or fading light. Give yourself a minute before leaving: confirm your lights work, check your tire and fender clearance, and make sure your gloves let you brake and shift. If the route may include ice, plan to reduce speed and brake earlier.- 1. Check the forecast and route: Look for rain, snow, ice, and the time you expect to return.
- 2. Dress for the effort: Start in adjustable layers and carry an extra layer for stops.
- 3. Test your controls: With gloves on, confirm you can reach and squeeze the brakes and operate the shifters.
- 4. Check visibility: Charge and aim your front and rear lights; clear dirt from lenses and reflective details.
- 5. Ride smoothly: Slow down on wet leaves, slush, snow, or ice; avoid abrupt steering and braking.
- 6. Clean up afterward: Rinse off salt and grit, dry the bike, and care for the chain.