To choose the right bicycle lights for night riding, consider your riding environment, brightness needs, and legal requirements. Opt for lights with appropriate beam patterns, waterproof features, and easy mounting options suited to your bike and conditions. Check battery life to match your ride length, and stay within your budget while ensuring the lights meet local regulations. If you want to know more tips for safer night cycling, keep exploring this guide.
Key Takeaways
- Assess your riding environment to determine necessary brightness, beam pattern, and waterproof features for safe visibility.
- Choose appropriate mounting options (strap, clamp, threaded) for stability, convenience, and compatibility with your bike.
- Select lights with suitable battery life and power sources that match your ride duration and ease of recharging.
- Ensure lights meet local regulations for brightness, color, and placement to maximize safety and legal compliance.
- Prioritize user-friendly installation and durable, water-resistant mounts for reliable performance in various weather conditions.
Understanding the Different Types of Bicycle Lights
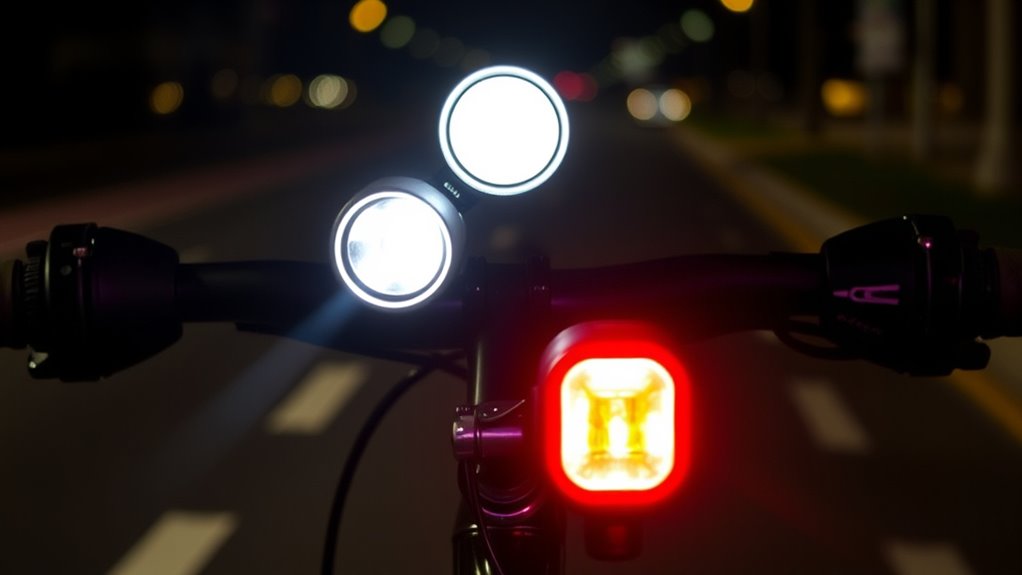
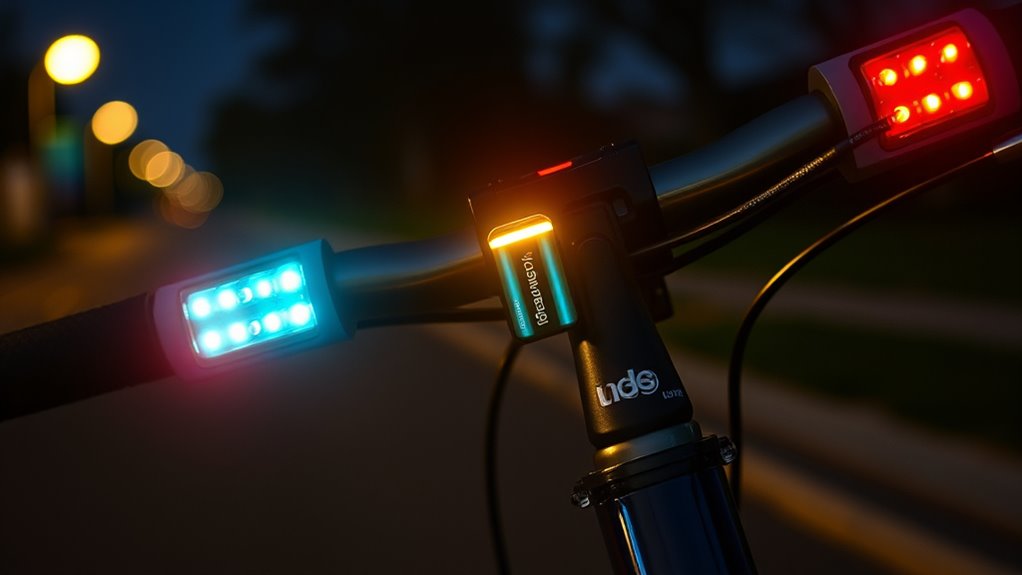
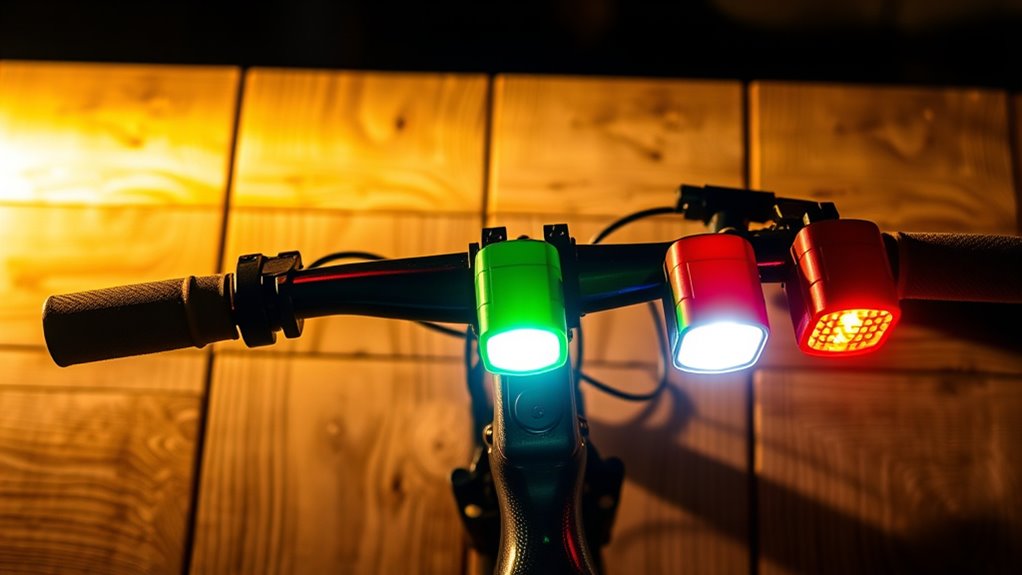
To choose the right bicycle lights, it’s essential to understand the different types available. Bike accessories come in various forms, each suited for specific riding needs. Brightness levels vary, from basic safety lights to powerful beamers for visibility. Front lights often feature white LEDs, while rear lights use red LEDs; some models combine both functions. Consider whether you want battery-powered or rechargeable options, as this impacts maintenance tips and convenience. Some lights are designed for quick installation, making them ideal for casual riders, while others offer durable mountings for rigorous use. Knowing the differences helps you select the right combination for your bike and riding style. Proper understanding guarantees you’re equipped with effective lighting, and regular maintenance tips keep your lights functioning safely and efficiently. Additionally, choosing the right type of light can improve your visibility during night rides, reducing the risk of accidents and ensuring a safer cycling experience. Being aware of sound vibrations and their influence on cellular health highlights the importance of maintaining your equipment to avoid unnecessary disruptions during your ride. Regularly inspecting your lights for battery life and clean lenses ensures optimal performance on every ride. Recognizing the importance of contrast ratio can help you select lights that enhance your overall visibility in low-light conditions. Well-informed choices about lighting technology can also contribute to better energy efficiency and longer-lasting performance.
Assessing Your Riding Environment and Conditions

Evaluating your riding environment and conditions is essential for selecting the right bicycle lights. Your visibility needs depend on factors like traffic congestion and weather.
Consider these points:
- Traffic congestion: In busy areas, brighter lights and wider beam patterns help you stand out.
- Weather conditions: Rain, fog, or snow reduce visibility, so choose lights with strong, focused beams and waterproof features.
- Lighting environment: If you ride on poorly lit paths, opt for higher lumen outputs; on well-lit streets, a moderate brightness may suffice.
Considering Brightness and Beam Pattern

When choosing bicycle lights, it’s important to evaluate how many lumens they produce and how well they boost your visibility.
You should also think about the beam pattern, including focus and range, to make sure you see clearly and are seen by others.
Picking the right brightness and beam style helps you ride safely in different conditions.
Lumens and Visibility
Understanding lumens is essential because they measure how bright your bicycle light is, directly affecting your visibility on the road. Higher lumens mean brighter light and better visibility, especially in low-light conditions. When choosing a light, consider: 1. The ideal lumen range for your riding environment—brighter for dark trails, lower for well-lit areas. 2. The importance of light color—white or amber lights enhance visibility and signal your presence. 3. The utility of flashing modes—they increase your visibility without blinding others and conserve battery life. Additionally, selecting a light with appropriate beam pattern ensures that your illumination covers the intended area effectively, improving safety during night rides. Understanding the science of light distribution can help you choose a beam pattern that maximizes your safety and visibility. Being aware of light beam angles can improve how well your bicycle light covers the road and surrounding environment, and considering beam pattern consistency can prevent uneven illumination that could compromise your safety. Moreover, understanding how different beam shapes influence light dispersion can further optimize your nighttime riding experience.
Beam Focus and Range
Beam focus and range play a essential role in how effectively your bicycle light illuminates the road ahead. The beam focus determines whether the light produces a narrow, concentrated beam or a wider, dispersed pattern. A tight beam offers better distance visibility, making it ideal for high-speed riding or dark, open roads.
Conversely, a broader beam improves peripheral awareness, helping you spot obstacles and pedestrians. The range of your light indicates how far the beam reaches, which is critical for safe riding at night.
When choosing, consider your riding environment—long-range beams are best for rural or unlit roads, while wider beams suit urban areas. Balancing beam focus and range ensures you see clearly without blinding others or wasting battery life. Additionally, understanding the trustworthiness of AI models can inform the development of smarter, safer lighting systems that adapt to various conditions.
Evaluating Battery Life and Power Source Options
Choosing the right battery life and power source options is essential to guarantee your bicycle light stays bright throughout your rides. First, consider the battery capacity, which determines how long the light will last before needing a recharge or replacement. Second, look into different power source options, such as rechargeable batteries, removable batteries, or USB-powered lights, to find what best suits your riding style. Third, evaluate the runtime based on your typical ride length to ensure your light won’t run out mid-ride. Remember, a higher battery capacity generally means longer illumination, but it may also add weight or size. Additionally, understanding battery safety and handling can help you avoid accidents or damage caused by improper use of power sources. Being aware of cloud service dependencies and potential outages can also prepare you for unexpected disruptions that might affect your electronic gear.
Analyzing Mounting Options and Ease of Installation
When selecting bicycle lights, consider how you’ll mount them on your handlebar. Some options offer quick, tool-free installation, while others may require more effort or additional accessories. Additionally, choosing lights that are highly visible and durable can ensure safety and longevity during night rides. Ease of setup can make a big difference in how often you use and adjust your lights. Being aware of website performance metrics can help you find the most user-friendly options that suit your needs. Moreover, reviewing community feedback can provide insights into the real-world durability and ease of installation of different lighting systems. It’s also beneficial to evaluate the installation process to determine whether it aligns with your skill level and available tools.
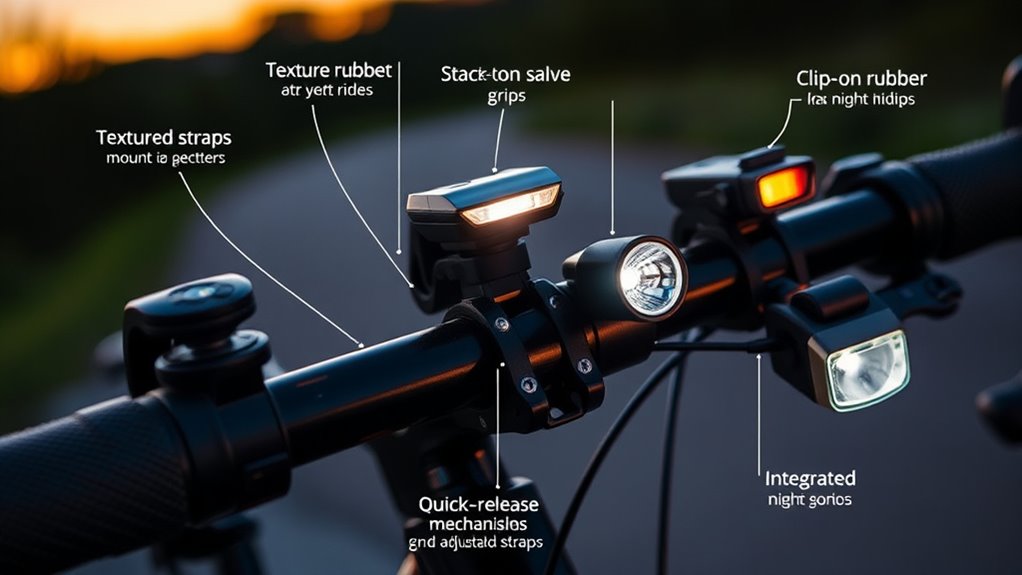
Handlebar Mounting Methods
Handlebar mounting options are a crucial factor to contemplate because they directly impact how easily you can install and secure your bicycle light. Choosing the right method ensures mounting safety and compatibility with handlebar accessories. Here are your main options: 1. Elastic straps – Simple and versatile, they fit most handlebars but require secure tightening for safety. 2. Quick-release clamps – Offer easy removal, ideal for frequent adjustments, but ensure they’re tight enough for safety. 3. Threaded mounts – Attach directly via screws or bolts, providing the most secure fit, especially for high-impact riding. Each method affects how stable your light remains during rides. Take into account your handlebar size, the type of riding, and how often you need to remove your light when choosing the best mounting method. Additionally, consider the compatibility of mounting options with various bicycle lights to ensure a secure fit and optimal performance.
Installation Convenience
Installing bicycle lights varies in complexity depending on the mounting method you select. Some lights clamp easily onto handlebars, while others use straps or quick-attach mounts, affecting setup time and convenience. Look for models with simple, tool-free installation to save effort. Waterproof features ensure your lights stay functional in rain, and longer battery lifespan reduces frequent replacements. Considering mounting options and creative engagement can also enhance your overall riding experience. Proper installation techniques can prevent lights from loosening or falling off during rides. For example, choosing a handlebar clamp that is easy, tool-free can make setup quicker and more straightforward. Here’s a quick comparison:
| Mounting Type | Ease of Installation | Water Resistance & Battery Life |
|---|---|---|
| Handlebar Clamp | Easy, tool-free | Often waterproof, long-lasting batteries |
| Helmet Mount | Moderate, quick strap | Varies, check waterproof features |
| Seat Post Strap | Very simple, no tools | Usually waterproof, moderate battery life |
Choose a mount that suits your riding style for maximum convenience.
Setting a Budget and Comparing Price Ranges
Setting a budget is a crucial first step in choosing bicycle lights, as it helps narrow down your options and guarantees you don’t overspend. Proper budget planning allows you to focus on lights that fit your financial limits while meeting your needs.
To get started:
- Research different price ranges to understand what’s available within your budget.
- Use price comparison tools to spot the best deals and avoid overpaying.
- Decide on a maximum amount you’re willing to spend, then prioritize features that matter most.
Ensuring Visibility and Compliance With Local Regulations

After establishing your budget, it’s important to focus on how well your bicycle lights guarantee visibility on the road and meet local regulations. Proper lighting enhances night riding safety and ensures you’re compliant with bicycle light regulations. Check your area’s rules for light brightness, color, and placement to avoid fines or accidents. Use lights that are bright enough to be seen from a distance but not blinding to others. Consider the following table to clarify key aspects:
| Aspect | Requirement |
|---|---|
| Brightness | Meets local lumen standards |
| Color | Front white, rear red |
| Placement | Visible from 360° around the bike |
Making an Informed Purchase Decision

To make an informed purchase decision, you need to evaluate your specific riding needs, budget, and the features offered by different bicycle lights. Consider how often you ride at night, the type of terrain, and your visibility requirements. When choosing bike accessories, look for lights with adjustable brightness and beam distance to enhance riding safety.
Here are three key points to guide your decision:
- Brightness and beam pattern – Ensure the light provides sufficient illumination for your typical routes.
- Battery life and charging options – Longer-lasting lights prevent interruptions and simplify recharging.
- Durability and water resistance – Select lights that withstand weather conditions and rough handling.
Making a thoughtful choice ensures your bike accessories improve safety and confidence during night rides.
Frequently Asked Questions
How Do I Choose Lights for Different Weather Conditions?
When selecting lights for different weather conditions, you should consider weatherproof options that resist rain and mud. Look for lights with high brightness levels to stay visible in fog or heavy rain.
Brightness helps you see and be seen, while weatherproof features guarantee durability. Adjust your brightness based on the weather; higher brightness works better in poor visibility, and waterproofing keeps your lights functioning no matter the weather.
Are Rechargeable Lights More Cost-Effective Than Disposable Batteries?
Rechargeable lights are more cost-effective long-term because they offer a better battery lifespan and reduce environmental impact. You won’t need to keep buying disposable batteries, saving you money and waste.
Plus, rechargeable options often come with longer-lasting bulbs and features. Although they may cost more upfront, over time, they prove to be a smarter, eco-friendly choice, making your night rides safer and more sustainable.
What Features Should I Prioritize for Urban Night Riding?
For urban night riding, you should prioritize features like bright, steady illumination to see obstacles clearly and be seen by others. Look for a light with multiple modes, including flashing for visibility.
A long battery life and rechargeable options are practical. While mountain biking and off-road illumination demand rugged, high-powered lights, city riding benefits from compact, reliable lights that enhance your safety without overwhelming your view.
How Do I Ensure My Lights Meet Local Safety Regulations?
You need to check your local regulations on bicycle lighting, which often specify brightness, color, and placement.
For mountain biking and off-road safety, make certain your lights are bright enough to be visible and have steady or flashing modes.
Keep your lights compliant by consulting local laws or cycling associations.
This way, you stay safe and avoid fines, whether you’re on urban streets, mountain trails, or off-road paths.
Can Bike Lights Be Used for Daytime Visibility?
You can definitely use bike lights for daytime visibility, just like a flashlight or a bright LED, because visibility matters whether it’s day or night.
A bike light, especially an LED, is designed to be seen from afar, unlike halogen lights or standard flashlights. Think of them as beacons on your bike, illuminating your presence clearly.
Conclusion
Choosing the right bicycle lights is like fitting the perfect piece into a puzzle—you’ll ride more confidently and safely. By understanding your options, considering your environment, and balancing brightness with battery life, you’ll illuminate your path like a guiding star in the night. Take your time, compare features, and pick lights that fit your needs and budget. With the right setup, every night ride becomes a clear, safe adventure waiting to unfold.