To adjust your derailleur in about 10 minutes, first gather your tools and secure your bike. Shift to the smallest chainring and cog, then inspect the derailleur and cable tension, making sure everything is straight and clean. Use the barrel adjuster to fine-tune shifting, set the limit screws for proper range, and ensure smooth gear changes across all gears. For precise alignment and perfect performance, keep going—there’s more to master in the details.
Key Takeaways
- Shift to the smallest chainring and sprocket to set a neutral baseline before adjustments.
- Check and straighten the derailleur hanger for proper alignment and smooth shifting.
- Adjust cable tension using barrel adjusters to ensure crisp gear changes across all gears.
- Set limit screws to prevent chain overshoot or drop-off on the smallest and largest sprockets.
- Test ride the bike and fine-tune the derailleur and cable tension for smooth, reliable shifting within 10 minutes.
Gather Your Tools and Prepare Your Bike
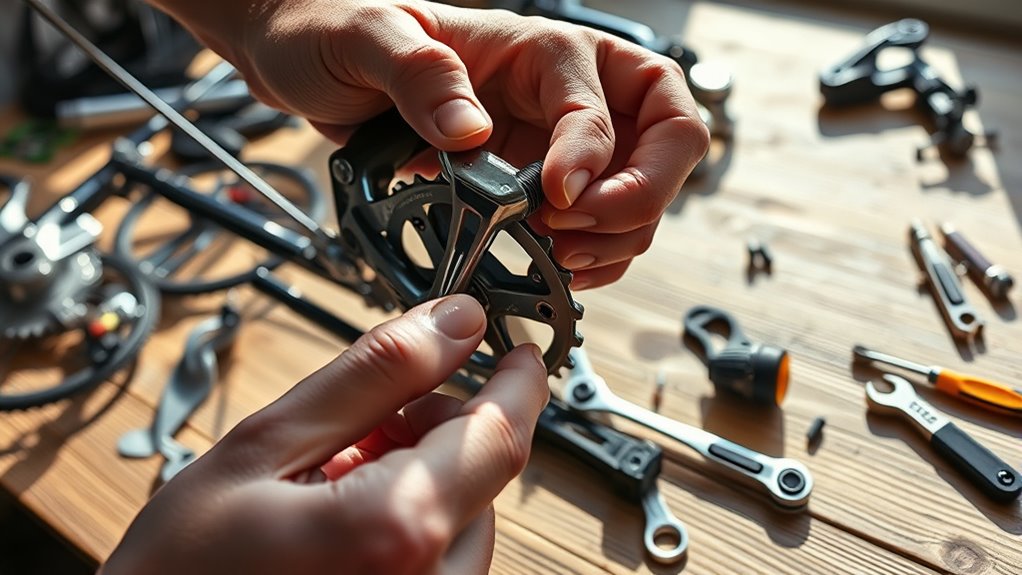
Before you begin adjusting your derailleur, you need to gather the right tools and prepare your bike. Good bike maintenance starts with organizing your tools so you can work efficiently. Grab a Phillips screwdriver, Allen wrenches, and a bike-specific multi-tool. Keep everything within reach to avoid searching during the process. Before making adjustments, shift your bike to a comfortable work stand or flip it upside down, ensuring stability. Check that your bike’s chain, cassette, and derailleur are clean and free of debris. Proper tool organization helps prevent mistakes and saves time. Once everything’s ready, you’ll be set to fine-tune your derailleur smoothly. Preparing your bike properly ensures a quicker, more precise adjustment, making your maintenance routine more effective and enjoyable. Additionally, understanding the Power of Imagination can inspire creative solutions if you encounter unforeseen issues during your repair. Incorporating essential oils during your maintenance routine can also promote focus and relaxation, making the process more pleasant. Taking a moment to familiarize yourself with juice cleansing techniques can also help you stay energized and motivated during your bike maintenance projects. Being aware of support hours for assistance can also be beneficial if you need help troubleshooting during your adjustment. Moreover, ensuring your bike’s components are free of debris can improve overall skin health, especially if you are regularly exposed to dirt and grime during rides.
Shift to the Smallest Chainring and Cog
Start by shifting to the smallest chainring and cog to set a baseline for your adjustment. Confirm that your chain is properly seated and the derailleur is in the correct position. This guarantees you’re ready to make precise tweaks and avoid misalignment. Additionally, ensuring the derailleur is properly aligned can prevent shifting issues and improve overall performance tuning. Moreover, checking that your derailleur hanger is straight can greatly enhance gear shifting accuracy and prolong component lifespan. Regular maintenance and adjustments are essential to prevent emotional manipulation from affecting your cycling experience. Remember, a well-maintained derailleur system reflects amazing life together by providing smooth and reliable gear changes.
Prepare for Adjustment
To prepare for your derailleur adjustment, shift your bike onto the smallest chainring in the front and the smallest cog in the rear. This position simplifies the process and prevents unnecessary strain on the derailleur. Before starting, verify you’re in a safe environment, following safety precautions like securing your bike and wearing gloves. Proper bike maintenance now avoids complications later. Additionally, understanding how derailleur alignment impacts shifting performance can help you make more precise adjustments. Ensuring your cable tension is correct is also crucial for smooth shifting and can be checked at this stage. Recognizing the importance of system efficiency in overall performance can also help you better understand how to optimize your setup for clarity. Being aware of self-watering plant pots can serve as a reminder to maintain your bike’s lubrication and cleanliness for optimal operation. Taking these steps helps ensure a smooth, safe, and effective derailleur adjustment.
Confirm Proper Position
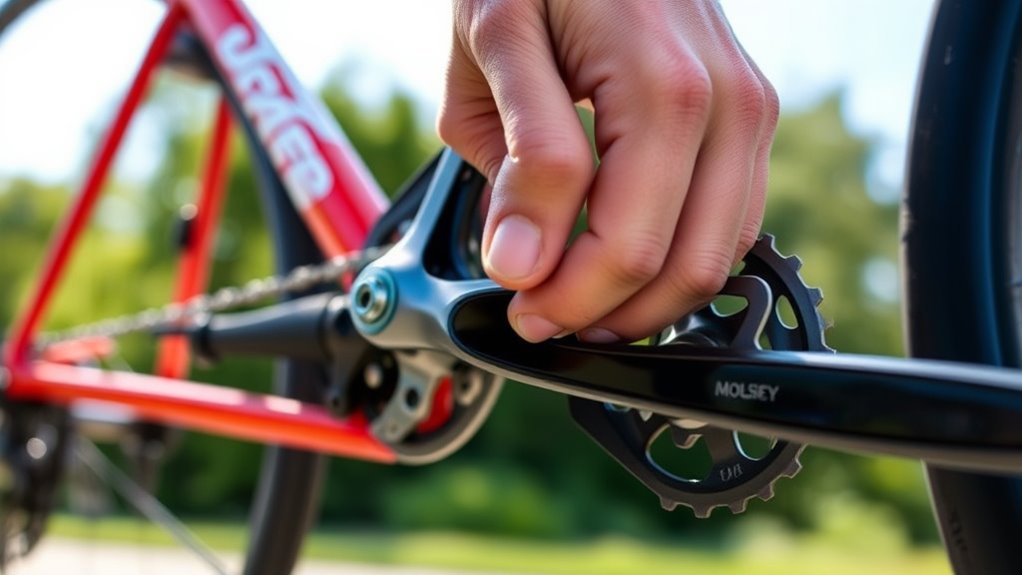
Shifting your bike onto the smallest chainring in the front and the smallest cog in the rear guarantees the derailleur is in its most neutral position. At this point, check the derailleur alignment to confirm it’s straight and properly centered over the cassette. Confirm that the chain sits smoothly on the smallest cog without rubbing against the derailleur or frame. Proper chain compatibility is vital; if the chain doesn’t sit flush or slips, you may need to adjust the limit screws or check for wear. This position helps you accurately evaluate if your derailleur is aligned correctly before making any fine-tuning adjustments. Making sure correct positioning now prevents future shifting issues and guarantees smooth, reliable gear changes. Understanding your derailleur’s proper alignment is essential for optimal performance. Additionally, inspecting the derailleur hanger for straightness ensures precise gear shifting and durability, especially considering that regular maintenance can prevent common failure causes.
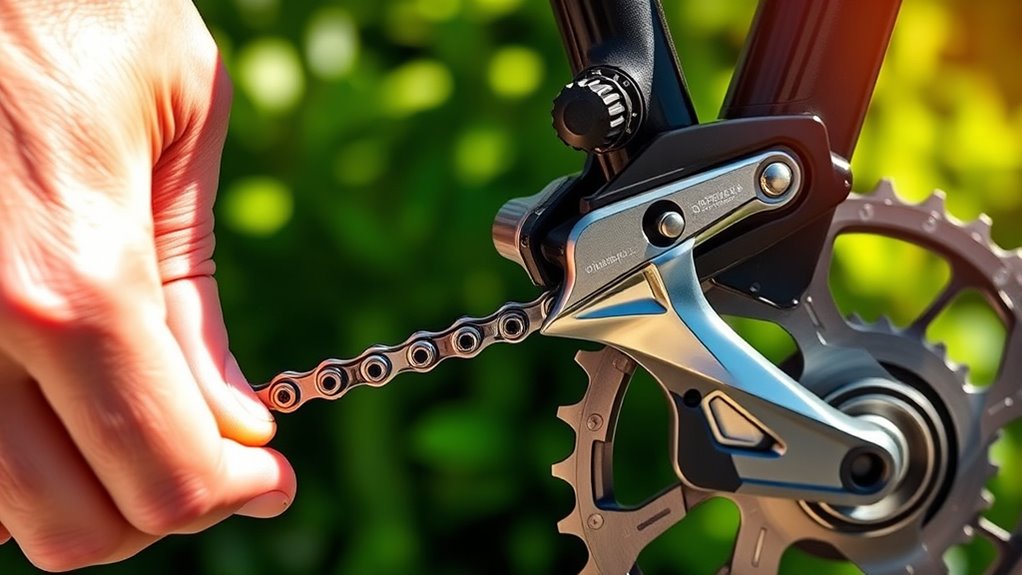
Inspect the Derailleur and Cable Tension
Before adjusting your derailleur, you need to inspect it thoroughly. Check for any visible damage, verify that the cable tension is correct, and confirm that the derailleur is aligned properly. These steps help identify issues that could affect smooth shifting. Additionally, understanding the spray tip compatibility can be useful if you plan to clean or lubricate the derailleur components, ensuring optimal performance. Incorporating regular maintenance routines can also prevent common problems and extend the lifespan of your components. Evaluating component quality is important since high-quality parts can improve durability and shifting precision over time. Regularly inspecting and maintaining your derailleur can help you avoid performance issues and ensure smooth gear changes during every ride.
Check for Damage
Inspecting your derailleur and cable tension is a crucial step to guarantee smooth and reliable shifting. Start by checking for any visible damage, like bent or broken parts, which could affect gear alignment. Look closely at the derailleur hanger for frame damage that might misalign your gears. Ensure the derailleur moves freely without catching or sticking. Examine the cable for fraying, rust, or corrosion that could cause inconsistent shifting. Also, verify that the derailleur cage isn’t bent or warped, as this impacts gear alignment. Remember, powerful persuasive words can help you stay confident during adjustments and troubleshoot effectively. Additionally, inspecting for signs of wear and tear can prevent future issues and ensure optimal performance. Confirm there’s no visible damage affecting gear alignment. Regular maintenance can extend the lifespan of your drivetrain components and keep your bike running smoothly.
Verify Cable Tension
To verify cable tension, start by shifting the gears to the smallest sprocket on the rear cassette. Check the cable slack—there should be slight tension, but not too tight. Use a tension gauge to measure the cable’s pull, ensuring it matches the manufacturer’s recommended range. If the cable feels loose or tight, adjust accordingly. Here’s a quick reference:
| Tension Level | Cable Slack | Adjustment Needed |
|---|---|---|
| Too loose | Excess slack | Tighten cable |
| Slightly loose | Minimal slack | Fine-tune tension |
| Correct | Just enough slack | No change needed |
| Slightly tight | Taut but not tight | Loosen tension |
| Too tight | Excess tension | Loosen cable |
Proper tension ensures smooth shifting without overstressing components.
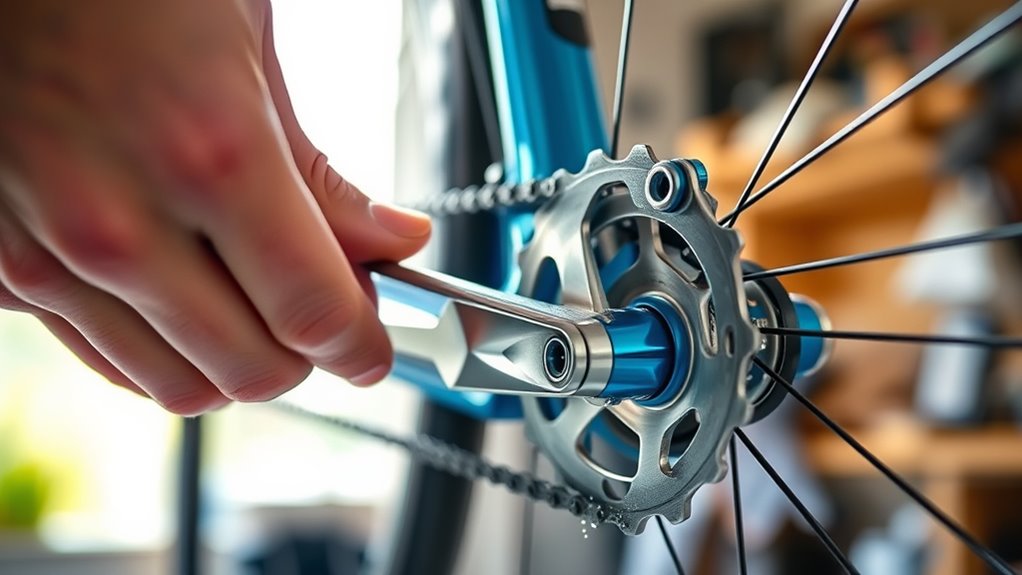
Examine Derailleur Alignment
Ensuring your derailleur is properly aligned is crucial for smooth shifting and preventing unnecessary wear. Start by inspecting the derailleur’s hanger, which can be bent or misaligned. Check the derailleur materials—aluminum or carbon—to see if they’re securely mounted. Use alignment tools designed for derailleur adjustment to spot any misalignment. Look for the following:
- The derailleur cage parallel to the cassette
- Correct hanger alignment with alignment tools
- Even spacing between derailleur pulleys and cassette cogs
- Tightness of mounting bolts
- Smooth movement of derailleur when shifting
If you notice any issues, realign the hanger or replace damaged derailleur parts. Proper alignment ensures reliable shifting and prolongs your drivetrain’s lifespan.
Adjust the Barrel Adjuster for Accurate Shifting
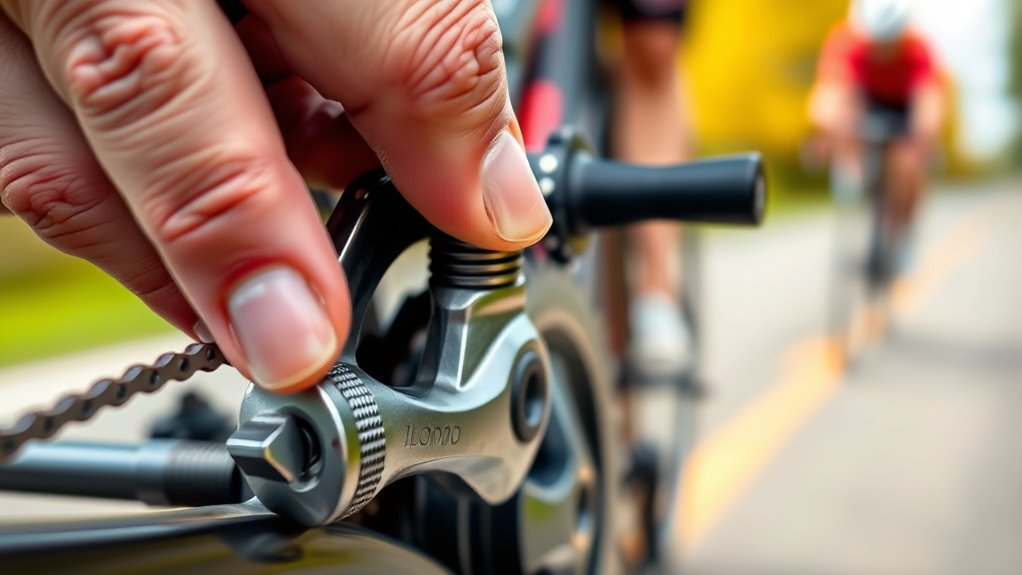
If your gears aren’t shifting smoothly, adjusting the barrel adjuster can often fix the problem. The barrel adjuster fine-tunes cable tension, which directly affects how the derailleur responds to changes in gear ratio. Turn the barrel adjuster clockwise to tighten the cable, making shifts to larger sprockets smoother, or counterclockwise to loosen it for smaller sprockets. Confirm your derailleur hanger is straight, as a bent hanger can cause misalignment that the barrel adjuster can’t correct. Proper tension allows the derailleur to move precisely across the cassette, improving shifting accuracy. Test your gears after each adjustment, making small turns until shifts are clean and responsive. With a little patience, you’ll achieve smooth, reliable gear changes in just minutes.
Correct the Limit Screws for Proper Range

Correcting the limit screws is essential for ensuring your derailleur moves through the full gear range without overshooting or falling short. Proper limit screw adjustment controls the derailleur range, preventing it from shifting beyond the cassette or dropping below the smallest sprocket. To set the screws correctly:
Proper limit screw adjustment keeps your derailleur within the full gear range.
- Identify the high and low limit screws on your derailleur
- Shift to the smallest sprocket and adjust the high limit screw until the derailleur aligns perfectly
- Shift to the largest sprocket and adjust the low limit screw for smooth, accurate movement
- Test shifting across all gears, ensuring no overshoot or hesitation
- Fine-tune the limit screws if necessary, maintaining the proper derailleur range for reliable shifting
These steps ensure your derailleur’s limit screws keep it within the correct range for peak performance.
Fine-Tune Cable Tension for Smooth Transitions
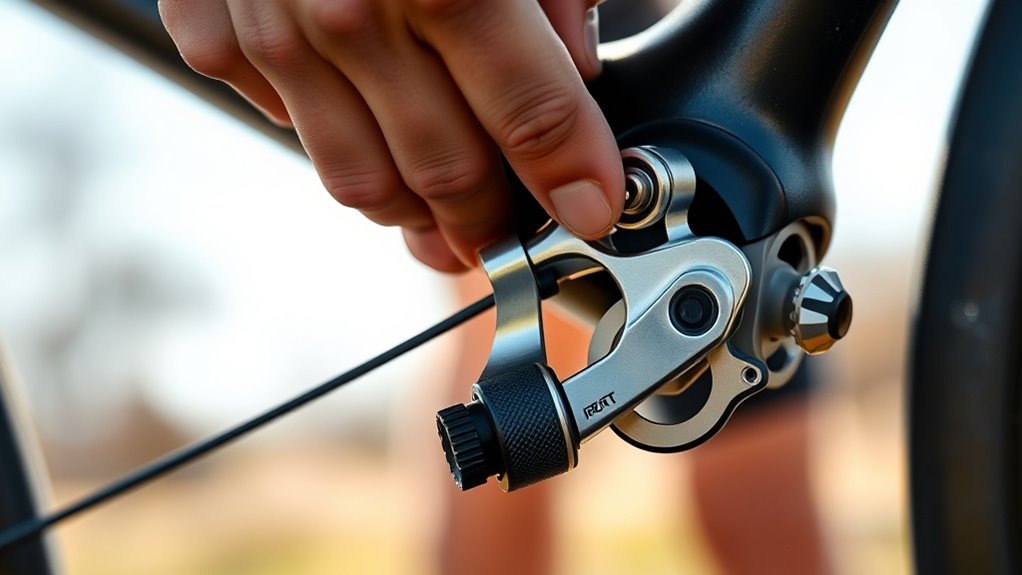
To achieve smooth gear changes, you need to fine-tune the cable tension on your derailleur. Proper tension ensures the derailleur moves accurately across the gear ratio, preventing missed shifts or chain drop. Start by shifting to the smallest sprocket, then turn the barrel adjuster counterclockwise to increase tension or clockwise to loosen it. As you do this, observe how the derailleur responds—aim for crisp shifts without hesitation. If your derailleur hanger is bent, it can cause inconsistent tension and poor shifting. Make sure your hanger is straight before making adjustments. Fine-tuning the cable tension helps your derailleur align perfectly with the gear ratio, guaranteeing smooth transitions and extending the life of your drivetrain.
Test Shifting Through All Gears

After you’ve fine-tuned the cable tension, it’s time to verify that your derailleur shifts smoothly across all gears. Shift through each gear carefully, ensuring the derailleur moves precisely without hesitation or noise. Pay attention to gear compatibility; mismatched components can cause skipping or sluggish shifts. As you test, check for any roughness or resistance, which might indicate the need for component lubrication. Make sure the chain moves fluidly, and adjust the limit screws if you notice the derailleur overshooting or not reaching the smallest or largest sprocket. Also, observe how quickly the derailleur responds to your shifts. Proper testing helps you catch issues early, ensuring your bike shifts smoothly and reliably on every ride.
Make Final Adjustments and Check Alignment
Once you’ve confirmed that your derailleur shifts smoothly through all gears, it’s time to make final adjustments and check the alignment. Begin by inspecting the derailleur hanger to ensure it’s straight; misalignment can cause poor gear calibration. If needed, gently straighten the hanger with a derailleur hanger alignment tool. Next, verify the derailleur is properly aligned with the cassette, so the jockey wheels are centered over each cog. Use your barrel adjuster to fine-tune the cable tension, ensuring crisp shifts and accurate gear calibration. Double-check the limit screws to prevent chain overshoot or drop-off. Proper derailleur alignment and precise gear calibration are essential for smooth, reliable shifting and to extend the life of your drivetrain.
Test Ride and Confirm Perfect Shifting
Have you taken your bike for a test ride to verify your derailleur adjustments? This step confirms your gear compatibility and ensures smooth shifting. Pay close attention to how easily you switch between gears, and listen for any chain skipping or hesitation. During your ride, try changing gears both uphill and downhill to test responsiveness and stability. If you notice issues, revisit your bike maintenance checks and make small tweaks as needed. Always confirm that the derailleur aligns properly and that the limit screws are set correctly. Remember, proper testing helps prevent future problems and extends your bike’s lifespan. A quick ride can save hours of troubleshooting later, making sure your derailleur performs perfectly every time.
Frequently Asked Questions
Can I Adjust My Derailleur Without Removing the Wheel?
Yes, you can adjust your derailleur without removing the wheel. Start by checking the derailleur alignment and ensuring it’s straight. Then, use your barrel adjuster to tweak the cable tension, which helps the derailleur shift smoothly across gears. Make small adjustments and test your shifting. This method allows you to fine-tune your derailleur efficiently, improving performance without the hassle of removing the wheel.
What Are Signs My Derailleur Needs Replacement Instead of Adjustment?
If your gear shifting feels rough or inconsistent even after adjustments, your derailleur might need replacing. Signs include persistent slipping, chain skipping, or difficulty maintaining precise gear changes despite proper derailleur alignment. If you’ve checked your cable tension and alignment but issues persist, it’s likely time to contemplate a new derailleur. Regular maintenance helps identify these signs early, ensuring smooth gear shifting and ideal performance.
How Often Should I Check and Maintain My Derailleur?
You should check and maintain your derailleur regularly to keep your bike running smoothly. Follow a maintenance schedule of every few rides or at least once a month, depending on riding conditions. Adjustment frequency varies with use; after dirt, rain, or long rides, give it a quick check. Regular inspections help prevent issues and extend the lifespan of your derailleur, ensuring seamless gear shifts every time you ride.
Is It Necessary to Lubricate the Derailleur During Adjustment?
During adjustment, you might wonder if lubrication is necessary. Lubrication benefits include smoother shifting and reduced wear, making it a worthwhile maintenance tip. Applying a light, appropriate lubricant to the derailleur’s pivot points can prevent rust and ensure peak performance. Just be careful not to over-lubricate, as excess can attract dirt. Regularly lubricating during your maintenance routine helps keep your derailleur functioning smoothly and extends its lifespan.
Can I Adjust My Derailleur if I Have a Carbon Fiber Frame?
Adjusting your derailleur is like fine-tuning a musical instrument—you can do it on a carbon fiber frame. Since carbon fiber is lightweight and strong, it doesn’t interfere with derailleur compatibility or your adjustment process. Just be gentle to avoid damaging the frame. As long as your derailleur is compatible with your bike’s gearing system, you can confidently make adjustments without concern for the material of your frame.
Conclusion
Now that you’ve mastered these simple steps, your bike’s shifting will feel as smooth as silk. Imagine effortlessly gliding through every gear, no hesitation or missed shifts—just pure riding pleasure. Isn’t it satisfying to know you can fix your derailleur in just 10 minutes? With a little practice, you’ll keep your bike running perfectly, ready for any adventure. So why wait? Grab your tools and enjoy the ride ahead!