To get better safety footage from your bike camera, choose a sturdy mount compatible with your bike and camera, like aluminum or high-quality plastic. Secure it tightly on stable surfaces like handlebars or helmets, ensuring it won’t wobble on rough terrains. Position the camera with a slight downward tilt and avoid obstructions. Test your setup with a short ride, then adjust for the clearest, most stable footage. Keep exploring for even more tips to improve your ride’s safety footage.
Key Takeaways
- Use sturdy, compatible mounts secured tightly to stable bike parts like handlebars or helmet.
- Position the camera for a clear view ahead with a slight downward tilt for balanced footage.
- Tighten mounts securely to prevent wobbling and vibrations during rough terrain or sudden stops.
- Test the setup by riding a short distance and adjust angles for optimal visibility and stability.
- Ensure the camera is unobstructed, level, and captures detailed, stable footage for safety review.
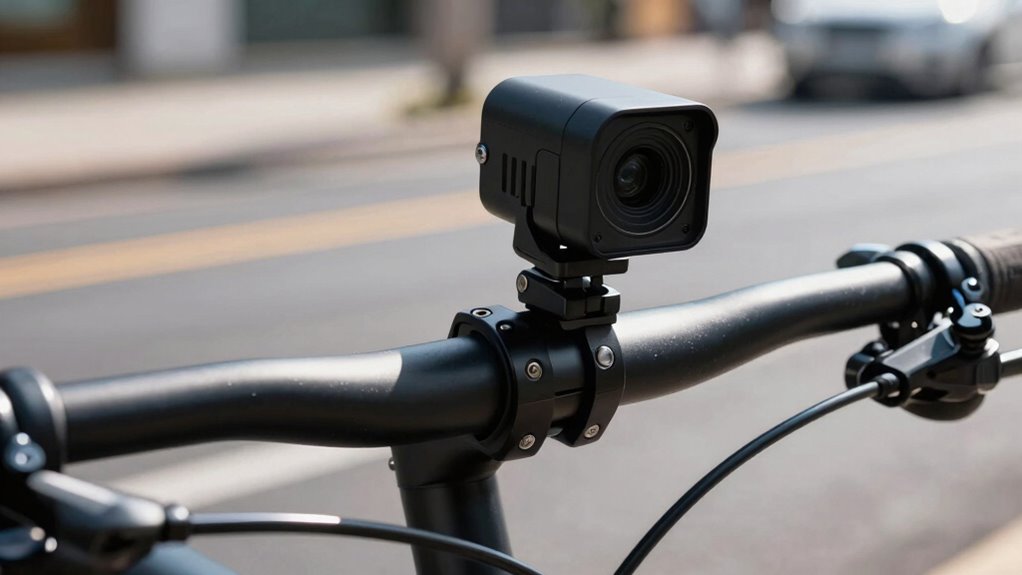
Mounting a bike camera properly guarantees you capture clear, stable footage during your rides. To do this effectively, you need to understand good mounting techniques and how to optimize camera angles. The right approach guarantees your footage isn’t shaky or obscured, giving you reliable evidence if needed or just a better way to relive your rides. First, select a sturdy mount that fits your bike and camera. Many cameras come with specific mounting accessories, but if not, choose universal mounts made of durable materials like aluminum or high-quality plastic. Secure the mount tightly to a stable part of your bike—usually the handlebars or the helmet—making sure it won’t loosen during rough terrain or sudden stops. Avoid loose fittings, as they cause unnecessary vibration, which can ruin your footage.
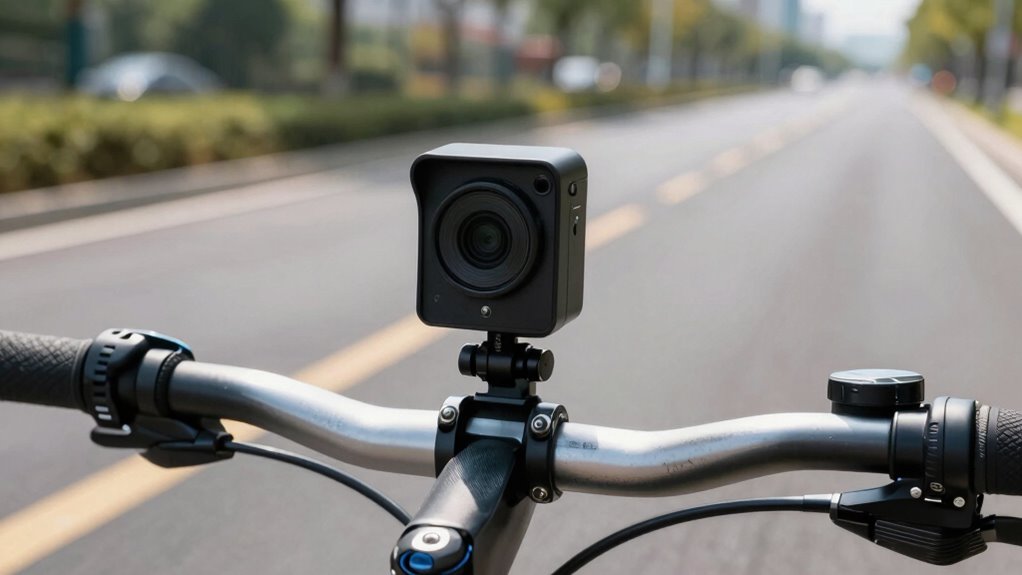
When it comes to mounting techniques, the goal is to keep your camera steady and aligned with your line of sight. For handlebar mounts, position the camera so it captures the road ahead, giving a clear view of your path. If your preference is a helmet mount, ensure it’s positioned to look forward without obstructing your view, and tighten it securely to prevent wobbling. Remember, a well-chosen mount that’s installed correctly makes a significant difference in footage quality. Now, camera angles are equally vital. You want a perspective that provides enough context of your surroundings without overwhelming the shot. Usually, a slight downward tilt from the horizontal offers a balanced view—showing the road and your actions clearly. If your camera has adjustable angles, experiment with different positions before you start riding to find the most stable and exhaustive view. Proper camera positioning also helps prevent common issues like lens glare or unwanted reflections. Additionally, using a stable mounting surface can greatly improve the overall stability of your footage, especially on bumpy terrains. If you’re riding in challenging conditions, considering shock absorption features can help minimize vibrations and improve video quality.
Furthermore, considering camera stability is crucial to prevent shakiness and ensure smooth footage. Avoid extreme angles that cause the footage to look disorienting or unprofessional. Keep the camera centered and level, avoiding tilts that might make viewers feel seasick or distracted. Also, check for potential obstructions like brake levers or handlebars that could block important parts of the scene. Remember, the key is to find a camera angle that maximizes visibility while remaining unobtrusive and secure. Properly mounting your camera can also help reduce vibrations and improve video quality, especially on rough terrains. Once mounted, test the setup by riding a short distance, reviewing the footage to confirm the stability and clarity of the view. Adjust the mounting position or angle as needed to improve the shot. With the right mounting techniques and thoughtful camera angles, you’ll guarantee your safety footage is both clear and reliable, capturing every detail of your ride without distraction or distortion.

UTEBIT Camera Mount Clamp, 360° Ballhead with 1/4" Thread Holes, Black
- Bike Camera Mount: 360° rotation, fits rods 0.66-1.37in
- Adjustable Phone Clamp: Fits 4-6.8 inch phones
- Tripod Compatibility: Includes 1/4 inch thread adapter
As an affiliate, we earn on qualifying purchases.
As an affiliate, we earn on qualifying purchases.
Frequently Asked Questions
What Is the Best Camera Angle for Capturing Safety Footage?
The best camera angle for capturing safety footage is slightly below and in front of you, providing a clear view of the road and your surroundings. Use camera stabilization to keep footage smooth, even on bumpy rides. Make angle adjustments to guarantee your camera captures essential details like traffic signals, obstacles, and nearby vehicles. Regularly check and tweak the angle for maximum coverage, keeping safety and visibility your top priorities.
How Do I Prevent the Camera From Falling off During a Ride?
To prevent your camera from falling off during a ride, focus on proper camera positioning and secure mounting security. Use a high-quality, durable mount compatible with your camera, and tighten all screws or straps firmly. Choose a stable, vibration-resistant spot like your handlebars or helmet. Double-check the mount before each ride, ensuring it’s snug and secure. This careful approach keeps your camera steady and minimizes the risk of it falling off mid-ride.
Can I Mount a Camera on Any Type of Bike?
Yes, you can mount a camera on any type of bike, but the secret lies in choosing the right mounting options. Different bikes—mountain, road, or cruiser—require specific bike accessories to secure your camera firmly. Imagine capturing every thrilling moment without worry. With versatile mounting options tailored to your bike’s design, you get seamless footage, no matter the ride. Ready to elevate your safety and adventure? The perfect setup awaits.
What Is the Recommended Battery Life for Continuous Recording?
For continuous recording, aim for a battery life of at least 2 to 4 hours, depending on your camera’s specifications. You can optimize battery life by focusing on battery optimization and effective power management, such as lowering resolution or turning off features you don’t need. Carry a portable charger or extra batteries for longer rides. Regularly check your camera’s battery status to guarantee consistent recording quality and safety footage.
How Do I Waterproof My Bike Camera for Rainy Conditions?
To waterproof your bike camera for rainy conditions, start by placing it in a waterproof casing designed for outdoor use. If it doesn’t have one, use a rain-resistant cover that fits snugly around the device, ensuring all openings are sealed. Secure the casing or cover firmly to prevent water from seeping in, especially around buttons and ports. Regularly check for any damage or gaps to keep your footage clear during wet rides.
Conclusion
By carefully choosing the right mount and positioning your camera correctly, you guarantee clear, reliable footage that can protect you in any situation. Remember, a well-mounted camera isn’t just about capturing images — it’s about safety and accountability on every ride. Are you willing to take that extra step to safeguard yourself and your journey? With the right setup, you’ll ride confidently, knowing your camera is working as hard as you are.