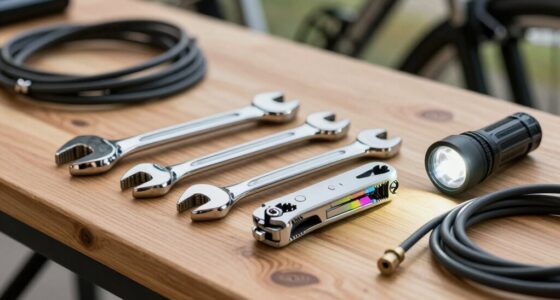
To set up a safer light system for night commuting, install bright front lights with multiple modes and secure them on your handlebars, aiming straight ahead. Attach a red taillight on your seat post or backpack, using steady or flashing modes for visibility. Add reflective gear like vests, tape, and accessories on your bike and clothing to bounce light from headlights. Regularly check batteries and alignment, and combine all this with attentive riding practices to stay safe in low light. Keep exploring for more tips to enhance your visibility.
Key Takeaways
- Mount bright, steady front lights securely on handlebars, aimed straight ahead for optimal illumination and visibility.
- Attach high-visibility rear lights with flashing modes on seat posts or backpacks to alert others from all angles.
- Incorporate reflective gear and tape on the bike, clothing, and accessories to enhance light bounce from headlights.
- Use multiple light modes (steady and flashing) and ensure batteries are charged and attachments are secure before rides.
- Follow local regulations and adjust lighting brightness to suit riding conditions for maximum safety.

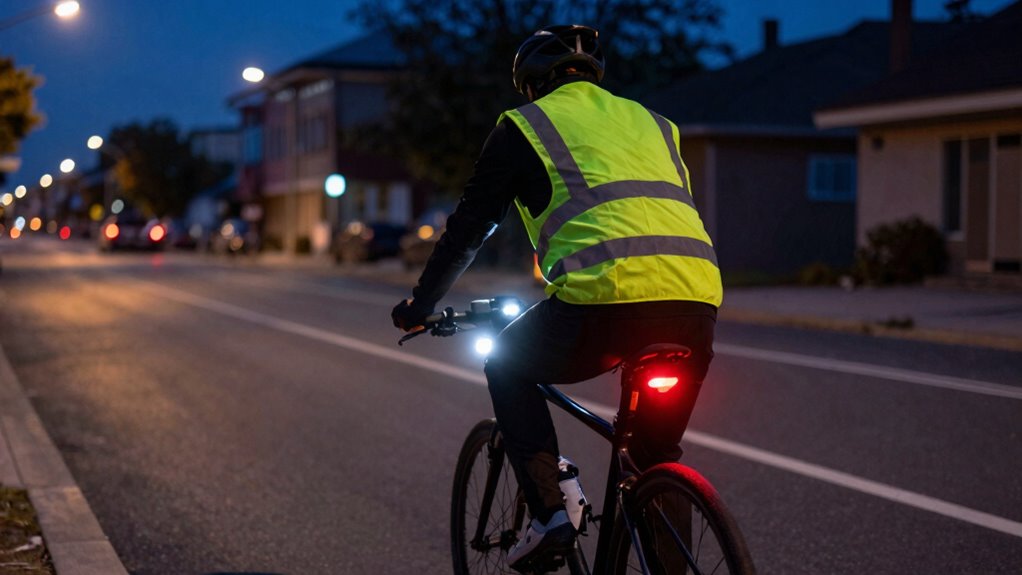
Night commuting can be risky if you’re not properly visible to others on the road. With limited visibility, your safety depends heavily on how well others can see you. That’s why setting up a reliable light system is crucial. Start by investing in a high-quality bike helmet equipped with a built-in front light or attach a bright, rechargeable headlamp. A good helmet doesn’t just protect your head; it also makes your presence more noticeable from a distance. Pair this with reflective clothing—vests, jackets, or strips on your arms and legs—that bounce back light from vehicle headlights. Reflective gear greatly enhances your visibility, especially when combined with active lighting.
Proper lighting and reflective gear are essential for safe night cycling.
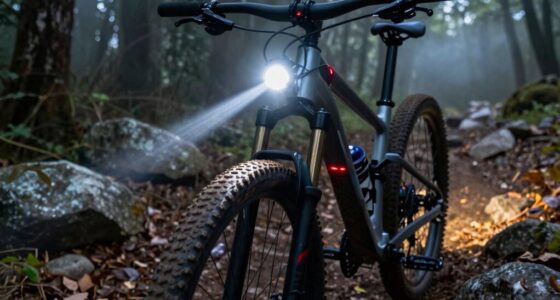
Next, focus on the placement of your lights. A bright front light is critical; it illuminates your path and signals your presence to oncoming traffic. Choose a light that offers multiple brightness modes and a steady beam, avoiding flickering that can distract or confuse drivers. Mount this light securely on your handlebars, ensuring it’s aimed straight ahead. For the rear, use a red taillight that’s visible from a considerable distance. Some rear lights come with flashing modes, which catch drivers’ attention more effectively than steady lights. Mount the rear light on your seat post or backpack if you’re carrying one. This positioning makes sure both front and back lights stay in your line of sight and are clearly visible. Additionally, selecting lights with brightness settings can help you adapt to different riding conditions.
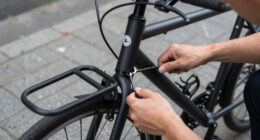
To further increase your safety, consider additional reflective accessories. Reflective tape on your bike frame, pedals, and spokes boosts your visibility from all angles. Wearing reflective ankle or wristbands can also help, especially when you’re signaling turns or stopping. The key is to create multiple points of light and reflection that work together to make you noticeable from afar. Regularly check your lights and reflective gear before each ride to verify everything functions properly. Batteries should be fully charged or fresh, and all attachments should be secure. Incorporating proper lighting techniques, such as alternating flashing and steady beams, can significantly reduce the risk of accidents in low-light environments. Understanding local regulations regarding bike lighting can ensure you’re compliant and avoid fines. Additionally, using energy-efficient lights can extend your battery life during longer rides.
Finally, adapt your riding behavior to night conditions. Slow down, increase your following distance, and stay alert for unexpected obstacles or drivers who might not see you immediately. By combining a well-setup light system with reflective clothing and attentive riding, you considerably improve your safety during night commutes. Remember, your visibility isn’t just about lighting—it’s about making sure others see you clearly and early enough to react.
rechargeable bike front light with multiple modes
As an affiliate, we earn on qualifying purchases.
As an affiliate, we earn on qualifying purchases.
Frequently Asked Questions
What Are the Best Battery Types for Bike Lights?
You should choose lithium-ion batteries for bike lights because they offer excellent battery longevity and are rechargeable options, making them cost-effective and environmentally friendly. They hold a charge longer and recharge quickly, ensuring your lights stay bright during your night rides. Avoid older battery types like NiMH or alkaline, which don’t last as long or recharge as efficiently. Lithium-ion batteries give you reliable, sustained illumination for safer night commuting.
How Do I Maintain My Bike Lighting System?
Proper bike maintenance and light positioning keep your lighting system luminous and long-lasting. Regularly clean your lights to prevent dirt from dulling their brightness. Check and tighten mounts to guarantee lights stay secure during rides. Position your lights correctly—front lights should illuminate your path without blinding others, and rear lights should be clearly visible from behind. Consistent checks and smart positioning make your night rides safer and more visible.
Are There Legal Requirements for Bike Lights at Night?
Yes, there are legal regulations for bike lights at night. You need to guarantee your lighting complies with local laws, which typically require a white front light and a red rear light or reflector. These regulations aim to enhance visibility and safety. Check your area’s specific rules on brightness and positioning to stay compliant and avoid fines. Proper lighting not only keeps you legal but also improves your visibility to others on the road.
Can Smartphone Apps Improve My Night Visibility?
Smartphone apps can substantially boost your night visibility. You can turn up your phone’s brightness to maximum, making it almost as bright as a lighthouse! Many apps are compatible with various devices, allowing you to customize flashing patterns or add extra illumination. However, make sure your phone’s brightness settings and app compatibility work seamlessly so you don’t miss vital signals. Just remember, relying solely on your phone isn’t enough—use dedicated bike lights for safety.
How Do Weather Conditions Affect Light System Performance?
Weather impact can considerably affect your light system’s performance during night commuting. Rain, fog, or snow can diminish visibility, making your lights less effective. Wet conditions may cause reflections or reduce light intensity, while fog scatters light, decreasing its range. To counter this, choose high-quality, waterproof lights, and make sure they’re properly maintained. Adjusting brightness levels and using auxiliary lights help improve light performance in adverse weather, keeping you safer on the road.
red LED bike taillight with flashing mode
As an affiliate, we earn on qualifying purchases.
As an affiliate, we earn on qualifying purchases.
Conclusion
By following these simple steps, you’ll turn your night commute into a shining example of safety. Your new light system will be brighter than a thousand suns, making you impossible to miss on the road. With your visibility boosted, you’ll feel more confident and secure every evening. Remember, a well-lit path isn’t just safer—it’s your ticket to conquering the night like a true champion. So gear up and light the way for a safer, brighter journey ahead!
reflective bike vest for night riding
As an affiliate, we earn on qualifying purchases.
As an affiliate, we earn on qualifying purchases.
bike helmet with built-in front light
As an affiliate, we earn on qualifying purchases.
As an affiliate, we earn on qualifying purchases.