
To change your power meter battery without breaking anything, carefully gather the proper tools like a small screwdriver or coin, and work in a clean, static-free area. Gently open the housing, noting the battery’s orientation before removing it. Handle batteries carefully to avoid cracks or damage, and insert the new one with proper alignment. Double-check everything is secure before closing. Keep exploring for more tips on maintaining your power meter smoothly.
Key Takeaways
- Use the correct small screwdriver or coin to gently open the battery compartment without excessive force.
- Note and remember the battery orientation before removal to ensure proper installation.
- Keep the workspace clean and static-free to prevent damage to sensitive components during replacement.
- Carefully insert new batteries, ensuring they sit flush and align correctly to avoid damaging contacts.
- Double-check that the housing is securely closed and all parts are tight before riding to prevent accidental damage or battery loss.
Keeping your power meter‘s battery in good shape is essential for accurate workout tracking and reliable data. A well-maintained battery ensures your device functions properly during every ride, so you get the most accurate insights into your performance. To achieve this, you need to understand how to maximize battery life and master replacement techniques that prevent damage or mishaps. Proper care and handling make the process straightforward, saving you time and frustration.
First, consider the battery life of your power meter. Most use coin cell or rechargeable batteries, and understanding their lifespan helps you plan replacements before they die unexpectedly. Check the manufacturer’s guidelines regularly, as some batteries may last several hundred hours of use, while others might need replacing more frequently. Keep an eye out for signs of declining performance, such as inconsistent readings or sudden loss of data transmission. When you notice these signs, it’s time to replace the battery to maintain data accuracy. Avoid letting the battery drain completely, as this can sometimes reduce its overall lifespan and affect the device’s performance.
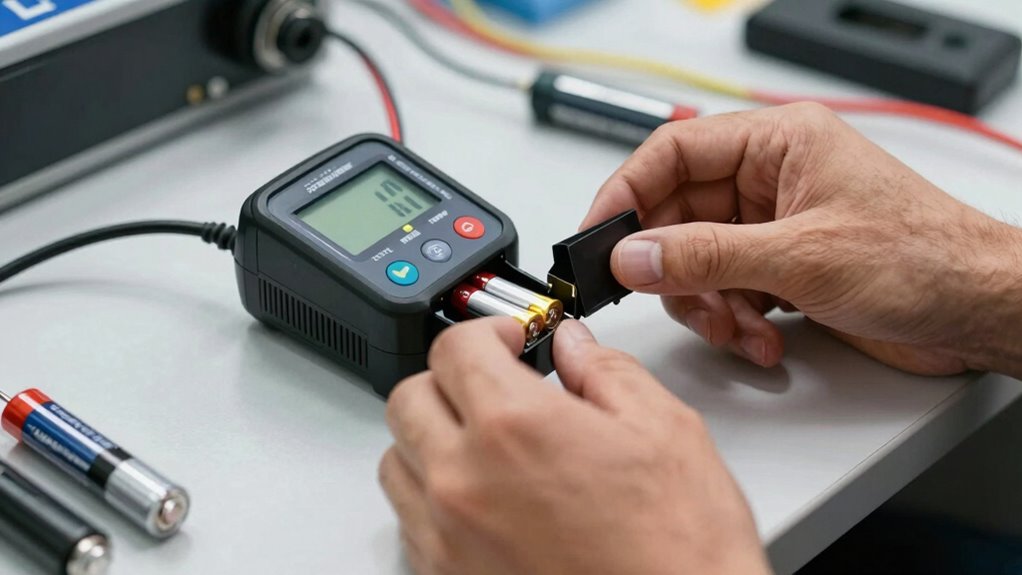
When it comes to replacement techniques, the key is to handle your power meter with care to avoid damage. Start by gathering the right tools—usually, a small screwdriver or a coin for opening battery compartments. Before opening, ensure your workspace is clean and static-free. Gently remove the old battery, taking note of its orientation—positive and negative ends—and how it fits into the compartment. Insert the new battery carefully, making sure it sits flush and aligns correctly with the contacts. Avoid using excessive force, which could crack or damage the housing. Once replaced, double-check that everything is securely closed and that no parts are loose. Testing your power meter after a replacement confirms it’s functioning properly, and you’re good to go. Additionally, using UV filters on your device can help protect it from sun damage and prolong its lifespan.
It’s also wise to keep spare batteries on hand, especially if you rely heavily on your power meter. This way, you can swap out batteries quickly during rides or maintenance without risking downtime. Regularly inspecting the battery compartment for corrosion or debris helps prevent connection issues, especially if you ride in wet or muddy conditions. Always follow the manufacturer’s instructions for replacement techniques—each device may have specific steps that ensure a proper fit and seal. By taking these precautions, you’ll avoid damaging sensitive components and prolong the life of your power meter.
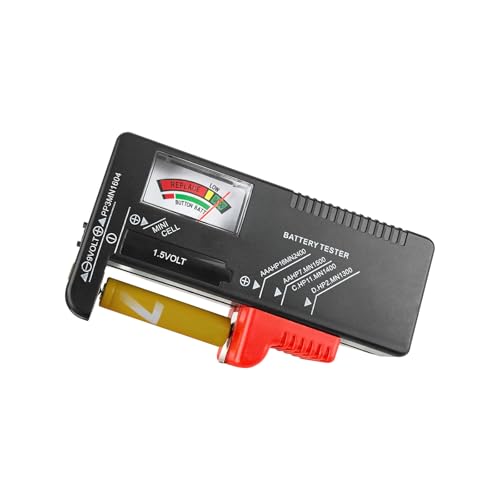
Battery Tester Checker, Universal Small Battery Tester for AAA AA C D 9V 1.5V, Button Cell Batteries Checker – Small Volt Checker for All Batteries – 1 Pack
- Easy-to-Read Display: Clear pointer shows battery health status
- Compact & Lightweight: Made from durable ABS, fits in pocket
- Universal Compatibility: Suitable for AAA, AA, C, D, 9V, and button cells
As an affiliate, we earn on qualifying purchases.
As an affiliate, we earn on qualifying purchases.
Frequently Asked Questions
Can I Change the Battery Without Removing the Entire Power Meter?
Yes, you can change the battery without removing the entire power meter. First, locate the battery compartment, which is usually accessible without full removal. Use compatible tools, like a small Phillips screwdriver or a coin, to open the compartment carefully. This way, you avoid damaging the meter’s casing and guarantee a smooth battery replacement. Just make sure your tools are compatible to prevent any accidental breakage.
What Tools Are Needed for a Safe Battery Replacement?
Think of your toolbox as a trusty toolkit for this delicate dance. To unveil the secrets of your battery compartment, grab a compatible screwdriver—Phillips or flat-head—that fits snugly. Gently, turn the screw to reveal the hidden chamber. With patience and the right tools, you’ll replace the battery smoothly, avoiding any damage. Remember, a steady hand and the proper screwdriver are your best allies in this silent symphony.
How Do I Know if My Battery Is Truly Dead?
You’ll know your battery is truly dead when it shows clear indicator signals, like inconsistent readings or a complete lack of power. Keep in mind, battery lifespan varies, but if you notice frequent errors or if your power meter’s display flashes warnings, it’s time for a replacement. Don’t wait too long—batteries can fail unexpectedly, so staying alert to these signals helps you avoid sudden power loss during rides.
Will Replacing the Battery Affect My Power Data?
Replacing your power meter battery shouldn’t guarantee your power data accuracy if you do it correctly. As your battery lifespan ends, the power meter may show inconsistent readings, but a proper replacement maintains data integrity. Make sure you follow the manufacturer’s instructions and calibrate the device afterward. This way, you preserve accurate power data and ensure your power meter functions reliably without any data loss or inaccuracies.
How Often Should I Replace My Power Meter Batteries?
Think of your power meter’s battery life as a ticking clock, signaling it’s time for a change. You should replace your batteries roughly every 300-500 hours of riding, or every 6-12 months, depending on usage and battery type. Regular replacement prevents data drops and keeps your readings accurate. Staying proactive with your replacement frequency guarantees your power data remains reliable, just like a well-tuned engine running smoothly.
Conclusion
Changing your power meter battery is simple if you follow these steps carefully. Just remember, patience and a gentle touch prevent any mishaps—like when you carefully turn the ancient gear of a clocktower without disturbing its steady ticking. With a little care, you’ll keep your power meter running smoothly, ensuring your cycling data stays accurate. So, keep your toolkit handy and maintain your gear as confidently as a watchmaker tending to his masterpiece.