To service your fork lower legs, start by inspecting for visible damage like scratches, leaks, or dirt buildup. Carefully disassemble the lower legs, keeping track of all parts, and clean the internals thoroughly. Replace worn seals and drain old fork oil, then refill with fresh, manufacturer-recommended oil at the correct level. Reassemble everything smoothly, check for leaks, and test your suspension. Continuing with these steps helps make certain your fork performs reliably and safely.
Key Takeaways
- Regularly inspect for scratches, dents, leaks, and corrosion to identify potential damage early.
- Disassemble lower legs carefully, cleaning and inspecting internal components for wear or corrosion.
- Replace worn seals and seals if leaks are present to prevent oil seepage and contamination.
- Refill with manufacturer-recommended fork oil to ensure proper damping and ride quality.
- After reassembly, check for smooth operation and leaks, then test ride for optimal performance.
Are your bike’s front fork lower-leg components showing signs of wear or damage? If so, it’s time to think about a proper fork lower-leg service. Over time, dirt, grime, and moisture can infiltrate these parts, leading to corrosion, oil leaks, or compromised performance. Regular maintenance keeps your ride smooth, safe, and responsive. One of the key steps in this process is shock absorber maintenance, which involves inspecting and servicing the internal damping and spring mechanisms. Often, this means replacing the fork oil—an essential task to restore proper damping and guarantee your fork absorbs shocks effectively. Incorporating proper leadership skills during maintenance can also ensure thoroughness and safety in your repair process.
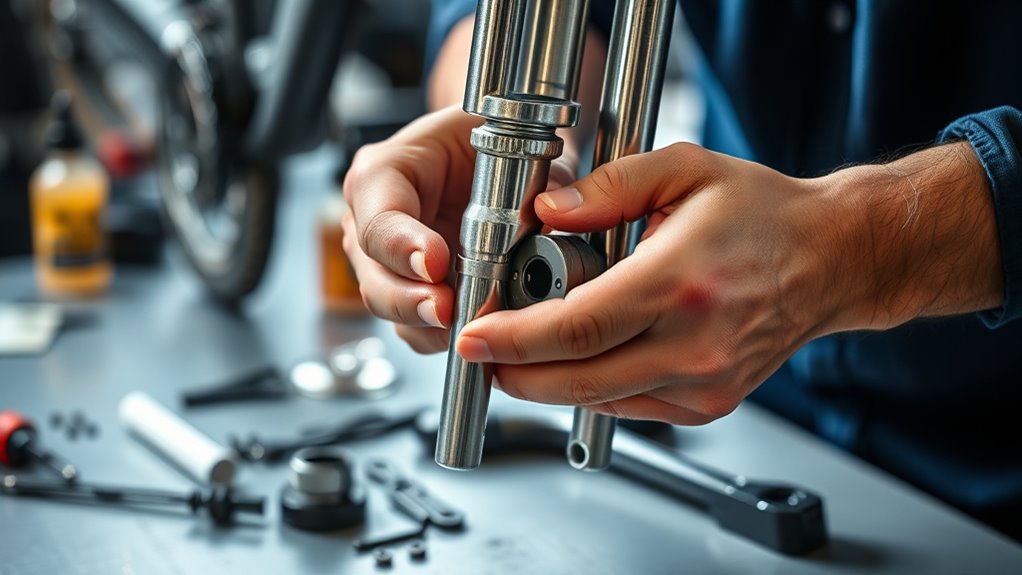
When you start a fork lower-leg service, you’ll want to first check for visible signs of damage—scratches, dents, or leaks. If you notice oil seeping out, it’s a clear indicator that the seals need replacing and the fork oil should be drained and refilled. During shock absorber maintenance, replacing the fork oil is vital; old or degraded oil can cause rough handling, decreased damping control, or even damage to the internal components. Fresh fork oil restores the proper viscosity, allowing the fork to respond smoothly to bumps and impacts. It’s advisable to use the manufacturer-recommended oil type and quantity to achieve peak performance.
As you proceed, you’ll need to disassemble the lower-leg components carefully, removing the stanchions and seals. Keep track of all parts, and make sure to clean the inside of the lower legs thoroughly. This is your chance to inspect for corrosion or wear on the internal surfaces. Once cleaned, you can replace the seals if necessary to prevent future leaks. Filling the fork with new oil requires precision—use a syringe or a dedicated fork oil pump to guarantee the right amount is added. After reassembling, it’s essential to check for smooth operation and leaks before taking your bike out on the trail.
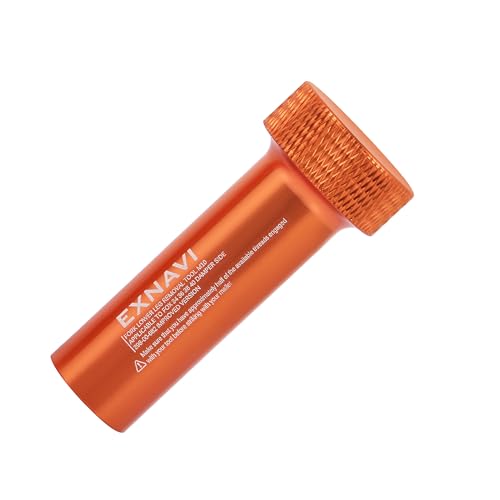
MIURSSY Lower Leg Removal Tool Fork Lower Damper Leg Removal Tool for Servicing Fox Suspension (Fox 34/36/38/40 Damper Side)
Compatible with FOX 34 36 38 40 Damper Side, 398-00-682 IMPROVED VERSION.
As an affiliate, we earn on qualifying purchases.
As an affiliate, we earn on qualifying purchases.
Frequently Asked Questions
How Often Should I Schedule Fork Lower-Leg Service?
You should schedule fork lower-leg service every 12,000 miles or annually, whichever comes first. During this service, you’ll need to replace fork oil and inspect fork seals for leaks or damage. Regular maintenance guarantees smooth suspension performance and prevents costly repairs. If you notice leaks, reduced handling, or unusual noises, it’s a sign to get your fork seals inspected and replaced sooner. Staying proactive keeps your ride safe and comfortable.
Can I Perform Fork Service Myself?
You can attempt DIY maintenance on your fork lower-leg if you’re confident and have the right tools, but it’s often best to seek professional assistance. Fork service requires precision and experience to avoid damage or safety issues. If you’re new to bike repairs, consider consulting a professional to ensure proper maintenance. Regular professional service keeps your suspension performing at its best and prolongs its lifespan, so don’t hesitate to get expert help when needed.
What Are Signs My Fork Needs Service?
If your fork needs service, look for signs like decreased suspension performance, unusual noises, or oil leaks around the fork seals. You should also check for fork oil replacement needs and inspect the seals regularly. When you notice these issues, it’s time to service your forks to guarantee smooth operation. Regular maintenance, including fork seal inspection, helps prevent further damage and keeps your ride safe and comfortable.
How Long Does a Typical Fork Lower-Leg Service Take?
A typical fork lower-leg service takes about 1 to 2 hours. During this time, you’ll get a fork oil change and seal replacement, which are essential for smooth operation. The process involves draining old oil, inspecting and replacing damaged seals, and refilling with fresh oil. The time can vary depending on the bike’s complexity and the technician’s expertise, but generally, it’s a quick and effective maintenance routine.
Is Special Equipment Required for Fork Service?
You might be surprised, but you don’t need special equipment for fork service. However, you will need tools like a seal driver and a proper container for draining fork oil. When replacing seals or changing fork oil, guarantee you have the right tools to avoid damage. Using the proper equipment makes the job smoother, safer, and more effective, helping you get your fork back in top shape quickly.
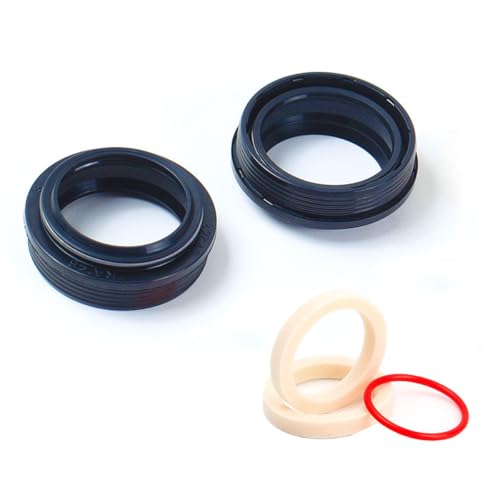
catazer Bike Front Fork Dust Seal, Bicycle Suspension Front Fork Dust Sealing Oil Sealing for 28.6/30/32/34/35/36mm Fork Dust Wiper Kit
Wide Compatibility: Suitable for 28.6/30/32/34/35/36mm bike front forks, compatible with most mountain bike suspension fork models
As an affiliate, we earn on qualifying purchases.
As an affiliate, we earn on qualifying purchases.
Conclusion
Now that you’ve learned the basics of fork lower-leg service, you’re well-equipped to keep your suspension working smoothly. Think of it as giving your bike’s front end a fresh breath of life—like tuning a musical instrument to ensure it plays perfectly. Regular maintenance not only extends the life of your fork but also keeps your rides safe and responsive. So, grab your tools and give your fork the care it warrants—your rides will thank you.

MOTO4U Dirt Bike Fork Oil Injector 20ml- Precision Tool for Motorcycle Suspension Maintenance
Easy and Reliable Injection: A tool to easily and reliably inject fork oil when raising the oil level…
As an affiliate, we earn on qualifying purchases.
As an affiliate, we earn on qualifying purchases.

Finish Line 5wt Suspension Shock Oil – Premium Semi-Synthetic Non-Foaming Fluid for All Bicycle Forks and Seals – Consistent Damping and Race Proven Performance – 16oz Bottle
Professional Suspension Fluid: Formulated for all oil-damped bicycle forks and shock systems
As an affiliate, we earn on qualifying purchases.
As an affiliate, we earn on qualifying purchases.