
To mount your bike lights for maximum visibility, guarantee your front light is slightly angled downward to illuminate the road without blinding others, and attach it securely to a handlebar or helmet using adjustable, weather-resistant mounts. Position the rear light high on your seat post or helmet for better rear visibility, and double-check all mounts and battery connections before each ride. Proper setup enhances safety, and if you keep exploring, you’ll discover even more tips for perfect placement.
Key Takeaways
- Mount front lights slightly downward to illuminate the road without causing glare for oncoming traffic.
- Position rear lights high on the seat post or helmet for maximum visibility from behind.
- Use adjustable mounts to securely fix lights, preventing bouncing or shifting during rides.
- Ensure proper alignment; front lights should be aimed for optimal road coverage, rear lights visible from a distance.
- Regularly inspect and tighten mounts and battery connections to maintain consistent brightness and safety.
Mounting your bike lights correctly is essential for maximizing your visibility on the road. When you set up your lights properly, you ensure that drivers and other cyclists can see you from a distance, reducing the risk of accidents. One of the first things to think about is the type of battery your lights use. Most bike lights operate on either disposable batteries, like AA or AAA, or rechargeable batteries, such as lithium-ion packs. Rechargeable batteries are convenient because they save you money in the long run and are more environmentally friendly, but they also require a reliable charging routine to keep your lights bright when you need them most. Knowing the battery type helps you plan for replacement or charging, so your lights never fade unexpectedly during a ride. Properly managing your battery life is crucial for consistent visibility.
Next, focus on selecting the right mounting accessories. Many bike lights come with versatile mounts, but not all are compatible with every bike or preferred riding position. Using the appropriate mounting accessories ensures your lights are secure, properly aligned, and visible from all angles. For handlebar mounting, look for adjustable brackets that can fit various diameters and allow you to angle the light for maximum visibility. If you’re mounting on your helmet, choose lightweight mounts that won’t cause discomfort or shift during the ride. Some lights come with quick-release mounts, making it easy to detach them when you park your bike, while others require more permanent fixtures. Always check that your mounting accessories are sturdy and made of durable materials, especially if you ride in challenging weather conditions or rough terrains.
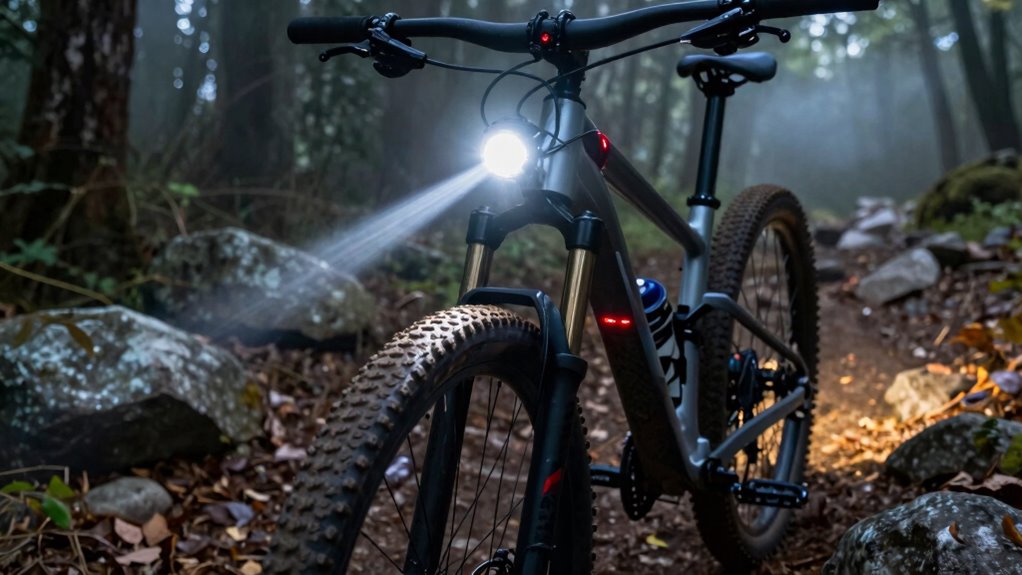
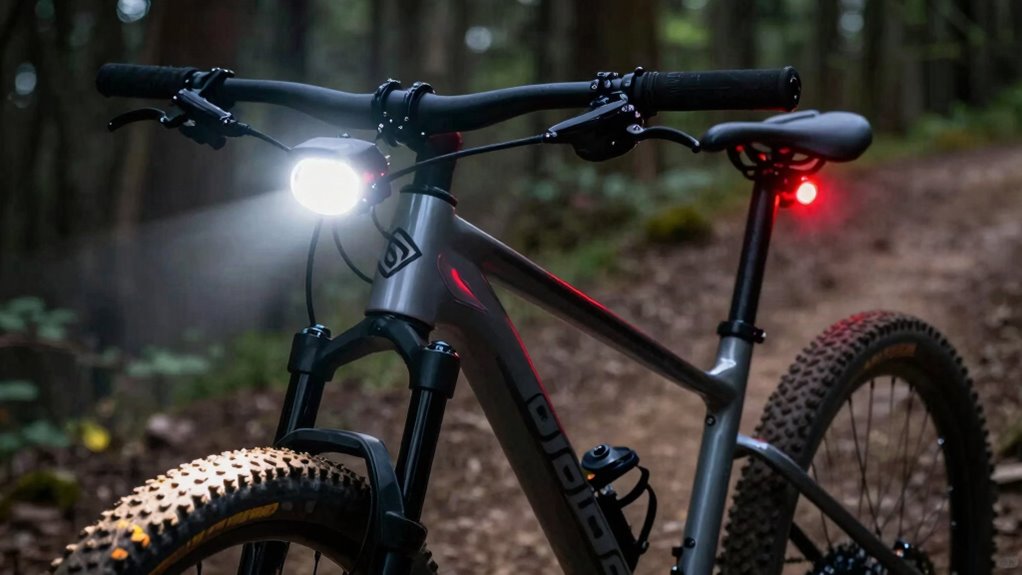
When you attach your lights, make sure they’re positioned at the correct height and angle. For front lights, aim the beam slightly downward to illuminate the road ahead without blinding oncoming traffic. Rear lights should be mounted high on the seat post or back of your helmet so they’re easily visible from behind. The goal is to maximize your visibility without creating glare or blind spots. Proper mounting also involves double-checking that the lights are secure and won’t bounce or shift during your ride. Loose mounts can cause misalignment, reducing effectiveness, or even falling off entirely. Regularly inspect your mounting accessories and battery connections to make certain everything stays tight and functional. By paying attention to these details, you’ll enhance your safety and make sure your bike lights serve their purpose during every ride.

CYCLAMI S13 Out Front Bike Light Mount Compatible with Bike Light & Gopro
S13 Bracket compatible with Garmin standard buckle base for Bike Lights
As an affiliate, we earn on qualifying purchases.
As an affiliate, we earn on qualifying purchases.
Frequently Asked Questions
Can I Legally Ride at Night Without Lights?
No, you can’t legally ride at night without lights. Legal requirements usually mandate bike light brightness and proper visibility, guaranteeing you’re seen by others. Most jurisdictions require front lights and rear reflectors or lights, especially after sunset or in low visibility conditions. Riding without proper lighting puts you at risk and could lead to fines. Always check local laws to ensure your bike lights meet the legal standards for night riding.
How Do Weather Conditions Affect Bike Light Visibility?
Imagine your bike lights are tiny lighthouse beams battling a storm—welcome to weather impact and visibility challenges. Rain, fog, or snow scatter and dim your light, making it harder for others to see you. Wet conditions can also cause glare, reducing your night vision. So, when the weather turns nasty, your lights need to be brighter and positioned carefully to cut through the chaos, ensuring you’re seen and safe.
What’s the Best Position for Side Visibility?
You should position your bike lights slightly to the side of your handlebars or rear rack to maximize side visibility. Use side visibility techniques like angling lights outward and at different heights to make sure drivers see you from various angles. Proper bike light placement guarantees your lights are clearly visible from the sides, increasing your safety during rides, especially in low-light or busy conditions. Always check your lights’ angles before riding.
Are There Specific Lights for Different Bike Types?
Imagine you’re in the age of chariots, and yes, there are specific lights for different bike types. You should select lights with battery types compatible with your ride—USB rechargeable for convenience or standard batteries for reliability. Use proper mounting techniques tailored to your bike—mounting brackets for mountain bikes or clip-ons for road bikes. This guarantees maximum visibility, safety, and that your bike light works seamlessly, no matter your cycling adventure.
How Often Should I Replace My Bike Lights?
You should replace your bike lights when their battery lifespan diminishes considerably or if they stop functioning properly. Typically, replacement frequency depends on the type of light—LED lights last longer, around 2-3 years, while older batteries may need replacing sooner. Check your lights regularly, especially after long rides or if you notice dimming, and replace batteries or the entire unit as needed to guarantee maximum visibility and safety.
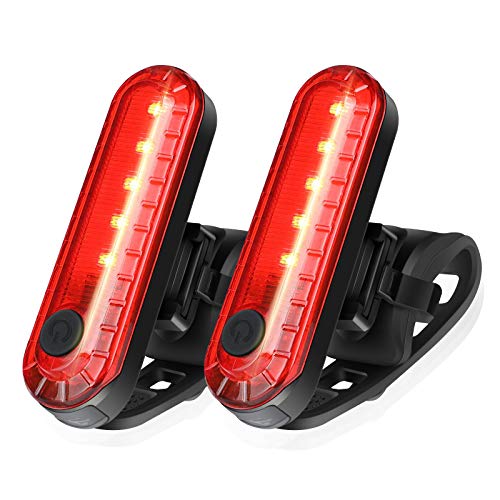
Ascher USB Rechargeable LED Bike Tail Lights 2 Pack, Bright Bicycle Cycling Rear Light, 4 Light Mode Options Safety Bike Light for Adults Men Women Road Mountain(2 USB Cables Included)
Rechargeable Bike Tail Light: The tail light is built in 330 mAh rechargeable lithium battery. It comes with…
As an affiliate, we earn on qualifying purchases.
As an affiliate, we earn on qualifying purchases.
Conclusion
By mounting your bike lights correctly, you’re turning your ride into a beacon in the night’s darkness. Think of your lights as guiding stars, illuminating your path and warning others of your presence. When placed with purpose, they transform your bike into a lighthouse, cutting through shadows and fog alike. So, take that extra moment to position your lights right—because a well-lit ride isn’t just safer, it’s a radiant adventure waiting to unfold.
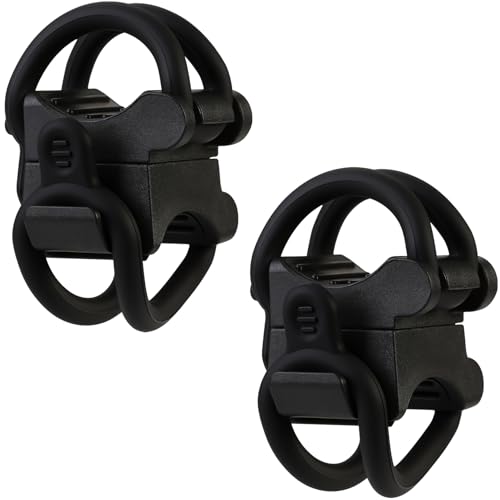
WHTCHSU 2 Pcs Universal Flashlight Holder Bike Mount for Flashlight (Bike Lighting Mount Accessories)
Application: Compatible with bicycle handlebars and flashlights with a diameter range of 10-35 mm; Compatible with all forward…
As an affiliate, we earn on qualifying purchases.
As an affiliate, we earn on qualifying purchases.

BV Bicycle Lights for Night Riding LED Bike Tail Light, Rear Bike Light Weather Resistant, Visible Up to 1500ft Bicycle Taillight LED Bike Light, Two-Way Mount, Battery-Powered, Pair
HIGH-VISIBILITY & WEATHER RESISTANT – Our compact rear bike tail lights are designed to be visible from up…
As an affiliate, we earn on qualifying purchases.
As an affiliate, we earn on qualifying purchases.