To set up your direct-drive trainer in 15 minutes, start by releasing your rear wheel and removing it from your bike. Attach your bike securely to the trainer by aligning it with the quick-release or thru-axle clamp, ensuring a firm fit. Connect the trainer to power if needed, then pair it with your cycling app via Bluetooth or ANT+. Calibrate the resistance unit and check display settings for visibility. If you keep these steps in mind, you’ll master a smooth setup quickly and easily.
Key Takeaways
- Verify bike compatibility and securely attach the rear wheel to the trainer’s quick-release or thru-axle clamp.
- Connect the trainer to power, pair via Bluetooth or ANT+, and perform firmware updates if needed.
- Calibrate the resistance unit using the app or device interface for accurate performance.
- Adjust bike height and position for comfort and mimic outdoor riding posture.
- Confirm secure attachment, perform a resistance test, and ensure the display is optimized before riding.
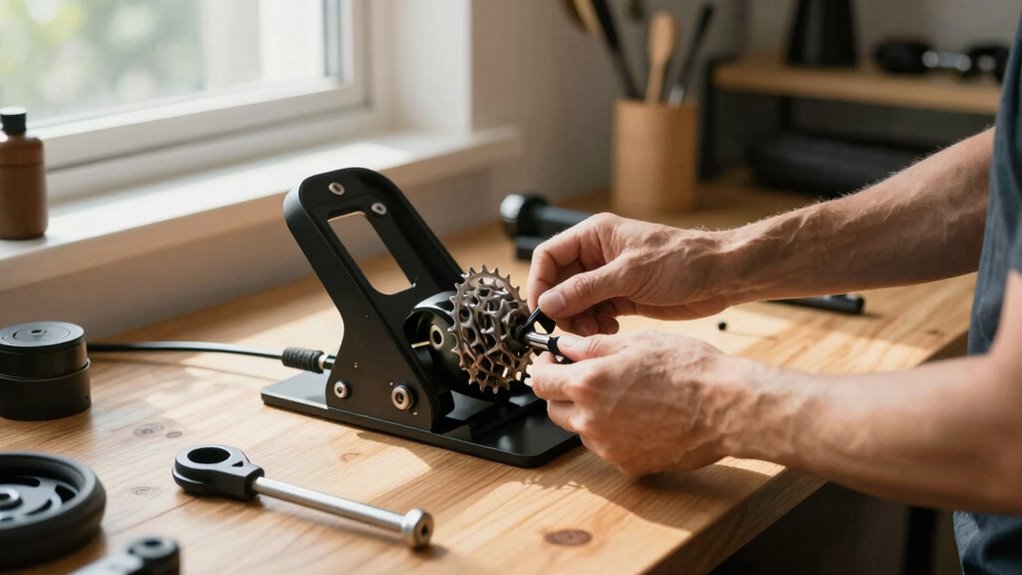
Setting up a direct-drive trainer is a straightforward process that guarantees a smooth and accurate indoor cycling experience. Once you’ve gathered your equipment, you’re ready to begin, and with a little guidance, you’ll have everything ready in about 15 minutes. The key to a successful setup lies in paying attention to detail and understanding how your trainer works. First, ensure your bike is compatible with a direct-drive trainer—most use standard quick-release axles or thru-axles. If your bike has a quick-release, release the skewer and remove the rear wheel, then align your bike in the trainer’s frame, securing it with the provided quick-release or thru-axle clamp. Make sure the bike is firmly attached to prevent any wobbling during indoor cycling sessions.
Once your bike is mounted securely, connect your trainer to power if it’s an electronic model. Many direct-drive trainers come with Bluetooth or ANT+ capability, so you can sync it with your preferred indoor cycling app or device. Before you jump into your workout, it’s wise to perform some trainer maintenance to keep everything functioning smoothly. Check the trainer’s resistance unit for dust or debris and wipe it clean. If it’s a magnetic or electronic trainer, ensure the resistance unit is properly calibrated—most trainers have a calibration feature accessible through the app or device. Proper trainer maintenance not only prolongs the life of your equipment but also guarantees consistent performance, making your indoor cycling sessions more precise and enjoyable.
Connect your trainer to power and perform regular calibration for smooth, reliable indoor cycling sessions.
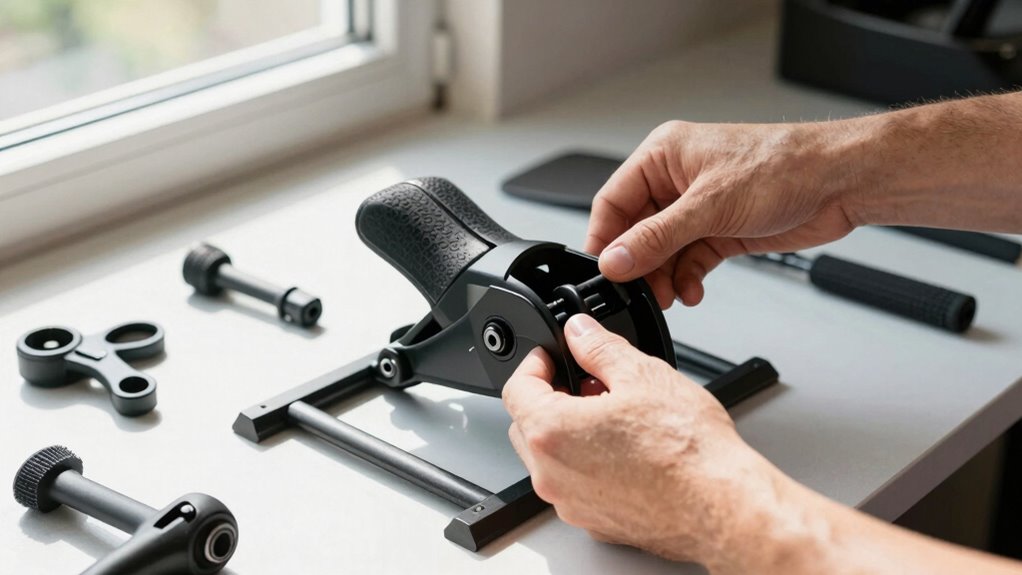
Adjust the height of your bike so that the handlebars are level with the saddle, mimicking your outdoor riding position. This setup enhances comfort and helps prevent strain during longer rides. Additionally, understanding the importance of contrast ratio can help you select a trainer with display features that improve visibility in various lighting conditions. Once your bike is mounted and balanced, turn on your trainer and connect it to your cycling app or device. Follow the app’s instructions to pair the trainer. Some trainers require firmware updates—check for any available updates within the app or manufacturer’s website to ensure maximum performance. After pairing, do a quick resistance test to confirm everything is working correctly. Pedal at different intensities to verify that the resistance responds accurately.
In just a few minutes, you’ve set up your direct-drive trainer for indoor cycling. Regular trainer maintenance, such as cleaning and calibration, keeps your trainer in top shape, ensuring each ride is smooth, safe, and precise. With your setup complete, you’re ready to enjoy effective workouts, improve your fitness, and stay motivated all year round. Proper setup and maintenance are essential for a seamless indoor cycling experience, so take a moment to double-check everything before you start pedaling.

ThinkRider XXPRO Direct Drive Smart Bike Trainer Max 2500W Indoor Training Generate Electricity By Oneself Bicycle Roller (Black)
Direct Motor Drive:XXPRO is directly driven by a motor, featuring ±1% data accuracy and no calibration required.
As an affiliate, we earn on qualifying purchases.
As an affiliate, we earn on qualifying purchases.
Frequently Asked Questions
Can I Use a Direct-Drive Trainer Indoors Safely?
Yes, you can use a direct-drive trainer indoors safely if you follow proper safety precautions. Make sure your space has good ventilation to prevent buildup of fumes or heat. Keep your area clear of obstructions, wear appropriate gear, and secure the trainer properly. Regularly check for loose parts or damage, and avoid excessive noise. By following these safety precautions and maintaining proper ventilation, you’ll enjoy a safe indoor training session.
Does a Direct-Drive Trainer Require a Power Source?
You’ll need a power source for your direct-drive trainer because it has electrical requirements. Imagine Sarah, who set hers up in her garage; she discovered that plugging it into a standard outlet provides enough power for the trainer’s electronic components. Most direct-drive trainers require a reliable power source, often just a standard household outlet, to power features like interactive controls or resistance adjustments. Always check your trainer’s specifications to guarantee proper electrical supply.
Can I Connect a Direct-Drive Trainer to My Smart Devices?
Yes, you can connect a direct-drive trainer to your smart devices, but you need to make certain bike compatibility and perform trainer calibration first. Most trainers use Bluetooth or ANT+ for connection, so make sure your device supports these. Once connected, you can enjoy interactive rides and accurate data tracking. Regular calibration helps maintain precision, ensuring your training sessions are effective and your data stays reliable.
Is a Special Bike Frame Needed for a Direct-Drive Trainer?
A special bike frame isn’t usually needed, just like you don’t need a custom suit for every occasion. Most direct-drive trainers work with standard bikes, but you should check bike frame compatibility to make certain a perfect fit. The trainer mounting options are straightforward, often requiring you to remove your rear wheel and attach your bike directly to the trainer. Confirm your bike’s compatibility first to avoid surprises.
How Loud Is a Typical Direct-Drive Trainer During Use?
A typical direct-drive trainer produces moderate noise levels, usually around 60-70 decibels, comparable to a conversation. The sound mitigation features, like thick mats or enclosed casings, can substantially reduce noise, making it quieter during use. If you’re concerned about noise, invest in a trainer with built-in sound dampening or add extra insulation. This way, you can enjoy your workout without disturbing others nearby.

COOSPO Smart Bike Trainer T10, Direct Drive Indoor Cycling Trainer with Bluetooth & ANT+ Connectivity, Smart Resistance Control, Compatible with Zwift, Wahoo, TrainerRoad, Simulates 15% Slope
DUAL-BAND CONNECTIVITY – Built-in Bluetooth and ANT+ ensures stable, interference-free connection to devices, apps, and training platforms.
As an affiliate, we earn on qualifying purchases.
As an affiliate, we earn on qualifying purchases.
Conclusion
Now that you’ve mastered setting up your direct-drive trainer in just 15 minutes, you’re ready to hit the road—or rather, the virtual roads—without missing a beat. Think of it as a well-oiled machine, smoothly turning your efforts into progress. With your trainer ready to go, every ride becomes a chapter in your cycling story. So, gear up and pedal on—your fitness journey is just a spin away, waiting to unfold like a well-timed symphony.
YIBEICO Calibration Kit for Peloton Indoor Exercise Bikes, Indoor Cycling Bike Calibration Accessory Kit, Not for Bike+
FUNCTION: Calibration the resistance of your exercise bikes to provide you with a satisfactory riding experience
As an affiliate, we earn on qualifying purchases.
As an affiliate, we earn on qualifying purchases.

Bike Trainer, Magnetic Bicycle Stationary Stand for Indoor Exercise Riding, 26-29" & 700C Wheels, Quick Release Skewer & Front Wheel Riser Block Included (BK+ Thru AXLE)
New Version: Included a quick release skewer and a thru-axle adapter.
As an affiliate, we earn on qualifying purchases.
As an affiliate, we earn on qualifying purchases.