If your tubeless tape fails, stop safely and remove the wheel to inspect the rim and tape. Deflate the tire, carefully detach it, and clean the rim thoroughly. Apply new tubeless tape, making sure it covers the entire rim bed without wrinkles or gaps, then reseat the tire. If needed, add sealant for small leaks. Keeping spare tape and tools on hand helps prevent future issues—discover more tips to keep your ride smooth.
Key Takeaways
- Stop riding safely, inspect the rim and tape for damage or leaks.
- Remove the wheel, deflate the tire, and thoroughly clean the rim.
- Reapply new tubeless tape, ensuring full coverage without wrinkles or gaps.
- Check for leaks by feeling around the rim, then reseat the tire and inflate to seat the bead.
- Use sealant inside the tire for small leaks, but prioritize proper tape installation for lasting repair.

When tubeless tape fails, it can be a frustrating and potentially dangerous situation on the trail or road. You might notice sudden loss of air pressure or find yourself battling a slow leak that keeps getting worse. At this moment, quick and effective tubeless maintenance becomes essential to get back on your ride without risking a flat or a crash. The key is knowing how to handle the problem with proper repair techniques that are straightforward and reliable.
First, don’t panic. Carefully assess the situation, and if possible, stop in a safe spot. Removing the wheel and inspecting the rim is your initial step. Often, the cause of failure is a tear or an improper seal caused by damaged or poorly applied tubeless tape. If you see a tear or a gap in the tape, or if the tape has shifted, it’s time to replace it. To do this, deflate the tire completely and remove the tire from the rim. Clean the rim thoroughly with a rag and some isopropyl alcohol to remove any residue, dust, or debris that could compromise the new tape’s adhesion.
Stop safely, remove the tire, and clean the rim thoroughly to prepare for tape replacement.
When applying new tubeless tape, ensure you cover the entire surface of the rim bed, overlapping the edges slightly. Be meticulous to avoid wrinkles, gaps, or exposed spoke holes, as these are common leak points. After taping, double-check the seal by running your finger around the rim to feel for any pinholes or missed spots before reinstalling the tire and tube. Once the new tape is in place, carefully mount the tire back onto the rim, making sure the bead is seated correctly. Use a pump or compressor to seat the bead, listening for a series of rapid pops—these indicate the bead is sealing properly.
If you’re experienced with repair techniques, you can also consider using sealant to patch small leaks or holes. Sometimes, a quick application of sealant inside the tire can temporarily fix minor breaches in the tubeless system, especially if the tape is intact but the seal is compromised. However, remember that proper tape installation is essential to prevent leaks and maintain a reliable seal. Additionally, understanding the common leak points can help you troubleshoot more effectively during emergencies. Regular inspection and re-taping when necessary can extend the life of your setup and reduce the chances of unexpected failures. Staying proactive with your setup means fewer surprises and safer rides, so keep a spare roll of tubeless tape and a basic repair kit handy, and you’ll be ready to tackle failures swiftly and confidently. Proper tape installation is essential to prevent leaks and maintain a reliable seal, and being familiar with tubeless system maintenance can improve your troubleshooting skills in the field. Developing a routine inspection can also help identify potential issues before they become failures.

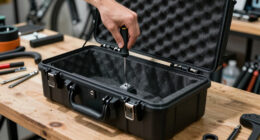
KOM Cycling Tubeless Tire Repair Kit for Bikes – 8 Colors! Fixes Mountain Bike and Road Bicycle Tire Punctures – Includes Tire Repair Fork and Reamer, 8 Bacon Strips. Tubeless Repair Made Easy Orange
TUBELESS TIRE REPAIR KIT LIKE NO OTHER – If you use tubeless tires on your mountain bike or…
As an affiliate, we earn on qualifying purchases.
As an affiliate, we earn on qualifying purchases.
Frequently Asked Questions
How Often Should Tubeless Tape Be Replaced?
You should replace tubeless tape every 2 to 3 years, especially if you notice cracks or tears. Rim tape durability varies with riding conditions, but regular inspection is key. When you see sealant leaks or persistent air loss, it’s a sign that the tape may have degraded. Replacing it guarantees a proper seal, preventing flats and maintaining peak performance. Proper maintenance keeps your tubeless setup reliable and long-lasting.
Can I Reuse Old Tubeless Tape?
You shouldn’t reuse old tubeless tape; it’s like trying to patch a leaky boat with worn-out patches. The tape’s adhesive weakens over time, risking rim compatibility issues and air leaks. If the tape has been properly stored and shows no signs of damage, you might consider reusing it, but for best performance and safety, replacing it guarantees a reliable seal. Always prioritize new tape for peace of mind on your ride.
What Are Signs of Tubeless Tape Failure?
You’ll notice signs of tubeless tape failure if you see air leaks or frequent pressure drops, indicating compromised tubeless compatibility. Bubbles or bulges around the rim are also red flags. Proper tape sealing techniques are essential; if the tape lifts or cracks, it’s time to replace it. Regularly check for these signs to guarantee your tubeless setup stays airtight, and always use high-quality tape to prevent future issues.
Is It Safe to Ride With a Damaged Tubeless Tape?
Riding with a damaged tubeless tape isn’t safe because it’s like building a house on a shaky foundation. You risk sudden flats or blowouts. If your tire pressure drops unexpectedly or rim compatibility issues arise, it’s a clear sign you shouldn’t ride. Always fix or replace the tape before your ride, ensuring a proper seal and safety. Don’t gamble with your ride’s integrity—your safety depends on it.
What Tools Are Needed to Replace Tubeless Tape?
To replace tubeless tape, you’ll need a few tools for proper tubeless compatibility and tape application techniques. Start with a new roll of tubeless tape, a sharp utility knife or scissors to cut it, and a clean cloth or alcohol wipe to prepare the rim. You might also want a valve core removal tool. Carefully apply the tape, ensuring complete coverage of the rim, avoiding overlaps, and sealing all spoke holes for a secure fit.

Muc-Off Tubeless Rim Tape, 25mm – Adhesive Bike Tire Liner, Tubeless Tape for MTB/Road/Gravel Bikes – Tubeless Kit Including 10m Roll of Bike Tape
GOING TUBELESS?: Our bike rim tape is the perfect choice if you’re looking to make the switch to…
As an affiliate, we earn on qualifying purchases.
As an affiliate, we earn on qualifying purchases.
Conclusion
When tubeless tape gives way, it’s like hitting a pothole on a smooth ride—unexpected but fixable. Stay calm, remove the damaged tape, and thoroughly clean the rim. Reapply a fresh strip, ensuring it’s snug and sealed. Think of it as patching a leaky boat; with patience, you’ll be back on the trail, riding as if nothing happened. Remember, a little troubleshooting today keeps the ride smooth tomorrow.
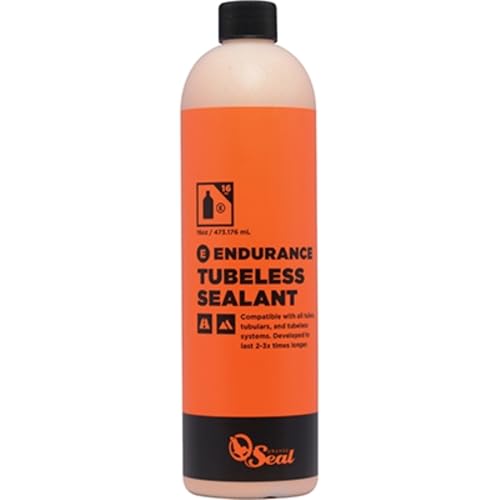
Orange Seal – Endurance Formula Tubeless Bike Tire Sealant | Long Lasting, Fast Sealing | for MTB, Road, CX and Gravel Bicycle Tires | 16oz Refill
Long-lasting latex formula provides superior durability, staying effective for 2-3 times longer than standard sealants to minimize maintenance…
As an affiliate, we earn on qualifying purchases.
As an affiliate, we earn on qualifying purchases.

focopot Bike Cleaning Kit Including Bicycle Chain Cleaner Degreaser,Cycling Chain Lube,Cleaner Brush Tool,Scrubber,Suitable for Mountain/MTB,Ebike,Road Bike and Trail Bikes
【Bike Cleaning Kit】:focopot Bicycle cleaner kit includes chain lubricant, degreaser, chain scrubber, gear brush, wheel brush and chain…
As an affiliate, we earn on qualifying purchases.
As an affiliate, we earn on qualifying purchases.