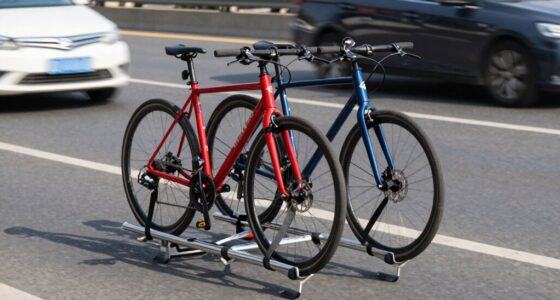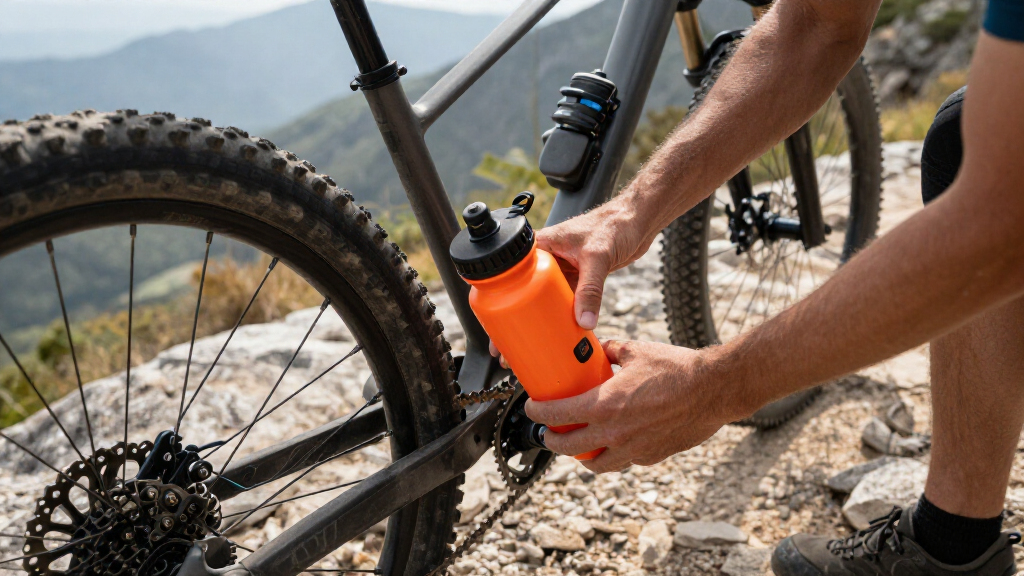

Adding accessories to your mountain bike enhances safety, convenience, and performance. This guide covers how to mount common accessories such as lights, water bottle cages, racks, and phone holders. Suitable for riders new to bike customization or those looking to improve their bike setup, this process takes about 30 to 60 minutes. Follow the steps carefully to ensure secure, reliable attachment and avoid common mistakes that can compromise safety or accessory lifespan.

Get sports gear delivered free with Prime
- Fast, free delivery on millions of items
- Prime Video, Amazon Music and more included
- Member-only deals all year

ROCKBROS Bike/Bicycle Phone Front Frame Bag, Waterproof, Tube Cycling Pouch
- ✔ Capacity: Large space for phone, keys, repair kits, etc.
- ✔ Phone Compatibility: Up to 7 inches with slim cases
- ✔ Material: Carbon fiber texture fabric

Lamicall Bike Phone Holder Motorcycle Mount – One-Hand Operation, Lockable
- ✔ Handlebar Diameter Range: 0.59 to 1.57 inches (15-40mm)
- ✔ Phone Compatibility: 4.7 to 6.8 inches, up to 0.59 inches thick
- ✔ Material: Silicone pads, sturdy plastic
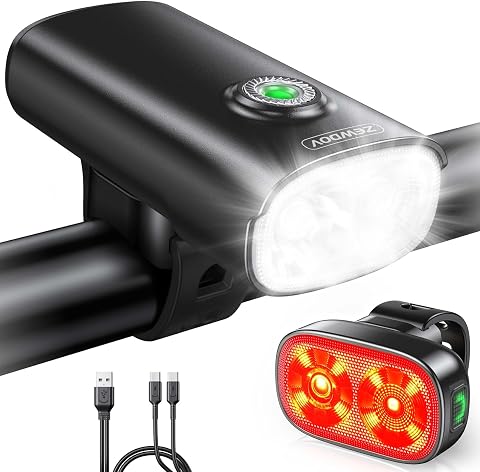
Zewdov 1000LM Bike Lights with Spotlight & Floodlight
- ✔ Lumen: 1000LM
- ✔ Battery Capacity (Front): 2000mAh
- ✔ Battery Capacity (Rear): 350mAh
Difficulty: Beginner to Intermediate | Time: 30-60 minutes
What You’ll Need
Tools & Materials:
- Allen wrenches (various sizes)
- screwdriver (Phillips and flat-head)
- mounting brackets or straps
- tire levers (if needed)
- rubber mallet (optional)
Knowledge:
- Basic bike handling skills
- Familiarity with bike frame types and mounting points
Check your bike’s mounting points before starting. Some accessories require specific attachment points or additional adapters. Make sure your bike is clean and free of dirt or debris where you plan to mount accessories.
ROCKBROS Bike/Bicycle Phone Front Frame Bag, Waterproof, Tube Cycling Pouch
<p>The <strong>ROCKBROS Bike Front Frame Bag</strong> stands out for its generous capacity, making it ideal for long rides where carrying essentials like phones, keys, and repair kits is necessary. The high-sensitivity TPU touch screen allows easy access without removing your device, and the waterproof, durable fabric ensures protection against the elements. Compared with simpler mounts, this bag offers more space and organization, but it’s less suitable for oversized e-bikes or phones with thick cases, which may fit tightly or block the screen. It’s perfect for riders who prioritize storage and weather resistance, though those with very large phones or e-bikes with large top tubes should look elsewhere.</p>
Pros:
- Large capacity for multiple essentials
- High-sensitivity TPU touchscreen window
- Water-resistant and durable fabric
- Reflective tapes for night safety
Cons:
- Limited compatibility with large e-bikes and oversized tubes
- Phones with thick cases may experience tight fit and limited screen access
- Touch ID not supported through the cover
Best for: Riders needing spacious, weatherproof storage for long-distance or all-weather riding
Not ideal for: Users with oversized phones, thick cases, or oversized top tubes on their bikes
Bottom line: The best choice for riders who need ample, weatherproof storage with convenient touchscreen access.
“The best choice for riders who need ample, weatherproof storage with convenient touchscreen access.”
Lamicall Bike Phone Holder Motorcycle Mount – One-Hand Operation, Lockable
<p>The <strong>Lamicall Bike Phone Holder</strong> is ideal for riders who want a secure, shockproof mounting solution that’s easy to operate. Its adjustable orientation and lockable mechanism ensure your device stays put even on rough terrain. Compared to simple clamp mounts, this model’s silicone padding provides superior vibration absorption, protecting your phone from damage. However, it requires careful measurement of your handlebar diameter to ensure fit and may need practice to operate the locking switch smoothly. Its compatibility range makes it suitable for most standard handlebars, but riders with unusual sizes should consider alternative options. It’s best suited for those who want dependable security and easy one-handed operation during rides.</p>
Pros:
- Secure grip on various phone sizes and handlebar diameters
- Shockproof with silicone padding to prevent vibrations
- Easy one-hand installation and adjustable orientation
- Lockable mechanism for added security
Cons:
- Requires precise handlebar measurement for proper fit
- Locking switch may need practice to operate smoothly
- Limited to handlebar diameters within specified range
Best for: Cyclists and motorbikers seeking a robust, lockable phone mount with shockproof features
Not ideal for: Riders with handlebar diameters outside the specified range or who prefer quick-release mounts without locking
Bottom line: A top-tier, secure phone mount ideal for rough terrains and demanding rides, with some measurement considerations.
“A top-tier, secure phone mount ideal for rough terrains and demanding rides, with some measurement considerations.”
Zewdov 1000LM Bike Lights with Spotlight & Floodlight
<p>The <strong>Zewdov Bike Lights</strong> set excels in providing powerful illumination with a combined 1000 lumens, ensuring visibility up to 984 feet and a 180° wide coverage. The multiple lighting modes—including spotlight and floodlight—allow customization for different riding conditions, from technical trails to night commutes. Built with durable aluminum and rated IP65 waterproof, these lights withstand harsh weather and vibrations. The rechargeable batteries with smart indicators add to their convenience, but battery life varies depending on mode—longer modes drain faster, which could be a concern for extended rides. While the front light’s 3-hour charge time is reasonable, the rear’s shorter battery life may require backup or frequent recharging for very long outings.</p>
Pros:
- Bright 1000-lumen output for enhanced visibility
- Multiple modes for versatile lighting needs
- Durable, waterproof, and vibration-resistant design
- Rechargeable with smart battery indicators
Cons:
- Battery life varies greatly depending on mode
- Recharge time can be lengthy for some users
- Rear light battery may not last through ultra-long rides
Best for: Night riders and those needing maximum visibility for trail or road riding
Not ideal for: Casual daytime riders or those with very long rides where battery life is critical
Bottom line: An excellent choice for serious night riders who need strong illumination and rugged durability, with some tradeoffs in battery endurance.
“An excellent choice for serious night riders who need strong illumination and rugged durability, with some tradeoffs in battery endurance.”
As an Amazon Associate we earn from qualifying purchases.
Before You Start
Ensure your bike is on a stable surface and supported securely, such as on a bike stand or turned upside down on a soft surface. Verify that all accessories are compatible with your bike model and frame size. Keep all tools and accessories within reach to streamline the process. Avoid forcing attachments that don’t fit to prevent damage.
Step-by-Step Instructions
Step 1: Identify mounting locations on your bike
Examine your bike frame, including the handlebars, seat post, down tube, and rear rack area. Locate existing mounting points or threaded eyelets designed for accessories. Note areas where accessories like lights or racks can be attached securely without interfering with moving parts.
Tip: Use your bike’s manual or manufacturer instructions if available to identify designated mounting points.
Check: You have clearly marked or noted the locations suitable for attaching each accessory, with no obstructions.
Step 2: Prepare your accessories and mounting hardware
Gather all accessories you plan to install—lights, water bottle cages, racks, phone mounts—and check their mounting hardware. Assemble any parts that require initial setup, such as attaching brackets or straps. Confirm that fasteners are present and undamaged.
Tip: Lay out all parts on a clean surface for easy access during installation.
Check: All accessories and hardware are assembled and ready for mounting, with no missing or damaged parts.
Step 3: Attach lights to handlebars or frame
Position the light mount or bracket on the handlebar or fork crown, aligning it with the pre-existing mounting points or using straps if necessary. Tighten screws or clamps securely with an Allen wrench or screwdriver, ensuring the light points forward and is stable.
Tip: Test the light’s position by gently shaking it; it should not move or wobble.
Check: The light is firmly attached, aligned straight forward, and does not shift when you apply gentle pressure.
Step 4: Install water bottle cages
Remove any existing bolts from the bike’s down tube or seat tube cage mounts. Position the cage so the bottle opening faces outward and the cage aligns with the mounting holes. Insert bolts and tighten evenly with an Allen wrench, ensuring the cage is snug but not over-tightened.
Tip: Check that the bottle fits comfortably and can be easily removed and replaced without excessive force.
Check: The cage is securely mounted, and the bottle can be inserted and removed smoothly.
Step 5: Mount rear racks or panniers
If your bike has dedicated rear rack mounts, position the rack so the mounting holes align with the frame’s eyelets. Insert the provided bolts and tighten evenly. For racks using straps, wrap straps around the seat stays or frame tubes, then tighten firmly to prevent movement.
Tip: Ensure the rack is level and evenly balanced to prevent shifting during riding.
Check: The rack feels stable and does not wobble when pushed or shaken lightly.
Step 6: Attach phone or accessory mounts
Secure the mount onto the handlebars or stem, using straps or clamps provided. Tighten all fasteners so the mount is firm and does not rotate or slip. Place your phone or device holder onto the mount and verify it locks securely.
Tip: Test the mount by gently shaking it to ensure stability before placing your device.
Check: Your device mount is firmly attached, stable, and holds your phone securely without wobbling.
Common Mistakes to Avoid
- Over-tightening screws or clamps — Tighten fasteners just enough to hold accessories securely without stripping threads or damaging the frame.
- Using incompatible accessories — Verify compatibility with your bike model and frame before purchasing or mounting accessories.
- Not checking the stability after installation — Gently shake or wiggle each accessory after mounting to confirm it is secure before riding.
- Blocking essential bike components — Ensure mounted accessories do not interfere with brakes, gears, or steering.
Troubleshooting
Problem: Accessory feels loose or wobbly after installation
Solution: Loosen fasteners slightly, realign the accessory, and tighten again gradually, avoiding over-tightening.
Problem: Light or device does not turn on or work properly
Solution: Check power connections, batteries, and wiring for secure contact. Replace batteries if needed.
Problem: Rack or cage rattles during ride
Solution: Tighten all bolts and straps firmly. Add padding or rubber washers if needed to reduce movement.
What Success Looks Like
All accessories are mounted securely, aligned properly, and do not interfere with bike operation. Accessories stay in place during a test ride, and devices such as lights and phones function correctly.
Next Steps
Periodically check all mounted accessories for tightness, especially after rough rides or long distances. Clean and maintain accessories regularly to extend their lifespan. Consider adding more accessories or upgrading existing ones as needed for riding conditions.
Frequently Asked Questions
Can I mount accessories on any bike frame?
Most accessories are compatible with standard mounts, but some bikes may lack designated points. Always verify your frame’s compatibility and use appropriate adapters if necessary.
What should I do if an accessory doesn’t fit?
Check for compatible mounting hardware or adapters. If none are available, consider choosing a different accessory designed for your bike model.
How often should I check my mounted accessories?
Inspect them before every long ride and periodically during regular maintenance to ensure they remain secure and functional.
Can I add accessories without professional help?
Yes, most accessories are designed for easy DIY installation with common tools. Follow instructions carefully, and seek professional help if unsure about compatibility or mounting points.
Halloween Picks
halloween
As an affiliate, we earn on qualifying purchases.